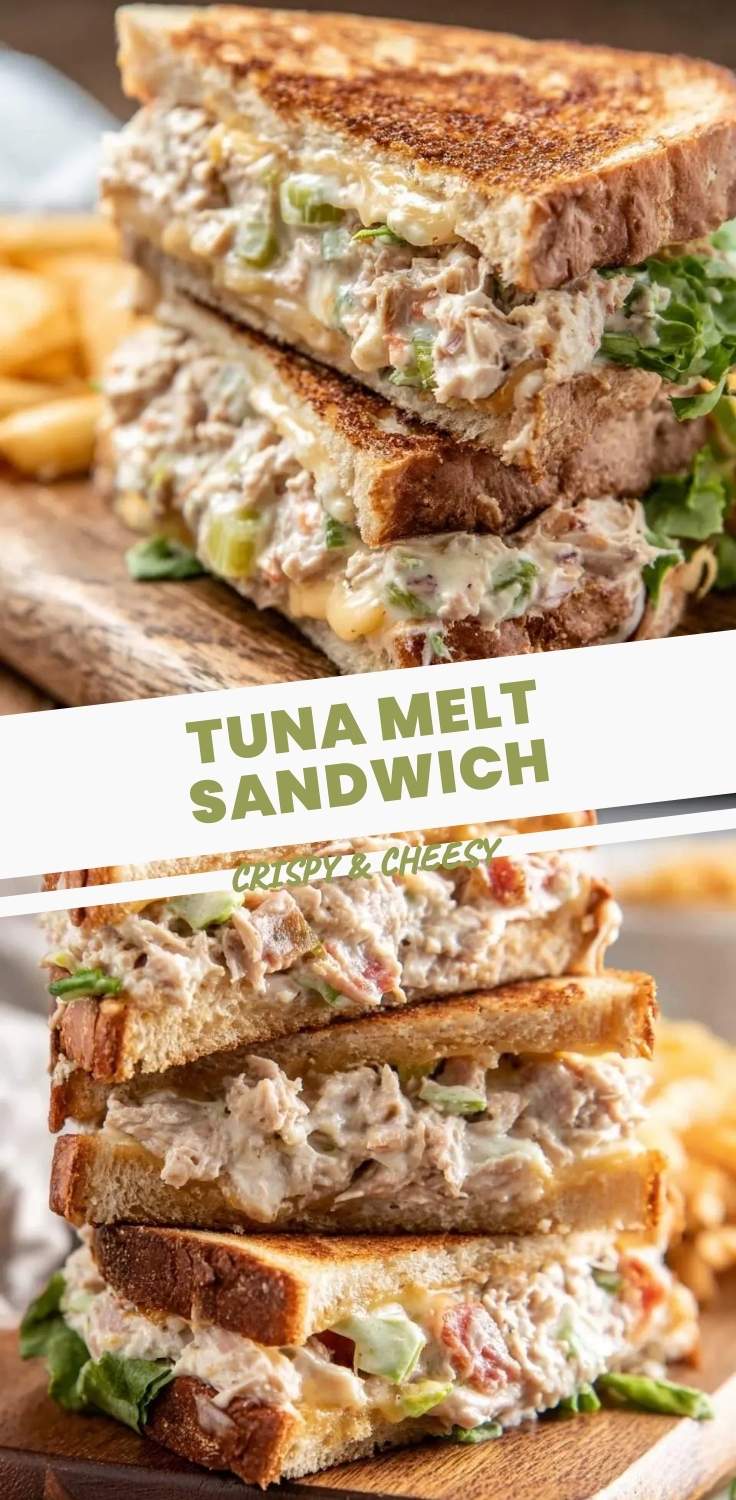
Tuna Melt Sandwich
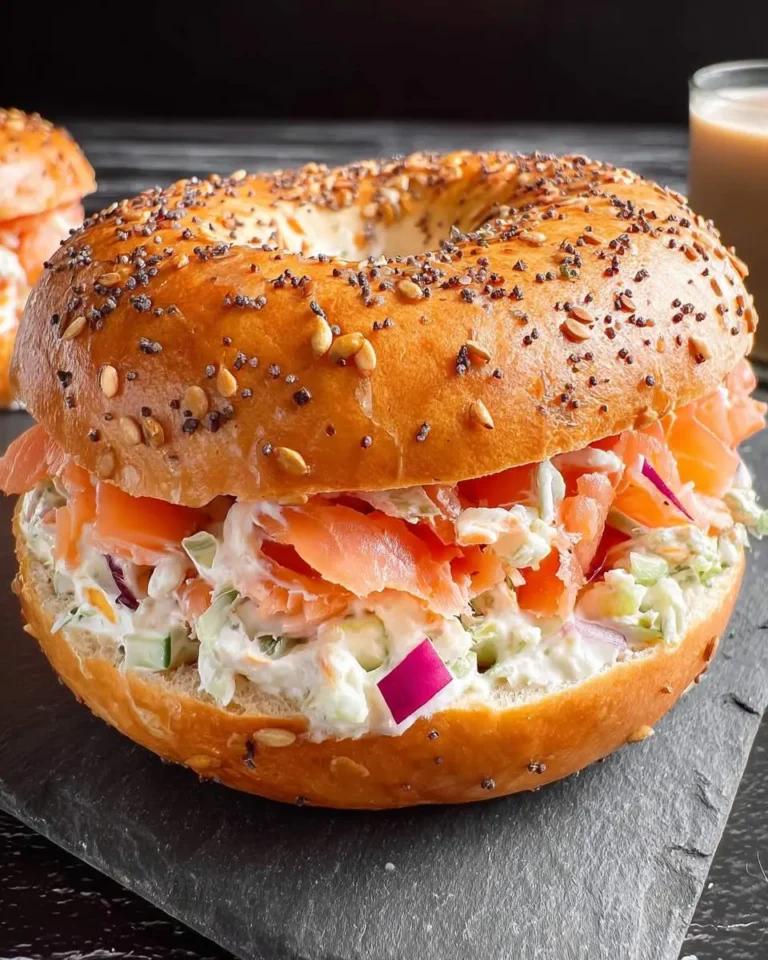
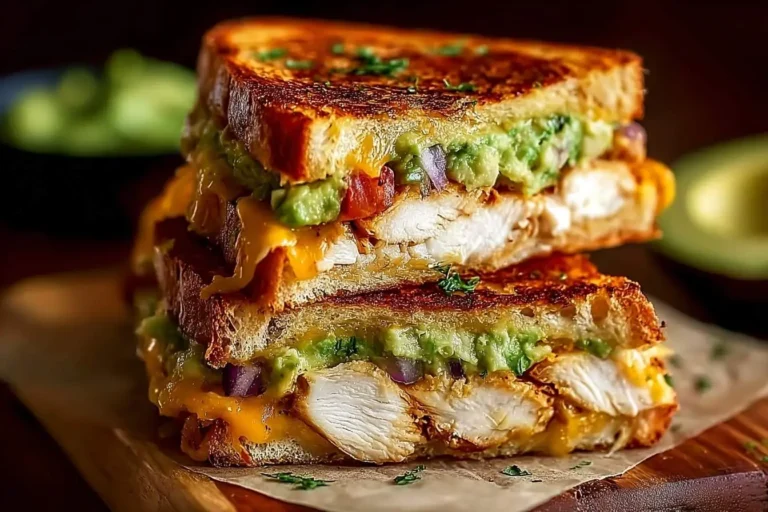
There’s something incredibly comforting about a perfectly prepared Tuna Melt Sandwich. The way the sharp cheddar cheese melts into the creamy tuna salad, all nestled between slices of golden, crispy sourdough – it’s pure culinary bliss. It reminds me of simple, delicious lunches, and sometimes, for a little variety, I’d even whip up a salmon salad sandwich for family gatherings.
Growing up, my grandmother always had a way of turning everyday ingredients into something magical. Her kitchen was a hub of warmth and laughter, and I vividly recall the smell of toasting bread filling the air as she perfected her grilled sandwiches.
This recipe isn’t just easy; it’s a hearty, satisfying meal that brings comfort to any table. My secret for the best results? Always use good quality sourdough and real butter!
What You Need to Make This Recipe
For me, it’s all about combining pantry staples like canned tuna with fresh celery and red onion, then elevating it with sharp cheddar and rich sourdough. This makes for a delightful and surprisingly quick meal, much like how a good crab cake sandwich feels special yet achievable. The full list of ingredients and precise measurements are waiting for you in the recipe card below!
How to Make Tuna Melt Sandwich
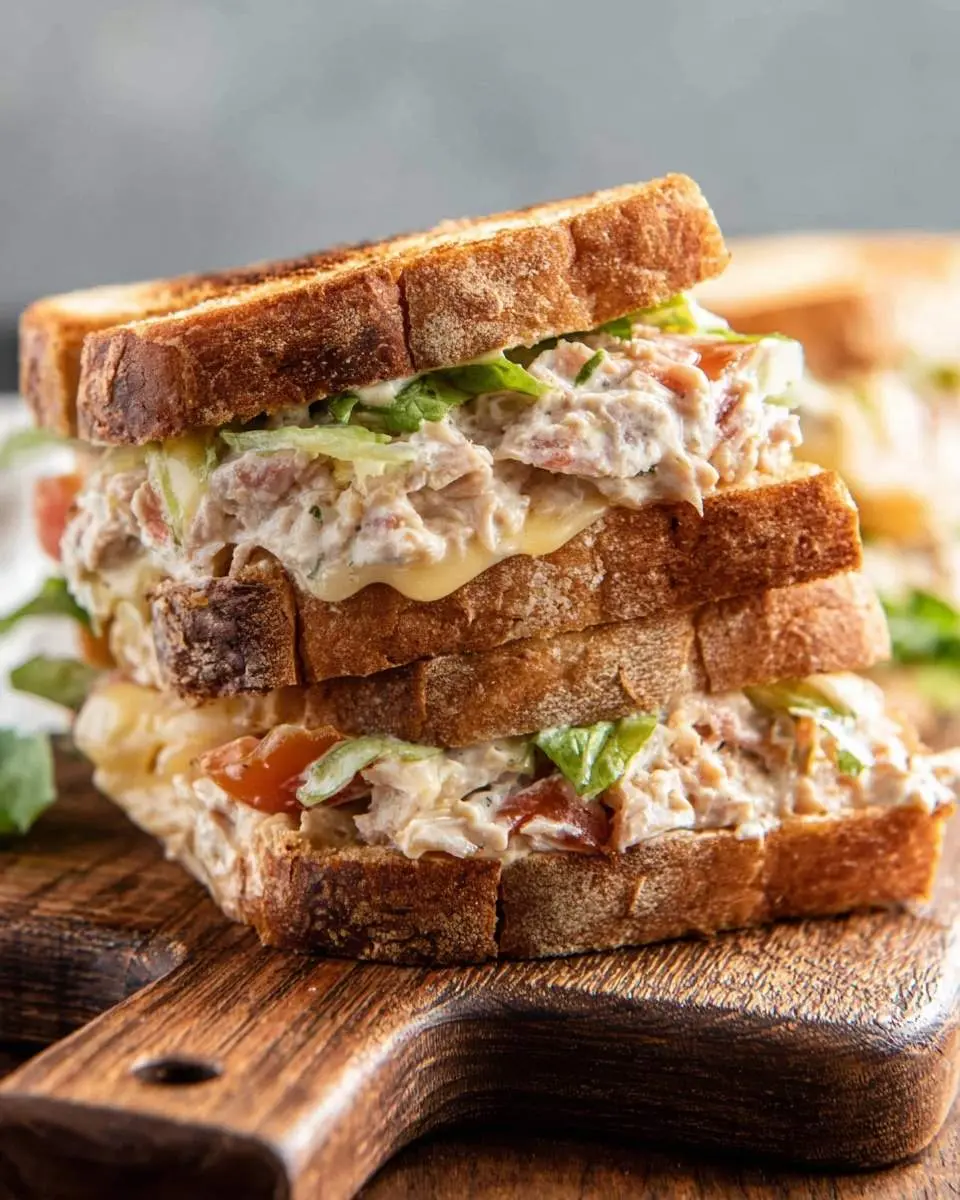
Crafting this Ultimate Crispy Tuna Melt Sandwich is a delightful three-step journey. We’ll start by preparing a vibrant tuna salad, then assemble our glorious sandwiches, and finally, grill them to golden perfection. It’s a comforting classic that I adore, reminding me of other cheesy favorites like the smoked gouda apple grilled cheese. The whole process takes just 25 minutes from start to finish!
Pro Tips for Making This Tuna Melt Sandwich
Achieving that perfect, golden-brown crust and gooey interior for your Tuna Melt Sandwich really comes down to a few key techniques I’ve picked up over the years.
- Bread Choice Matters: I always recommend sourdough bread for this recipe. Its sturdy texture holds up beautifully to grilling, and its slight tang complements the rich tuna salad perfectly.
- The Cheese Factor: Don’t skimp on the sharp cheddar! Grating your own cheese makes a huge difference in how it melts and tastes. I often use a mix of cheddar and a touch of provolone for extra creaminess.
- My Secret Trick: My top tip is to spread a thin, even layer of mayonnaise on the outside of the bread instead of butter before grilling. It creates an incredibly crispy, golden crust that’s truly irresistible, and it prevents burning!
- Don’t Overstuff: While it’s tempting to load up on the tuna salad, I’ve found that less is often more. A moderate amount ensures even cooking and prevents the sandwich from falling apart.
How to Store Tuna Melt Sandwich
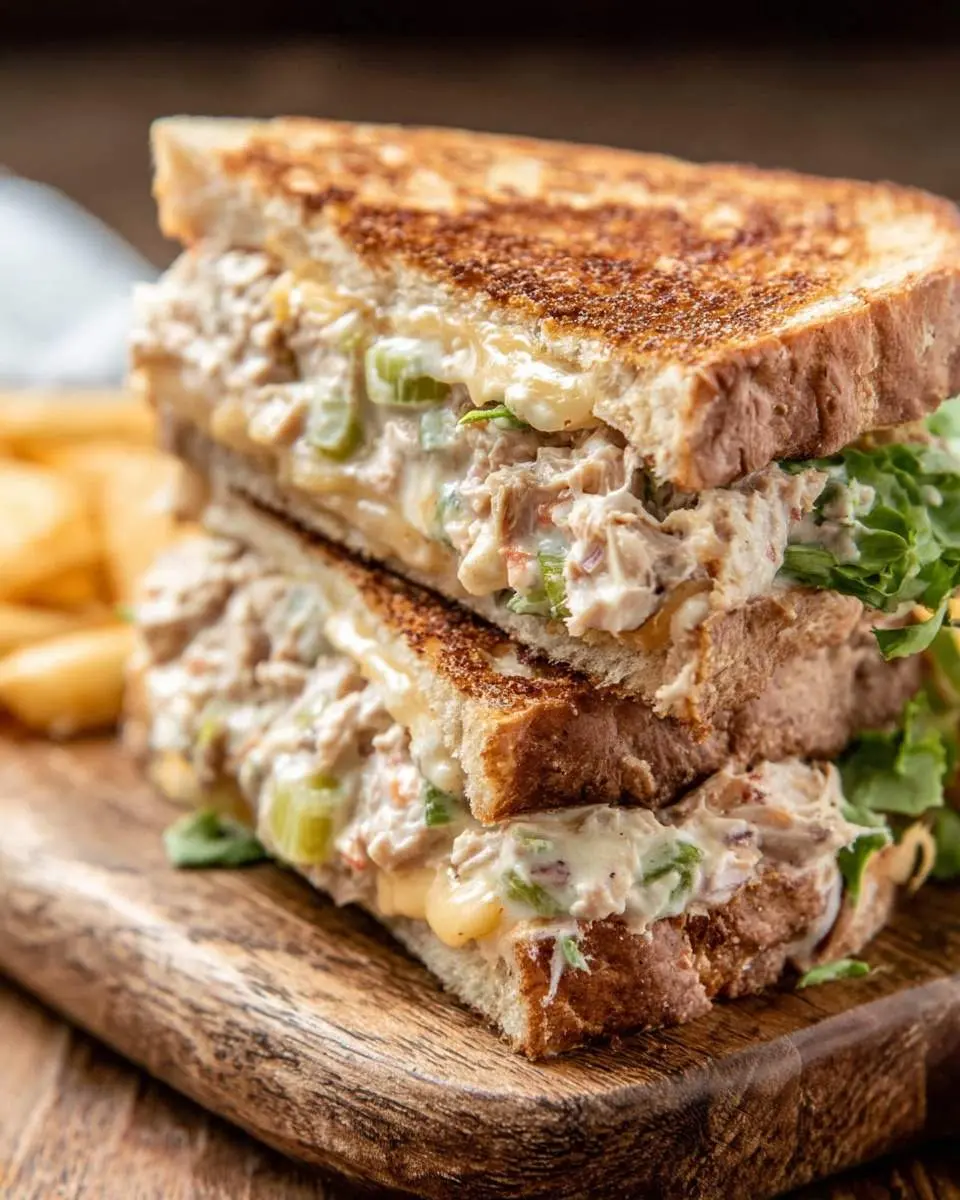
If you happen to have any of this delicious sandwich leftover – a rare occurrence in my house! – proper storage is key to enjoying it later. I recommend wrapping individual portions tightly in plastic wrap or foil and then placing them in an airtight container in the refrigerator for up to 2 days. When it’s time to reheat, I find the best way to bring back its glory is to warm it gently in a pan on the stovetop over medium-low heat until the cheese is gooey again and the bread is crisp. You can also use a toaster oven for a similar effect. My personal tip is to avoid the microwave, as it can make the bread soggy and the tuna salad less appealing. Reheating slowly really brings the dish back to life!
Nutritional Benefits
This Tuna Melt Sandwich isn’t just delicious; it offers some great nutritional perks too. Tuna is a fantastic source of lean protein and omega-3 fatty acids, which are wonderful for heart health. When paired with fresh veggies like celery and a good whole-grain bread, it becomes a balanced and satisfying meal that I feel good about serving my family.
FAQs
Can I make the tuna salad ahead of time for this recipe?
Absolutely! I often prepare the tuna salad a day in advance. Store it in an airtight container in the refrigerator, and it will be perfectly fresh and ready to assemble your Tuna Melt Sandwich whenever you’re craving one. This makes meal prep a breeze!
What kind of tuna is best for a Tuna Melt Sandwich?
For my Tuna Melt Sandwich, I prefer using canned tuna packed in water, drained well. It gives the tuna salad a lighter texture that’s easier to mix with the mayonnaise and other ingredients. However, tuna packed in oil can also work if you drain it thoroughly for a richer flavor.
Can I use a different type of cheese in my Tuna Melt Sandwich?
Of course! While sharp cheddar is my favorite for this Tuna Melt Sandwich due to its robust flavor and excellent melt, you can certainly experiment. Swiss, provolone, or even a Monterey Jack would also create a delicious and gooey sandwich, so feel free to use what you love.
What are some good side dishes to serve with a Tuna Melt Sandwich?
A classic Tuna Melt Sandwich pairs wonderfully with a simple side salad, a bowl of tomato soup, or even some crispy potato chips. For a lighter option, I often serve it with some fresh carrot sticks or apple slices, making it a complete and satisfying meal.
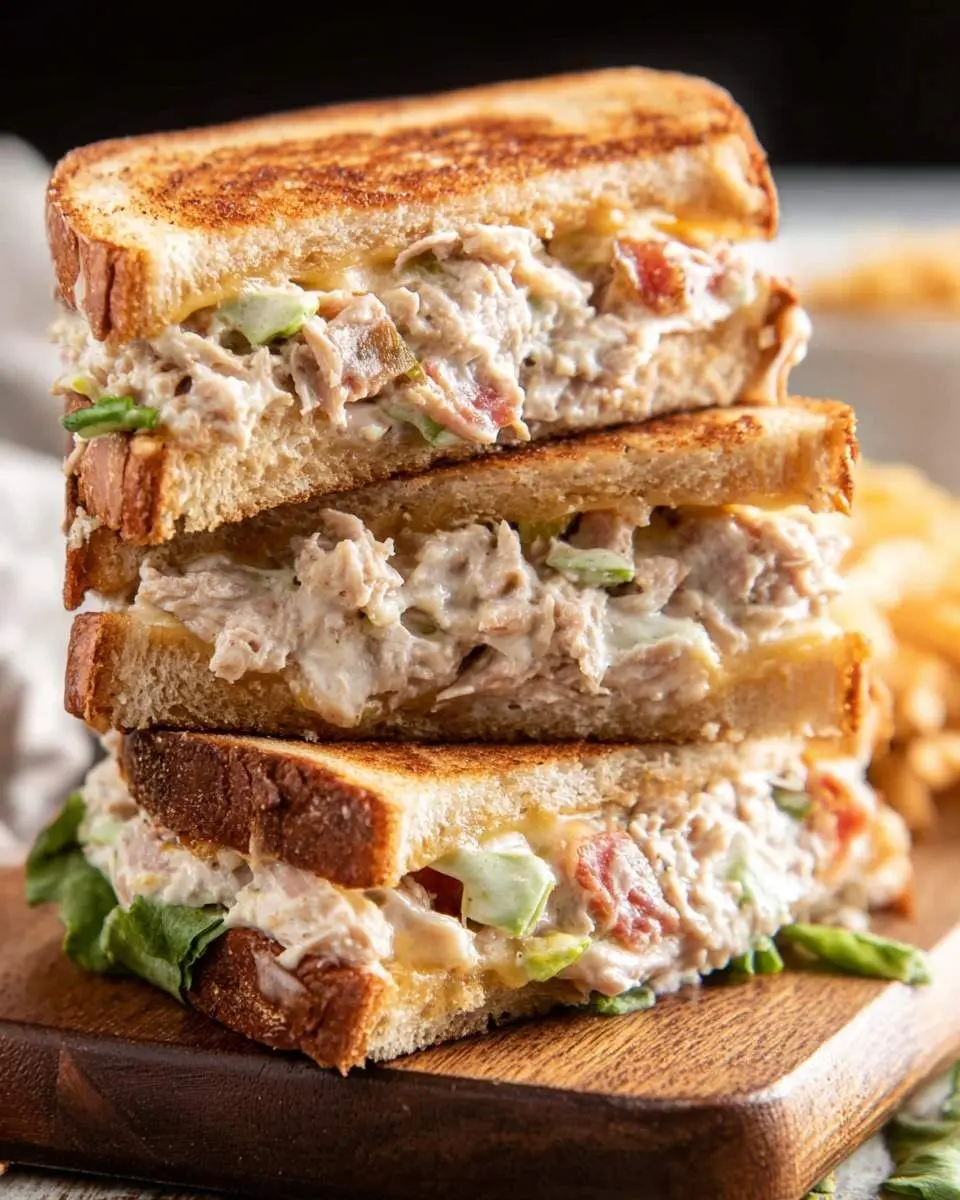

Ultimate Crispy Tuna Melt Sandwich
Ingredients
Equipment
Method
- In a medium mixing bowl, combine the well-drained tuna, mayonnaise, finely diced celery, minced red onion, Dijon mustard, fresh lemon juice (if using), salt, and black pepper. Mix gently until all ingredients are well combined. Taste the tuna salad and adjust seasoning as needed.
- Lay out the four slices of bread on a clean surface. Generously butter one side of each slice. Flip two of the slices over so the unbuttered side is facing up.
- Divide the prepared tuna salad mixture evenly between the two unbuttered bread slices. Top each with half of the sharp cheddar cheese (sliced or shredded). Place the remaining two buttered bread slices on top, ensuring the buttered side is facing up, to complete the sandwiches.
- Heat a large frying pan or griddle over medium-low heat. Once hot, carefully place the assembled sandwiches into the pan, buttered side down. Cook for 4-8 minutes per side, or until the bread is golden brown and crispy, and the cheese is thoroughly melted and bubbly. You may need to gently press down on the sandwiches with a spatula to ensure even contact and browning. Adjust heat if necessary to prevent burning while ensuring the cheese melts.
- Once cooked to your desired crispness and meltiness, remove the tuna melts from the pan. Let them rest for a minute to cool slightly before slicing in half diagonally.
- Serve the Ultimate Crispy Tuna Melt Sandwiches immediately with your favorite side, such as a pickle spear, potato chips, or a simple green salad.
Notes
Conclusion
There you have it – my tried-and-true recipe for the Ultimate Crispy Tuna Melt Sandwich. It’s a testament to how simple ingredients can come together to create something truly extraordinary, embodying that warm, comforting, and practical cooking style I love for busy families. I hope you’ll give this incredible Tuna Melt Sandwich a try and rediscover the joy of a homemade classic, much like the comfort found in a good apple butter grilled cheese. It’s pure comfort food that I know you’ll adore!