Cloverleaf Dinner Rolls
There is something about the smell of yeast blooming in warm milk that stops me in my tracks every single time. Last Sunday, I found myself standing in my kitchen at dawn, craving that exact aroma, and I knew I needed to make Cloverleaf Dinner Rolls , the kind my grandmother used to pull from her oven in three perfect, pull-apart sections. I have baked dozens of breads over the years, but these little clusters of soft, buttery dough still feel like magic to me.
I remember being six years old, perched on a stepstool, watching her roll warm dough between her palms into tiny balls. She would tuck three into each cup of a muffin tin, and I would count them obsessively, worried one tin would get shortchanged. When they emerged golden and puffed, she would brush them with melted butter that sizzled on contact, and I would burn my fingertips every time because patience was never my strength.
That memory pulled me back to my own kitchen last weekend, and I want to share what happened when I recreated them with a few modern tweaks. If you are craving something similar, my coffee banana bread has that same weekend-morning energy that makes the whole house feel like home.
What You Need to Make This Recipe
The foundation of any great roll starts with whole milk warmed to exactly the right temperature , too hot and you kill the yeast, too cool and the rise takes forever. I use active dry yeast here because I love watching it foam and bloom, that little proof of life that tells me the dough will actually rise. The butter matters more than you might think; I splurge on good European-style butter for both the dough and the finishing brush, because Cloverleaf Dinner Rolls are really just butter delivery systems at their core. A touch of honey in the dough gives these rolls a subtle sweetness that balances the salt, and it helps the crust turn that deep golden brown I chase in every batch. For another baking project where butter and sweetness collide in the best way, my Oreo banana bread uses a similar principle.
How to Make Cloverleaf Dinner Rolls
I start by warming my milk in a small saucepan until it feels like a comfortable bath when I dip my finger , about 110 degrees if you are measuring, but I have learned to trust my hand. The yeast goes in with a spoonful of honey, and I watch for that creamy foam to form, which usually takes five to seven minutes of me hovering and peeking. While that happens, I melt butter and let it cool slightly, then whisk it into the yeasty milk along with an egg that brings richness and helps bind everything together.
The flour goes into my stand mixer bowl, and I pour the wet ingredients in slowly, watching the shaggy mess transform into something smooth and elastic. I knead for about eight minutes, until the dough passes the windowpane test , that satisfying stretch where light shows through without tearing. Then comes the hard part: waiting. I let it rise in a buttered bowl, covered, for about an hour and a half, until it has doubled and my finger leaves a dent that stays.
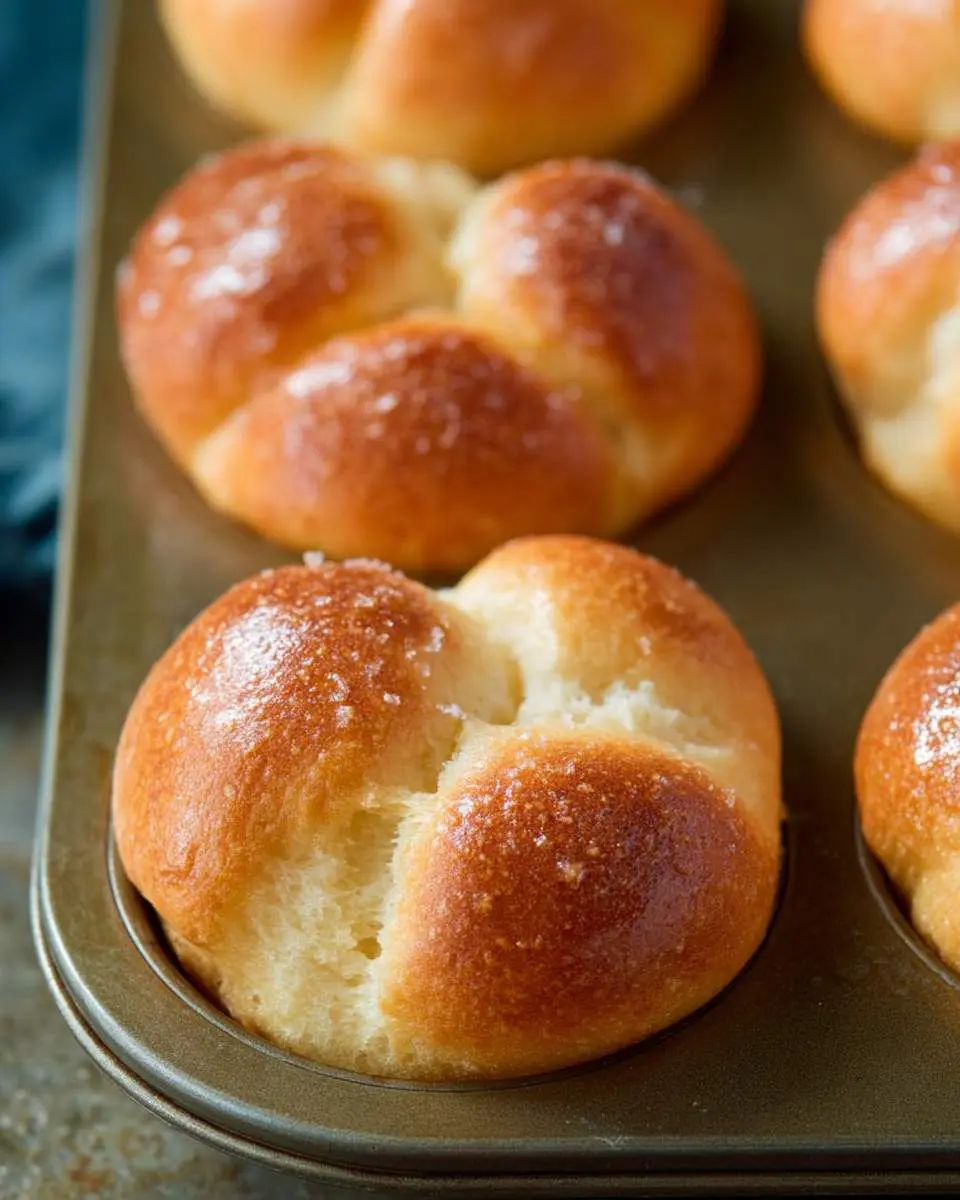
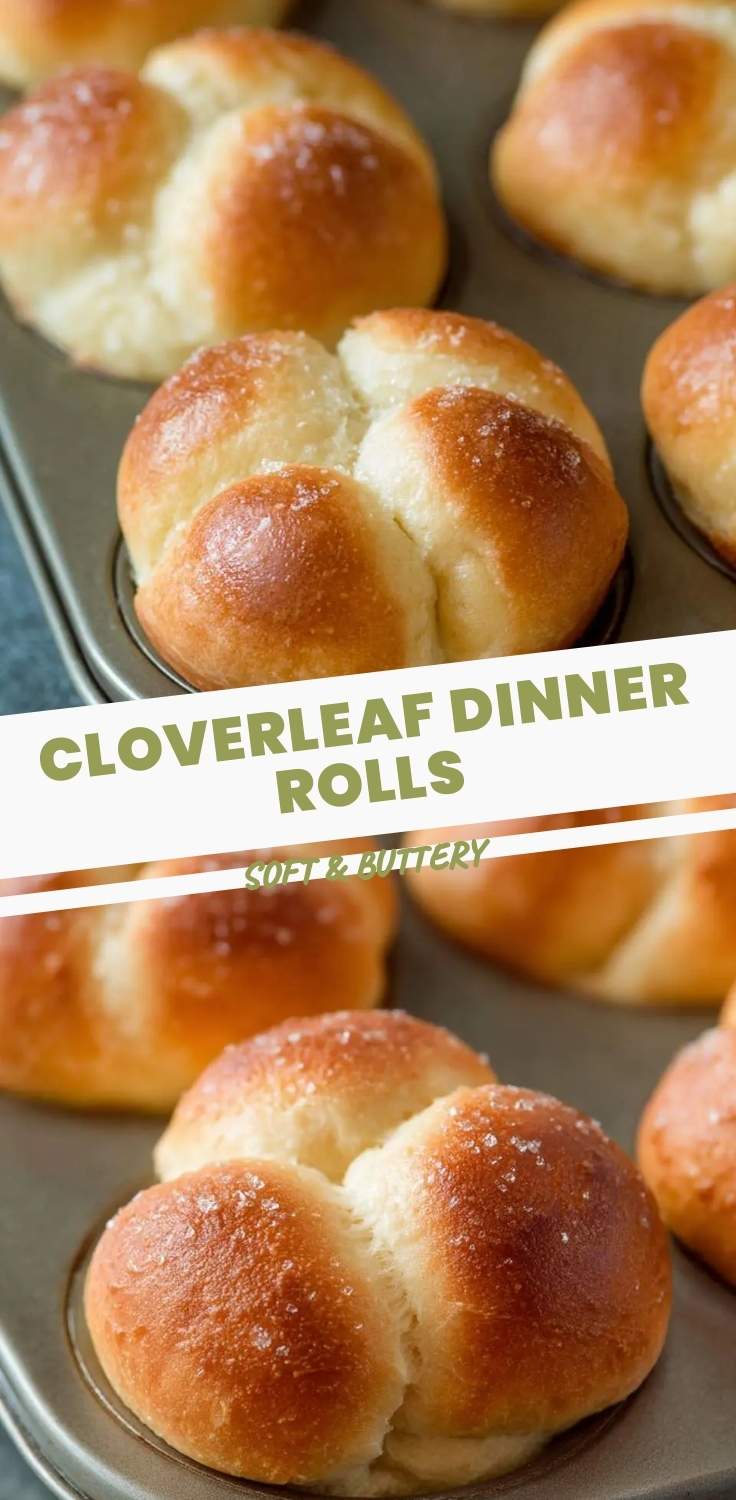
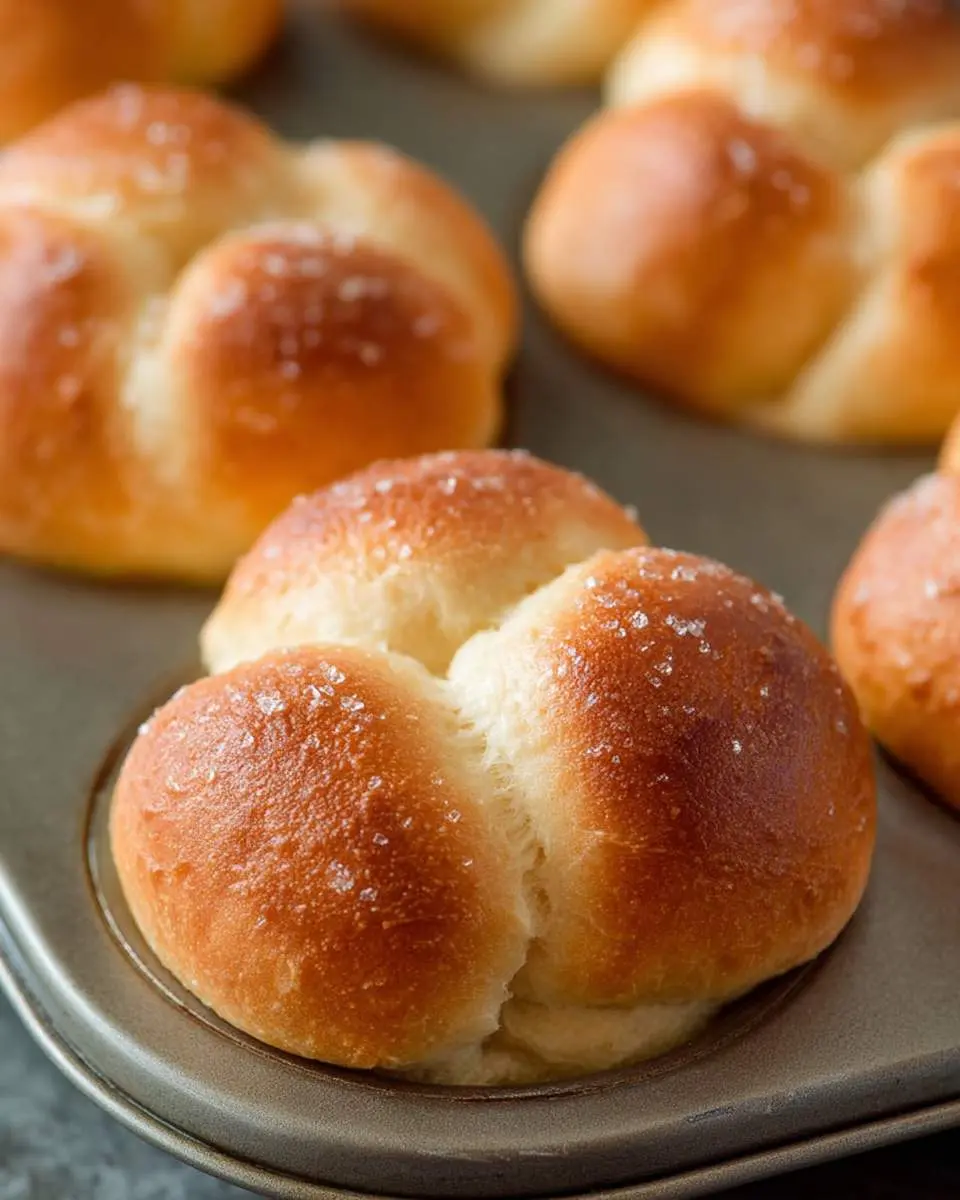
Punching down the dough releases a yeasty, slightly sweet smell that makes my stomach growl every time. I divide it into small pieces, about an inch across, rolling each between my palms until they are smooth and round with no seams. Three go into each greased muffin cup, not touching the edges, because they need room to expand into each other and create that signature cloverleaf shape. The second rise is shorter, maybe forty minutes, and I preheat my oven so the heat hits them immediately.
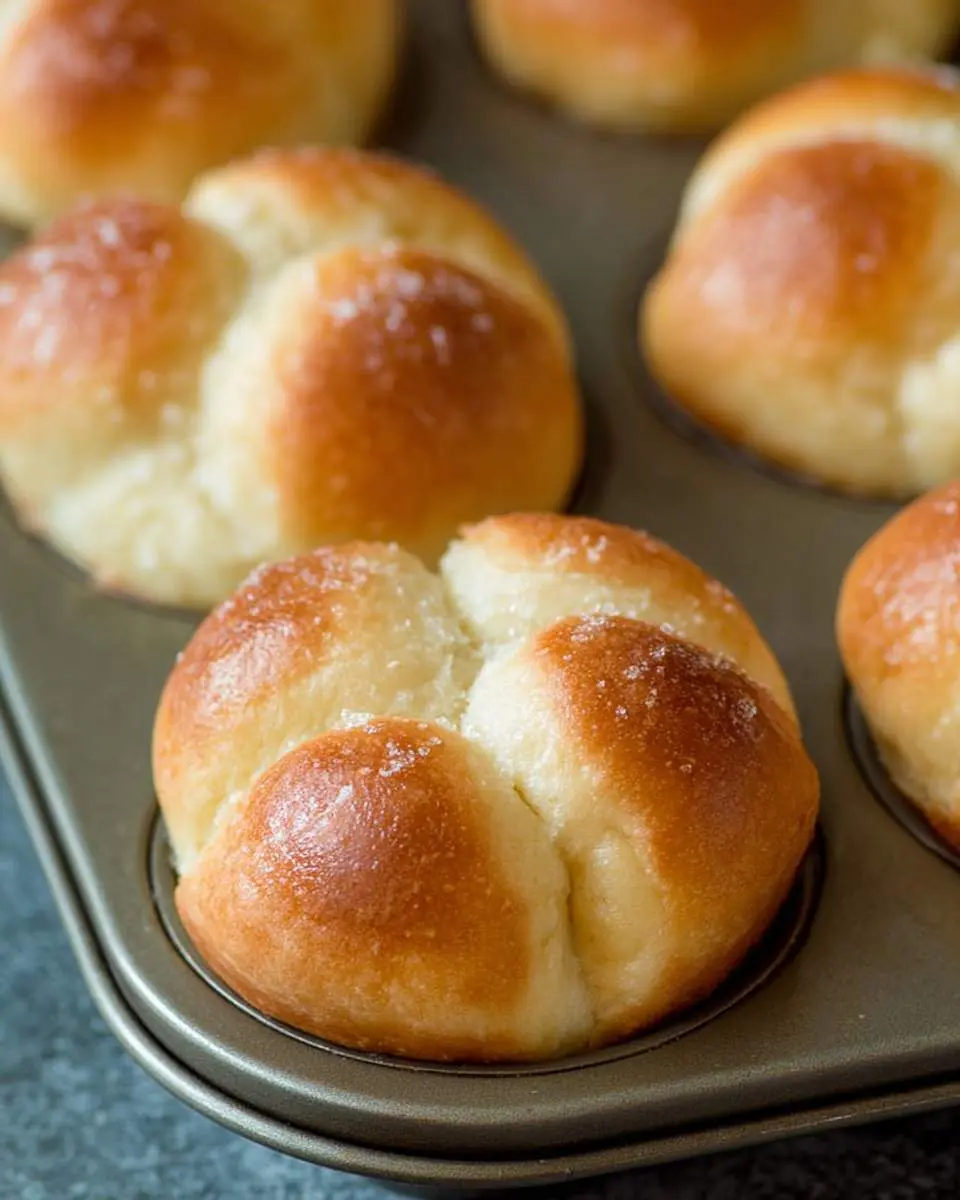
They bake at 375 degrees for fifteen to eighteen minutes, and I know they are done when the tops are deeply golden and the bottoms sound hollow when I tap them. The real test is pulling one apart , the three sections should separate cleanly, each fluffy and steamy inside. I brush them with more melted butter the moment they come out, and the sizzle takes me straight back to that stepstool. If you want to explore more roll recipes that reward this kind of patience, my copycat Texas Roadhouse rolls use a similar technique with a totally different flavor profile.
Pro Tips
Weigh your dough pieces instead of eyeballing them. I use a kitchen scale and aim for exactly 25 grams per ball, which ensures all three sections in each cloverleaf bake evenly and none end up underdone or overbrowned.
Let your shaped rolls rise in a slightly warm oven. I turn my oven on for exactly one minute, then turn it off and place the muffin tins inside with the door cracked. This creates a draft-free environment around 80 degrees, which is the sweet spot for yeast activity without drying the dough surface.
Brush with butter twice , once at five minutes into baking, once when they exit the oven. The mid-bake brush sinks into the still-forming crust and creates layers of flavor, while the post-bake butter gives that glossy finish we all want in Cloverleaf Dinner Rolls.
My Secret Trick: I keep a small bowl of ice water next to my shaping station, and I dip my fingertips in it between every few rolls. Cold, slightly damp hands prevent the dough from sticking to my palms, which means I can roll faster and smoother without adding extra flour that would toughen the final texture.
How to Store Cloverleaf Dinner Rolls
- Store completely cooled rolls in an airtight container at room temperature for up to 2 days; I use a glass container with a tight lid rather than plastic bags, which trap moisture and make the crust soggy.
- For refrigerator storage, wrap individual rolls in parchment paper then foil, and keep for up to 5 days at 40 degrees or below; the cold firms the crumb but preserves flavor better than room temperature after day two.
- Freeze by wrapping cooled rolls tightly in plastic wrap, then placing in a freezer bag with the air pressed out; they keep beautifully for up to 3 months at 0 degrees, and I label the bag with the date because I always forget.
- Reheat frozen rolls directly from the freezer by wrapping in foil and placing in a 325 degree oven for 12 to 15 minutes; for room temperature or refrigerated rolls, 5 to 7 minutes at 350 degrees restores that just-baked warmth and softens the butter you brushed on top.
Nutritional Benefits
These Cloverleaf Dinner Rolls offer more than comfort on a plate, though I would never pretend they are health food. The whole milk provides calcium and a small amount of protein that supports the structure of the dough, while the honey contributes trace minerals and antioxidants that refined sugar simply cannot match. I also appreciate that the egg adds complete protein and B vitamins, making each roll slightly more sustaining than a purely flour-based bread would be.
FAQs
Why did my cloverleaf rolls not pull apart into three sections?
Your dough balls were likely too large or crowded the muffin tin, causing them to bake into one mass rather than three distinct sections. Leave a small gap between each ball so they have room to expand separately before touching.
Can I make the dough ahead and refrigerate it overnight?
Yes, after the first rise, punch down the dough and refrigerate it covered for up to 16 hours. The cold slows fermentation and actually develops better flavor, though you will need to let it sit at room temperature for 30 minutes before shaping.
What is the best way to get my yeast to activate properly?
Use a thermometer until you learn the feel , 105 to 110 degrees is ideal. If your yeast does not foam within 10 minutes, it is dead or your liquid was too hot; start over rather than wasting the remaining ingredients.
Can I use instant yeast instead of active dry in this Cloverleaf Dinner Rolls recipe?
Absolutely, though you can skip the blooming step and mix it directly into your dry ingredients. Reduce the first rise time by about 20 minutes, as instant yeast works faster than active dry.

Cloverleaf Dinner Rolls
Ingredients
Equipment
Method
- In a small bowl, whisk together warm milk, yeast, and 1 teaspoon sugar. Let stand 5 minutes until foamy. If it doesn't foam, your yeast is dead - start over with fresh yeast.
- In a large bowl or stand mixer, combine the yeast mixture, remaining sugar, melted butter, and beaten egg. Add flour and salt. Mix on low speed until a shaggy dough forms, then knead on medium speed for 6-8 minutes until smooth and elastic. The dough should clear the sides of the bowl but stick slightly to the bottom.
- Transfer dough to a lightly oiled bowl, turning to coat. Cover with plastic wrap and let rise in a warm spot until doubled, about 60-75 minutes. Press gently - it should hold a slight indentation.
- Punch down dough and turn onto a lightly floured surface. Divide into 12 equal pieces (about 2 ounces each). Cover loosely and let rest 10 minutes so the gluten relaxes.
- Divide each piece into 3 equal portions. Roll each into a smooth ball, dipping your palms in flour if sticky. Place 3 balls into each greased muffin cup, spacing slightly apart so they touch only at the base.
- Cover the muffin tin loosely with plastic wrap and let rise until puffy and the balls have expanded to fill the cups, about 30-40 minutes. Preheat oven to 375°F.
- Brush the risen rolls gently with melted butter. Bake 18-20 minutes until deep golden brown on top and the internal temperature reaches 190°F. The bottoms should sound hollow when tapped.
- Remove from oven and brush immediately with more butter. Let cool in the pan 5 minutes, then turn out onto a wire rack. Serve warm, pulling apart the three petals.
Notes
Conclusion
I pulled my last batch of Cloverleaf Dinner Rolls from the oven at sunset, and my whole family gathered in the kitchen without me calling them , that is the power of fresh bread. If you have never shaped dough into these little three-part wonders, I hope you try it and feel that same pride when they separate perfectly in your hands. For your next bread adventure, my homemade burger buns use a similar enriched dough that is just as satisfying to master.