Blueberry Waffles
The first time I made blueberry waffles on a Saturday morning, my kitchen smelled like a summer farm stand had exploded inside a bakery. That warm, buttery vanilla scent drifting through the house pulled my kids out of bed faster than any alarm clock ever could. I knew right then this would become our weekend ritual.
My grandmother used to make pancakes every Sunday, but she never quite mastered the crisp-edged magic of a good waffle iron. I inherited her cast iron skillet, but I bought my own waffle maker , and I think she’d approve of the upgrade. There’s something about pressing batter into those hot grids that feels like alchemy.
If you’re easing into weekend baking, my mini banana muffins are a gentler place to start. But once you’re ready for the real showstopper, these waffles deliver.
What You Need to Make This Recipe
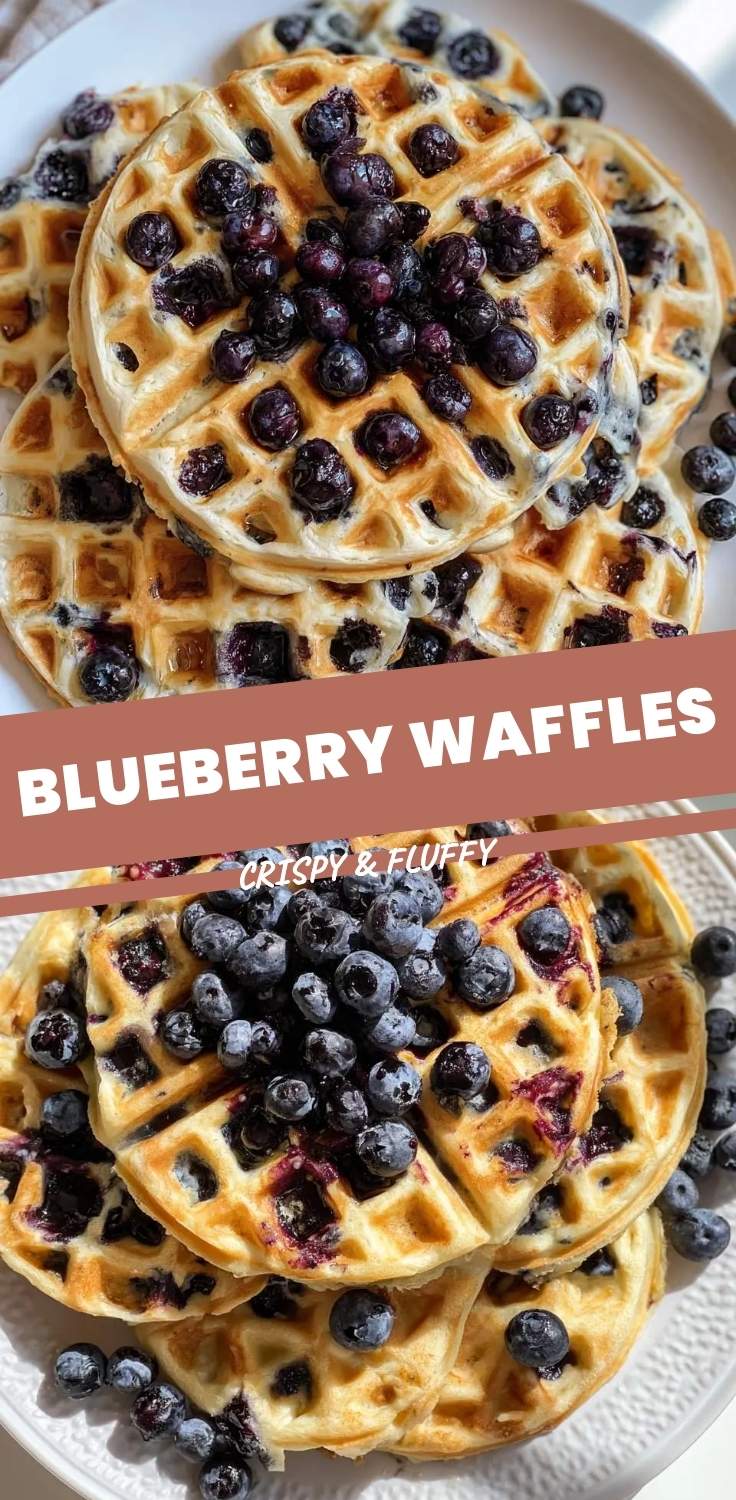
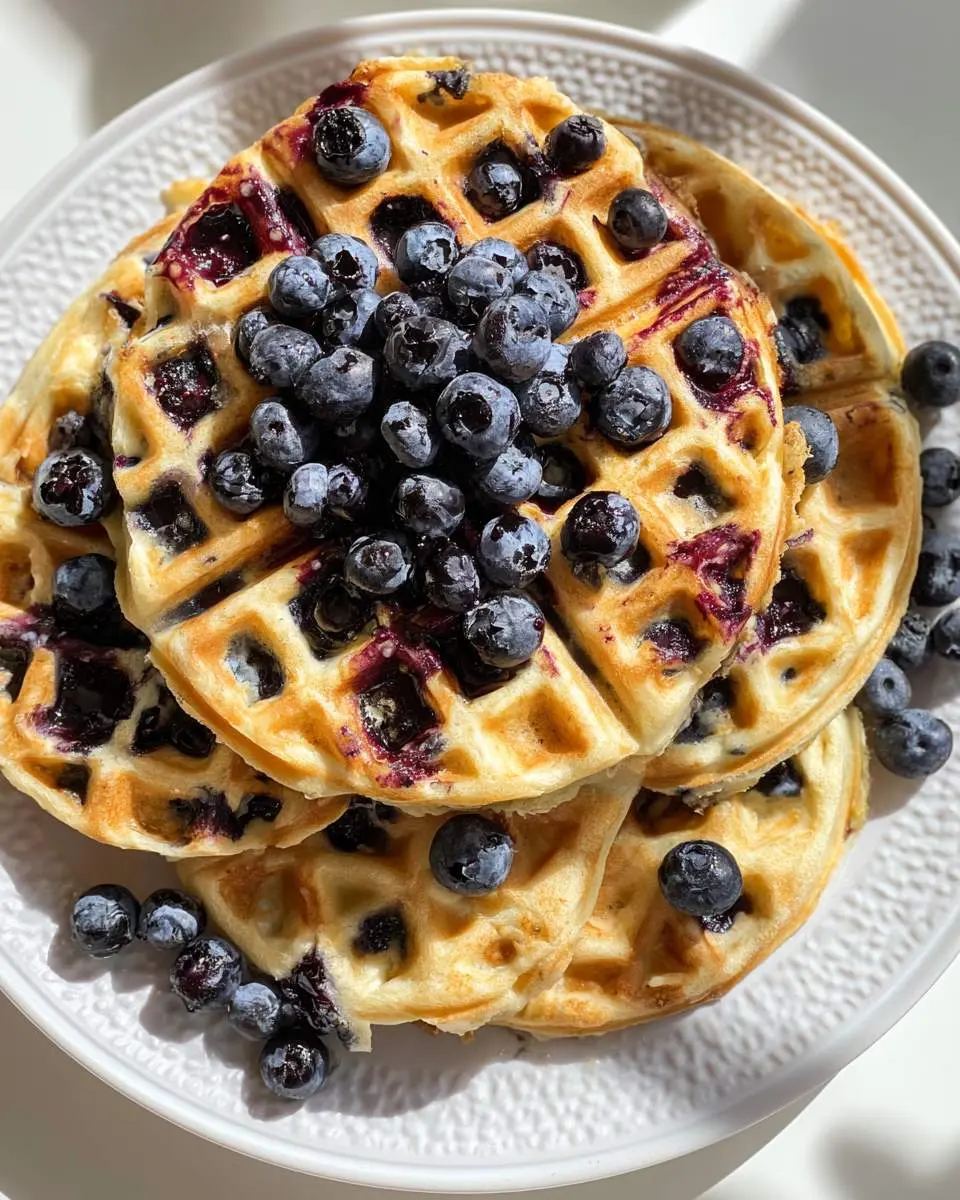
The buttermilk here isn’t negotiable , it tenderizes the crumb and gives that subtle tang that makes you reach for another bite before you’ve finished the first one. I use frozen wild blueberries because they hold their shape better than the plump cultivated ones, which tend to bleed purple streaks through your batter. A touch of cornstarch in the dry mix creates that shatteringly crisp exterior that stays crunchy even under a blanket of warm maple syrup. If you’re already a breakfast prepper, my pumpkin granola uses some of the same pantry staples.
How to Make Blueberry Waffles
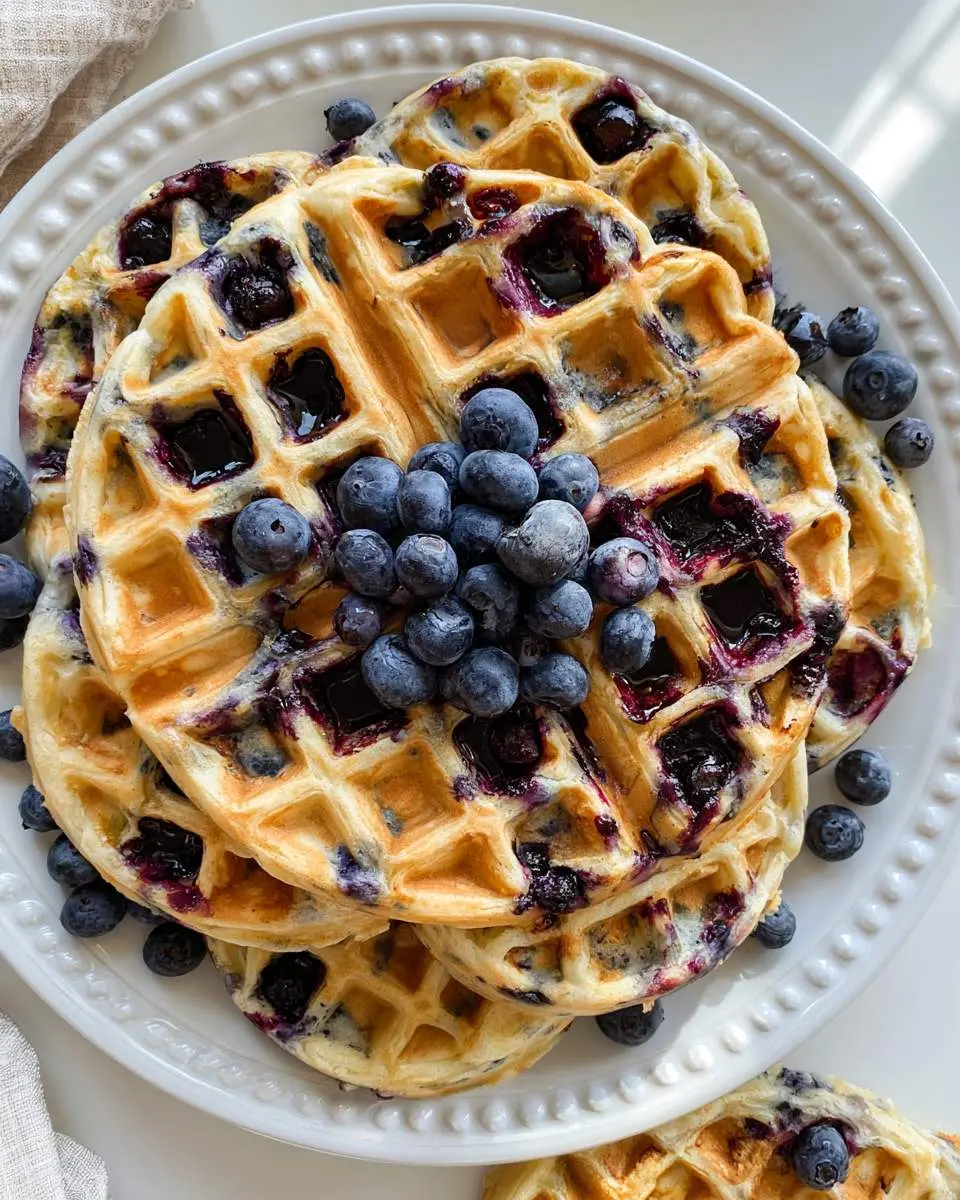
I start by whisking the dry ingredients together while my iron preheats , that way it’s screaming hot when the batter hits it. The wet ingredients get folded in just until combined, lumpy and imperfect, then I gently stir in the blueberries still frozen solid. When you close the lid, there’s this satisfying sizzle and a puff of steam that carries that vanilla-butter promise. I wait for the steam to subside almost completely, about four minutes, then peek. The waffle should release cleanly; if it sticks, it needs more time. I keep them warm in a low oven on a wire rack so the bottoms don’t go soggy while I finish the batch. For a savory twist sometime, try my Tex-Mex waffles , same technique, completely different mood.
Pro Tips
Freeze your blueberries first. Straight-from-the-freezer berries don’t burst until they hit the hot iron, so you get pockets of jammy fruit instead of purple batter soup.
Rest the batter ten minutes. This lets the cornstarch fully hydrate, which is what creates that lacquered, crispy shell that shatters when you fork into it.
Don’t stack hot waffles. Trapped steam turns your hard-won crispness into floppy sadness. Wire rack, always, even if you’re eating immediately.
My Secret Trick: I brush the iron with melted butter using a silicone pastry brush between every single waffle, not just the first one. It builds up this seasoned, almost caramelized layer that makes each one release like a dream and adds a whisper of nutty browned-butter flavor you can’t get any other way.
How to Store Blueberry Waffles
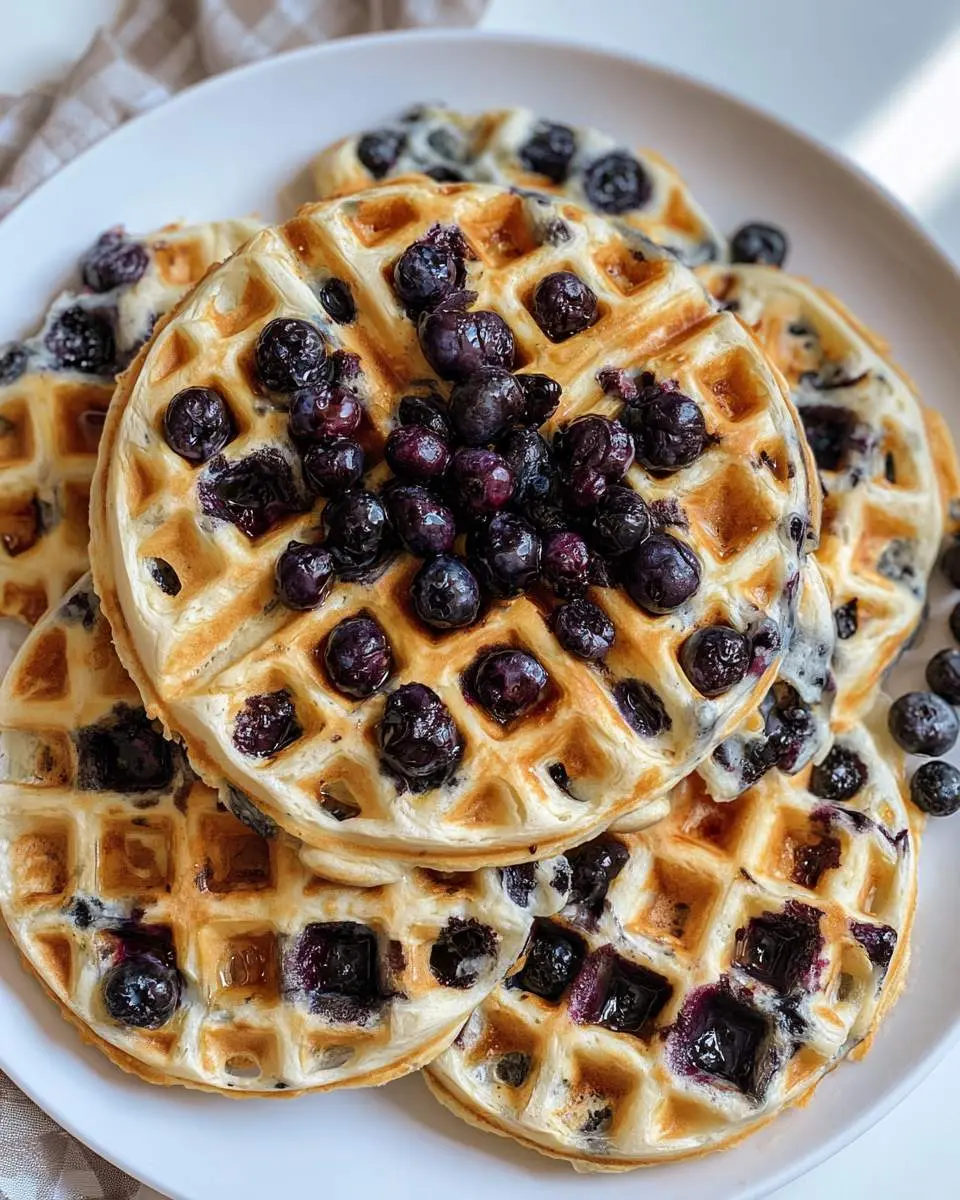
- Refrigerate cooled waffles in a single layer inside an airtight container for up to 3 days; place parchment between layers if you must stack.
- Freeze on a baking sheet until solid, about 2 hours, then transfer to a freezer bag with air pressed out; keeps for 2 months at 0°F.
- Reheat directly from frozen in a toaster or 375°F oven on a wire rack for 5-7 minutes until crisp; avoid the microwave, which ruins the texture completely.
Nutritional Benefits
These blueberry waffles sneak in more than indulgence , those wild blueberries pack serious anthocyanins, the compounds that give them their deep color and support heart health. The buttermilk brings calcium and a dose of probiotics if you’re using the cultured kind, making this breakfast feel a little less like a splurge and a little more like self-care.
FAQs
Can I use fresh blueberries instead of frozen?
Fresh works, but freeze them first for 30 minutes. Room-temperature berries burst too early and stain the batter an unappetizing gray-purple that no amount of syrup can hide.
Why are my waffles soggy in the middle?
Your iron isn’t hot enough or you’re opening it too soon. Wait for the steam to nearly stop , patience here is the difference between crisp and gummy.
Can I make the batter the night before?
Yes, but add the blueberries in the morning. The leavening loses oomph overnight, so your blueberry waffles will be slightly denser but still delicious.
What if I don’t have buttermilk?
Stir 1 tablespoon lemon juice into regular milk and let it sit 10 minutes. It won’t be identical, but it’ll give you the acidity needed for tenderness.

Blueberry Waffles
Ingredients
Equipment
Method
- Preheat your waffle iron to medium-high heat. If it has temperature settings, aim for around 375F. Lightly brush or spray the plates with oil.
- In a large bowl, whisk together the flour, baking powder, sugar, and salt until well combined.
- In a medium bowl, whisk the milk, melted butter, eggs, and vanilla until smooth. The butter may form small flecks - that is fine.
- Pour the wet ingredients into the dry ingredients and stir with a spatula until just combined. A few small lumps are okay - do not overmix or the waffles will be tough.
- Gently fold in the blueberries, distributing them evenly without crushing them.
- Pour about 1 cup of batter onto the center of the hot waffle iron, spreading slightly if needed. Close and cook until the steam subsides and the waffles are deep golden and crisp, about 4-5 minutes. Do not open early or they will stick.
- Transfer finished waffles to a wire rack in a 200F oven to keep warm and crisp while you cook the remaining batter. Serve immediately with butter and maple syrup.
Notes
Conclusion
Some recipes earn their place in the weekend rotation through sheer reliability, and these blueberry waffles are that for us now. The crisp edges, the burst berries, the way my kids actually sit at the table without prompting , that’s the magic. If you’re craving a flatter cousin to these, my blueberry pancakes hit the same notes with a softer landing. Either way, make them soon. Saturday morning is waiting.