no-churn vanilla ice cream
I remember the pure joy of a really cold spoon scraping against a perfectly creamy, homemade scoop, the kind that makes your eyes close in bliss. Making your own ice cream used to feel like such a monumental task, but this incredible no-churn vanilla ice cream recipe changed everything for me. It’s a total game-changer.
My grandmother always had an old hand-crank ice cream maker that we’d haul out on hot summer days. It was a lot of effort, but the taste of that fresh vanilla was unforgettable.
While I cherish those memories, my adult self appreciates the magic of achieving that same rich, comforting flavor without any specialized equipment. This recipe is an absolute dream for anyone craving real, creamy goodness right from their freezer.
What You Need to Make This Recipe
For this recipe, we rely on just a few powerhouses. Heavy cream whips up into that essential airy base, giving it structure, so make sure it’s super cold. Sweetened condensed milk is our secret weapon, providing both sweetness and preventing ice crystals, which is crucial for a smooth no-churn vanilla ice cream. And of course, a good quality vanilla extract is non-negotiable here; it really shines through as the star flavor.
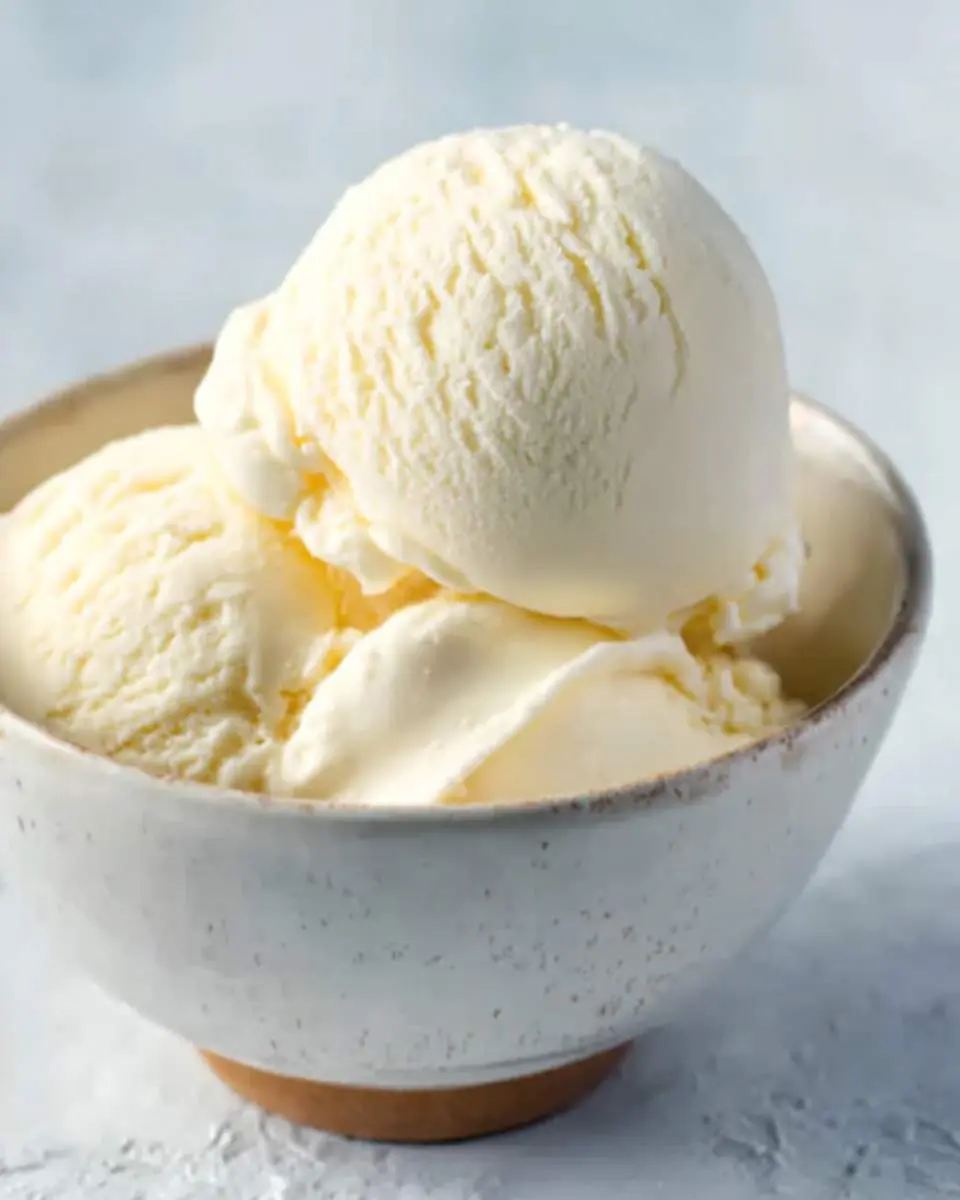
How to Make no-churn vanilla ice cream
It all starts with the heavy cream, cold from the fridge, whisking it until it transforms into fluffy, soft peaks, almost like clouds in my mixing bowl. Then, I gently fold in the rich, thick sweetened condensed milk, watching the two combine into a luxurious, slightly pale mixture. The vanilla goes in last, swirling its fragrant warmth through everything, making the whole kitchen smell divine even before it hits the freezer.
I pour it into a loaf pan, covering it tightly with plastic wrap, and then the hardest part begins: waiting for it to firm up into that perfect scoopable state. I always sneak a taste from the spatula first, of course! This whole process truly feels like creating magic, much like making lemon custard ice cream.
Pro Tips
Make sure your heavy cream is really, really cold before whipping; it helps it whip faster and creates a more stable, voluminous base, which is key to preventing a dense texture.
When folding the whipped cream into the sweetened condensed milk, be gentle. You want to preserve as much air as possible; that’s what gives this no-churn vanilla ice cream its incredible lightness.
Don’t skimp on the vanilla! A good quality vanilla extract, or even vanilla bean paste, will elevate the flavor immensely and is worth the extra cost.
My Secret Trick: For an extra layer of flavor and unparalleled creaminess, try adding a tiny pinch of salt to the sweetened condensed milk before folding it in; it really brings out the vanilla.
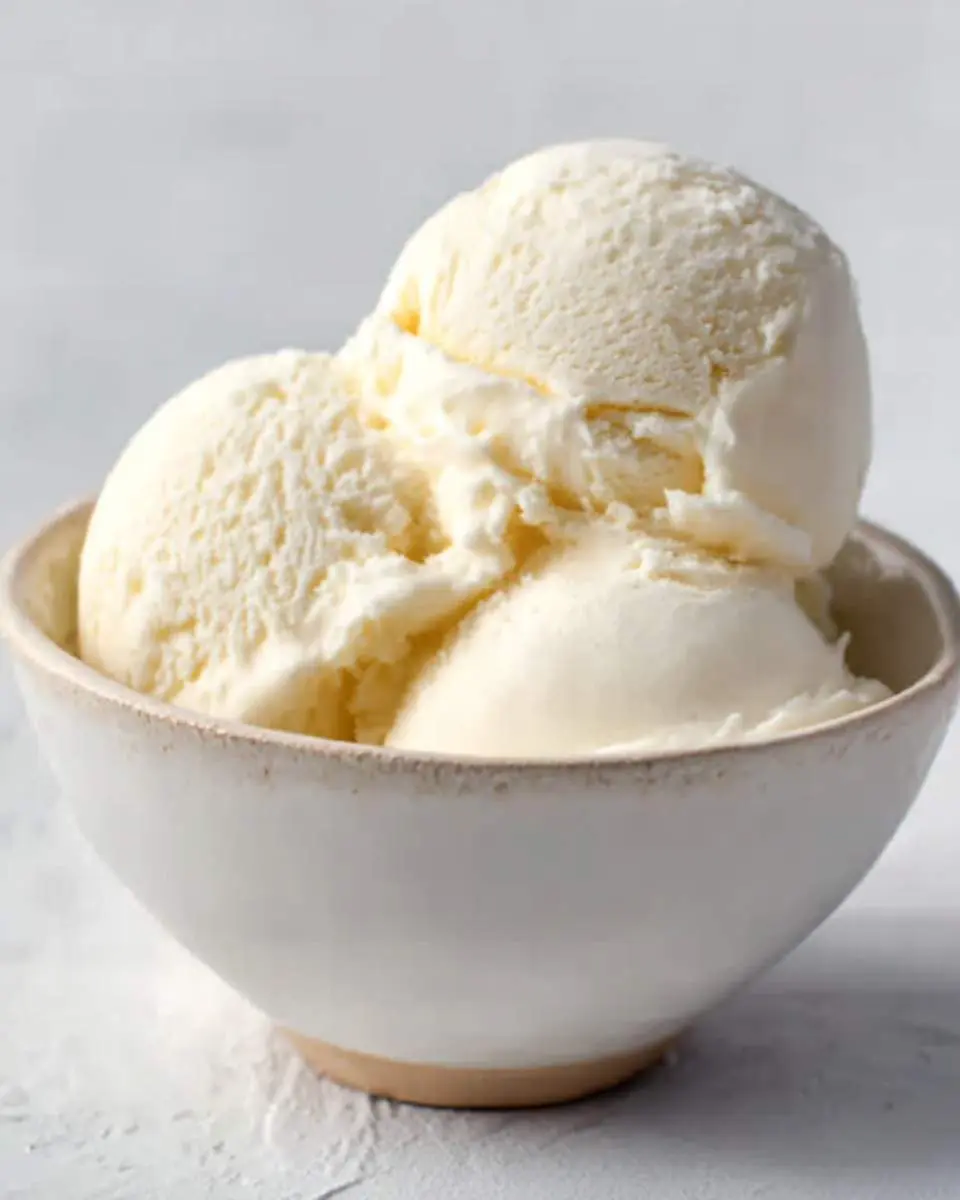
How to Store no-churn vanilla ice cream
- This ice cream is best stored in an airtight container in the freezer for up to 2-3 weeks for optimal freshness and texture.
- Always press a piece of plastic wrap directly onto the surface of the ice cream before putting on the lid; this prevents ice crystals from forming.
- For easier scooping, let it sit on the counter for 5-10 minutes before serving.
Nutritional Benefits
Full-fat dairy provides energy and calcium, which are essential for bone health, making this a delicious treat in moderation. While primarily for flavor, real vanilla contains antioxidants, adding a tiny bonus to this delightful no-churn vanilla ice cream.
FAQs
Can I use low-fat cream?
I really don’t recommend using low-fat cream for this recipe. The high-fat content of heavy cream is essential for whipping up into stable peaks and creating that rich, creamy texture without churning.
How long does it take to freeze?
Generally, this recipe needs at least 6 hours in the freezer to set up properly. For the best, scoopable consistency, I usually leave it overnight, about 8-12 hours.
Can I add mix-ins?
Absolutely! Once the base is mixed, gently fold in your favorite additions like chocolate chips, crushed cookies, or fruit swirls before transferring it to the loaf pan.
Why is my no-churn vanilla ice cream icy?
If your ice cream turns out icy, it’s usually because the heavy cream wasn’t whipped enough, or air was lost during folding, or perhaps the container wasn’t airtight.
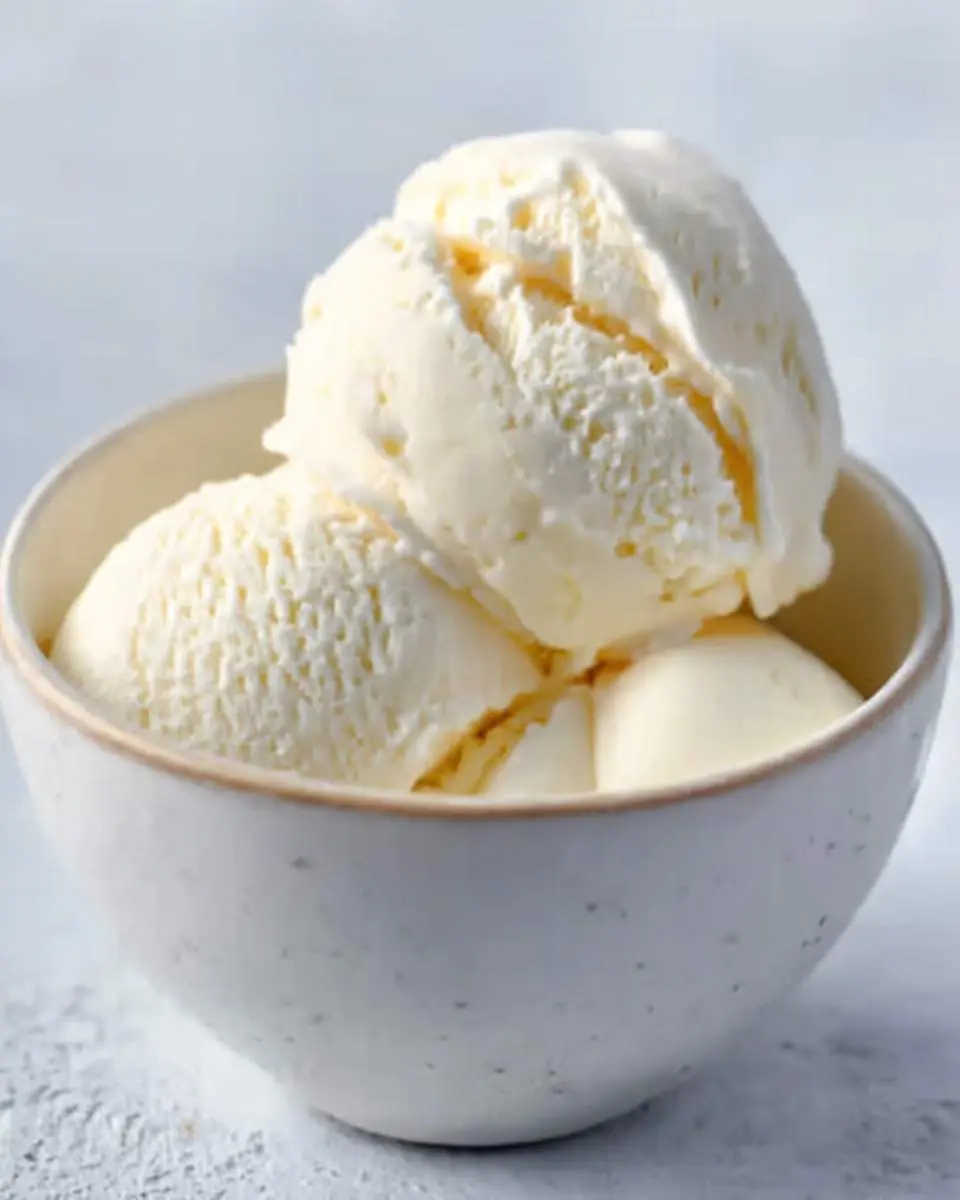

No-Churn Vanilla Ice Cream
Ingredients
Equipment
Method
- Place your large mixing bowl and whisk attachment (if using a stand mixer) or beaters (if using a hand mixer) in the freezer for 10-15 minutes. This helps the cream whip up faster and more stable.
- Pour the cold heavy cream into the chilled bowl. Using your stand mixer on high speed or a hand mixer, beat the cream until stiff peaks form. This might take 3-5 minutes, depending on your mixer. The cream should hold its shape when you lift the whisk.
- In a separate medium bowl, gently whisk together the chilled sweetened condensed milk, pure vanilla extract, and fine sea salt until well combined.
- Carefully add about one-third of the whipped cream to the condensed milk mixture. Gently fold it in with a rubber spatula until just combined. This lightens the condensed milk mixture, making it easier to incorporate the rest.
- Add the remaining whipped cream to the mixture. Gently fold until no streaks of condensed milk remain and the mixture is uniform. Be careful not to deflate the whipped cream; the air is what makes it light and creamy.
- Pour the ice cream base into a 9x5-inch loaf pan or a 1.5-quart freezer-safe container. Cover it tightly with plastic wrap or a lid. Freeze for at least 6 hours, or preferably overnight, until firm.
- When ready to serve, let the ice cream sit at room temperature for 5-10 minutes to soften slightly, then scoop and enjoy!
Notes
Don't Overmix: Once you add the sweetened condensed milk, fold gently. Overmixing can deflate the whipped cream, resulting in a less airy and icy ice cream.
Endless Variations: This vanilla base is perfect on its own, but it's also a fantastic canvas for additions! Swirl in fruit purees, chocolate chips, crushed cookies, chopped nuts, or a caramel ripple after step 6, just before freezing.
Conclusion
Creating something this wonderfully creamy and flavorful with such simple steps always feels like a little victory in my kitchen. I hope you’ll give this no-churn vanilla ice cream a try and let it bring a sweet, homemade smile to your face. It’s truly a delight!