Red Velvet Cheesecake Bites
The first time I pulled a tray of deep crimson batter from my oven, I was chasing that exact moody, chocolate-kissed flavor that only red velvet delivers. I wanted something smaller than a layer cake, something I could pop into my mouth while standing at my kitchen counter in that dangerous twilight hour between dinner and bedtime. These red velvet cheesecake bites were born from that very specific craving, and I have not stopped making them since.
My grandmother kept a handwritten recipe card for red velvet cake taped inside her cabinet door, the edges soft and stained from decades of use. I never got her frosting technique quite right, but folding creamy cheesecake into bite-sized squares feels like the compromise she would have approved of, something playful and just a little bit indulgent.
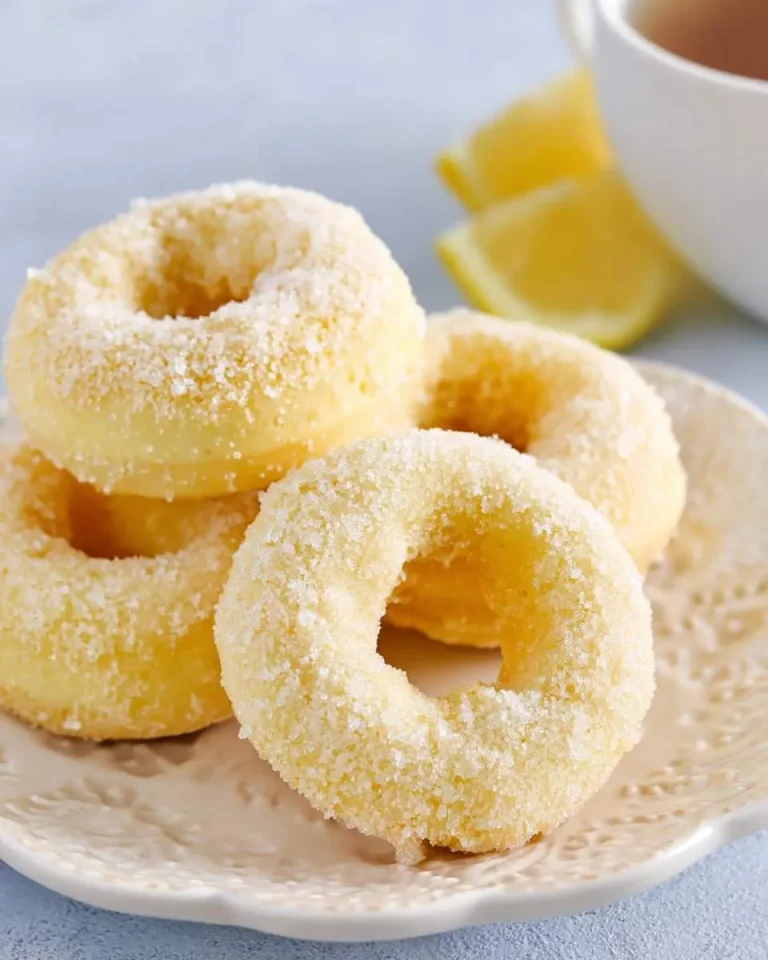
If you are already in the mood for something sweet and citrus-kissed, my lemon sugar baked donuts have that same cozy weekend energy. Otherwise, grab your cream cheese and let’s talk about what makes these little squares so dangerously good.
What You Need to Make This Recipe
The cream cheese here is non-negotiable, and I always reach for full-fat blocks rather than the tub stuff, which holds too much water and will weep into your batter. Dutch-processed cocoa powder gives these red velvet cheesecake bites their subtle chocolate depth without turning the whole thing brown, a distinction that matters more than you might think. I also lean on a touch of white vinegar in the red velvet layer, not enough to taste, just enough to wake up the cocoa and give that classic tang. For another baked treat that plays with cookie flavors in unexpected ways, my baked Oreo donuts use a similar cream cheese glaze situation that you might love.
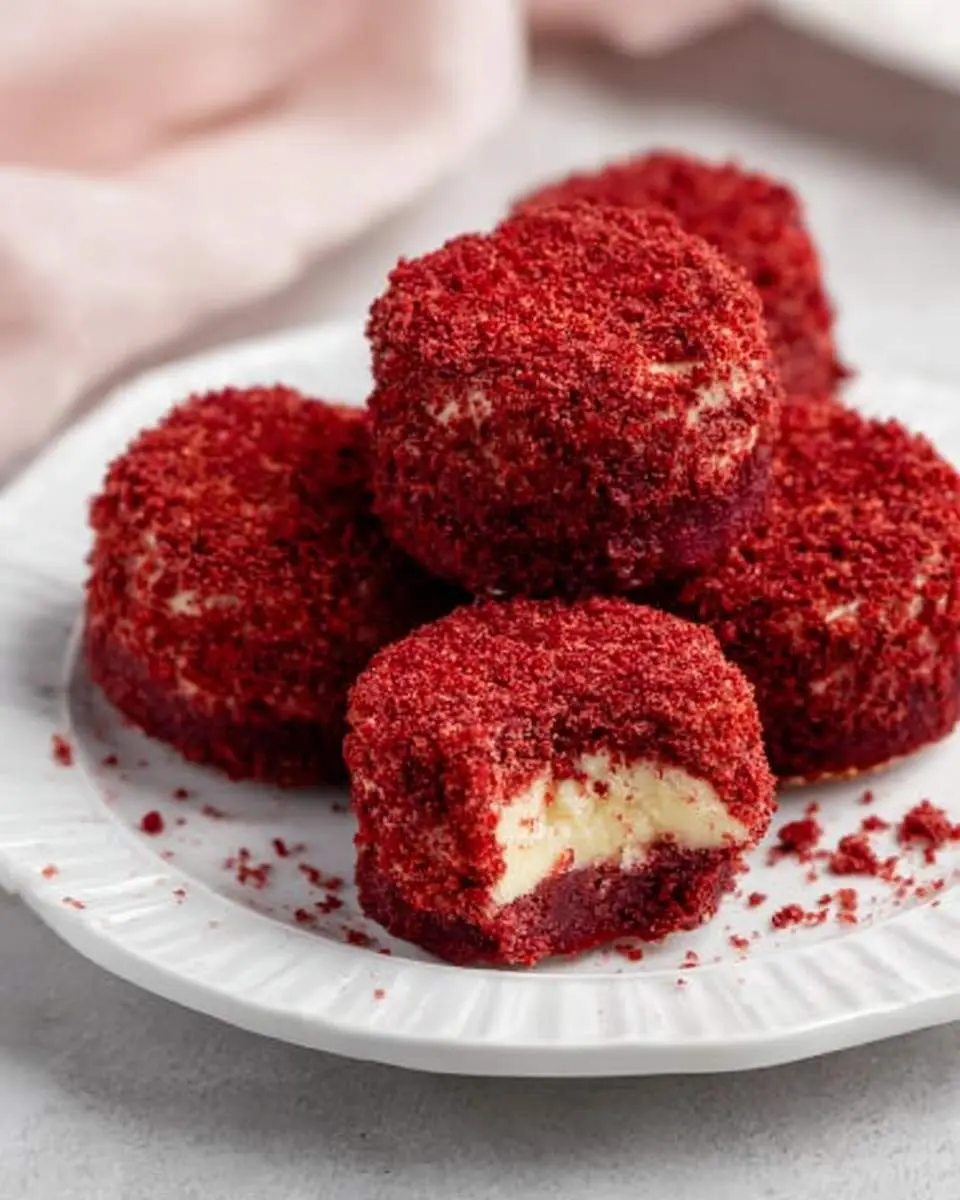
How to Make Red Velvet Cheesecake Bites
I start by pressing a simple chocolate cookie crust into my lined pan, the kind of task that feels meditative when the butter is soft enough to blend without fighting you. The red velvet layer comes together quickly, that dramatic scarlet batter smoothing out like velvet under my spatula, and I always pause to appreciate the color before it disappears under the cheesecake swirl. The cream cheese mixture gets dolloped in random spoonfuls across the surface, and I drag a knife through in loose figure-eights, never overthinking the pattern because the oven will do its own beautiful work.
The smell that fills my kitchen at the thirty-minute mark is what I wait for, that warm intersection of cocoa and vanilla and something almost tangy that makes me open the oven door too early. I have learned to trust a gentle jiggle in the center rather than a clean toothpick, since these red velvet cheesecake bites firm up dramatically as they cool, and cutting them too soon is the fastest way to ruin that clean edge I am always chasing. If you want to see this flavor profile taken to full cake glory, my red velvet cheesecake with Oreo crust uses the same principles on a much more dramatic scale.
Pro Tips
Chill your cream cheese fully before beating it, because even slightly warm cheese will whip up with tiny lumps that never smooth out, and you will see them in every swirl.
Underbake by two minutes if you want that fudgy, dense texture that makes these feel like actual cheesecake rather than dry cake squares, since carryover cooking is real and aggressive in a small pan.
Score the top lightly with a sharp knife when they are barely warm, not hot and not cold, and you will get those pristine cuts without dragging crumbs through the cheesecake layer.
My Secret Trick: I freeze the knife between every single cut, wiping it clean each time, which sounds obsessive until you see the mirror-clean edges on every red velvet cheesecake bite and realize it was worth the thirty extra seconds.
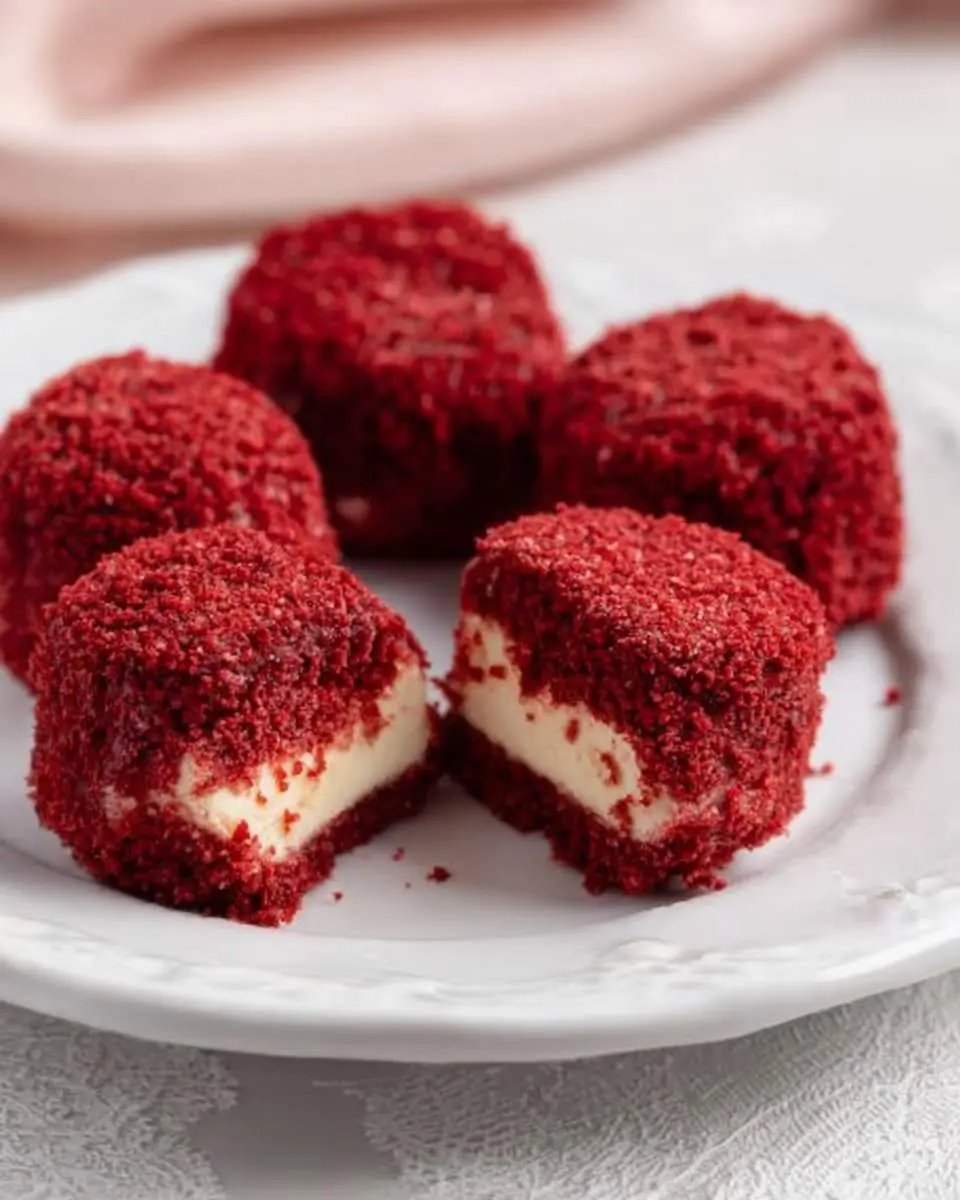
How to Store Red Velvet Cheesecake Bites
- Refrigerate in an airtight container with parchment between layers for up to 5 days at 40°F or below; the flavor actually improves on day two as the cocoa mellows into the cream cheese.
- Freeze individual bites on a sheet pan until solid, about 2 hours, then transfer to a freezer bag with air pressed out; they keep beautifully for 3 months at 0°F without texture loss.
- Thaw frozen bites overnight in the refrigerator rather than at room temperature, which prevents condensation from making the crust soggy.
- Serve cold for the cleanest cut, or let sit at room temperature for 15 minutes if you prefer a softer, more luscious cheesecake texture.
Nutritional Benefits
These red velvet cheesecake bites deliver a small dose of iron from the Dutch-processed cocoa, which I appreciate since I am always looking for ways to justify my chocolate cravings with actual trace minerals. The cream cheese contributes calcium and a modest amount of protein, enough that I do not feel completely nutritionally bankrupt when I eat two with my afternoon coffee instead of one.

FAQs
Can I use gel food coloring instead of liquid?
Gel works beautifully and often gives a more vivid red without adding excess liquid to your batter, though you will need roughly half the amount by volume since it is so concentrated.
Why did my cheesecake swirl sink to the bottom?
Your cream cheese was likely too thin or overbeaten, which makes it denser than the red velvet layer; next time, beat just until smooth and stop immediately.
Can I make these red velvet cheesecake bites in a mini muffin tin?
Absolutely, reduce baking time to 14-16 minutes and use paper liners for easy removal, though the swirl pattern will be smaller and slightly less dramatic.
Do I really need the vinegar?
Yes, it activates the cocoa’s natural red tones and provides that subtle tang authentic to red velvet; substituting lemon juice changes the flavor profile entirely.


Red Velvet Cheesecake Bites
Ingredients
Equipment
Method
- Line a 9x9-inch pan with parchment paper, leaving overhang for easy removal. Stir together graham cracker crumbs, melted butter, and sugar until the texture resembles wet sand. Press firmly into an even layer using the bottom of a measuring cup. Freeze while you make the filling, at least 10 minutes.
- Beat cream cheese on medium speed until completely smooth and no lumps remain, about 2 minutes. Add powdered sugar and beat until incorporated, scraping down the bowl as needed.
- In a separate bowl, whip cold heavy cream to stiff peaks, about 3-4 minutes. Fold whipped cream into cream cheese mixture in two additions, keeping the mixture light and airy. Add vanilla and fold until just combined.
- Transfer about one-third of the filling to a small bowl. Stir in cocoa powder, red food coloring, and vinegar until completely smooth and uniformly colored. Dollop spoonfuls of red mixture randomly over the white filling, then use a knife to swirl gently. Do not overmix - you want distinct ribbons of color.
- Pour filling over chilled crust and smooth the top. Refrigerate until completely set, at least 4 hours or overnight. The center should feel firm to the touch.
- Lift cheesecake from pan using parchment overhang. Run a sharp knife under hot water, wipe dry, and cut into 24 squares, cleaning the knife between cuts for neat edges. Serve chilled.
Notes
Conclusion
I keep a small container of these red velvet cheesecake bites hidden behind the yogurt in my fridge, not because I am ashamed, but because I want them to last longer than a single afternoon. They are the kind of treat that makes people stop mid-conversation when they bite into one, and I never get tired of that reaction. If you are in the mood to push this flavor combination even further into decadent territory, my red velvet cheesecake brownies layer the same flavors into something even more intense. Make them soon, and tell me where you hide yours.