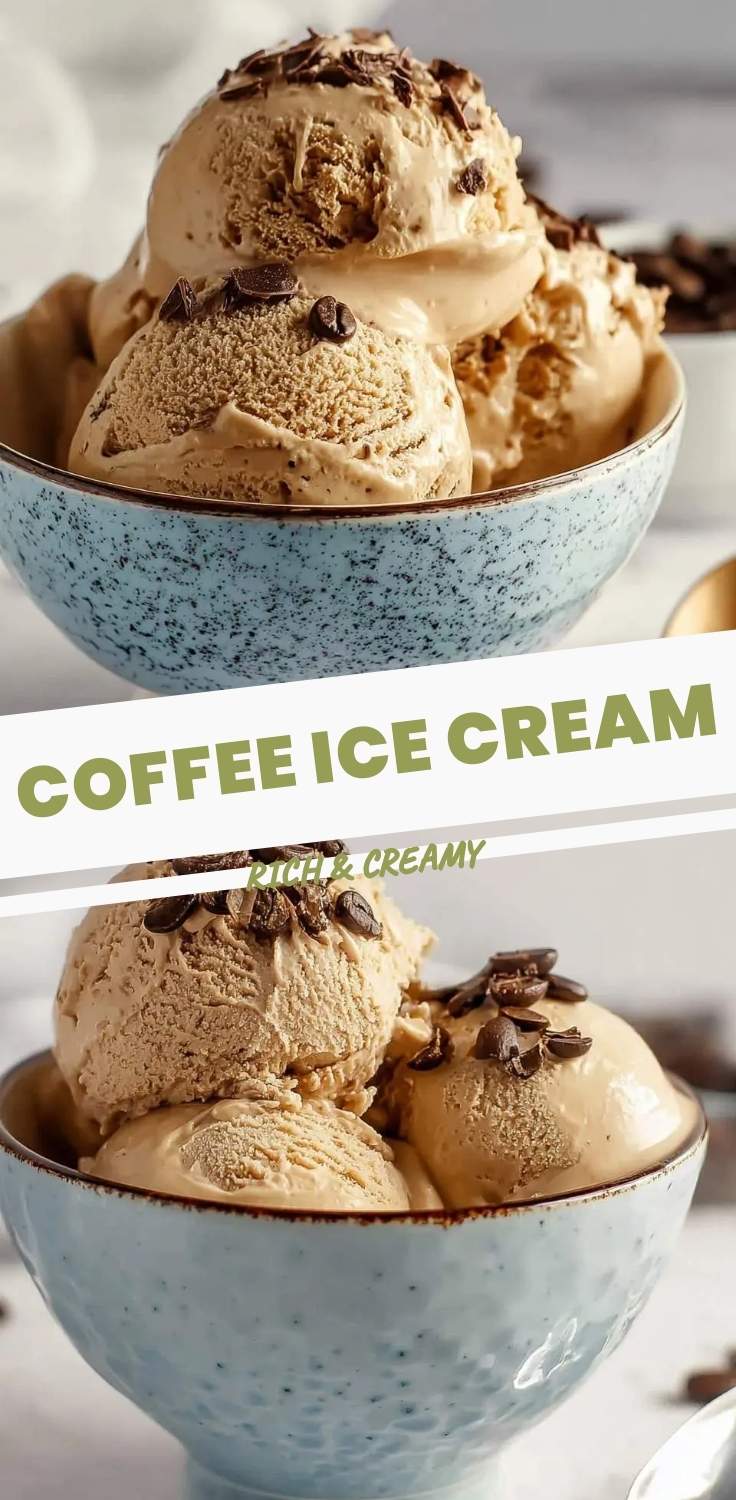
coffee ice cream
That first whisper of coffee aroma in the morning is pure magic, isn’t it? It’s the kind of comforting scent that wraps around you, a signal that the day is truly beginning. I’ve often found myself wishing I could capture that feeling, that deep, rich warmth, and transform it into something refreshingly cool. That’s precisely what happened when I dreamt up this incredible coffee ice cream; it’s like bottling sunshine and a crisp autumn morning all at once.
There’s a particular joy in making something from scratch that tastes even better than anything you could buy, a little wink of personal triumph. I remember the first time I nailed this recipe, pulling that perfectly frozen carton from the freezer. The way the scoop glided through the creamy texture felt like a reward for all my kitchen tinkering.
Every spoonful brought back memories of cozy coffee shop visits and late-night chats. It’s truly a labor of love, but one that rewards you with an experience far beyond just a dessert. If you’ve enjoyed our other frozen treats, I promise this one will find a special place in your heart, too.
What You Need to Make This Recipe
Crafting this incredible coffee ice cream really comes down to a few standout ingredients. You’ll want to grab some really good heavy cream, as that’s what provides the luxurious, velvety base we’re aiming for, and a can of sweetened condensed milk, which brings both sweetness and an unbelievably smooth texture without needing an ice cream machine. But the true star, of course, is a high-quality instant espresso powder; it delivers that intense, aromatic coffee punch that makes this dessert so irresistible, much like the depth of flavor we chase in our classic cookies and cream.
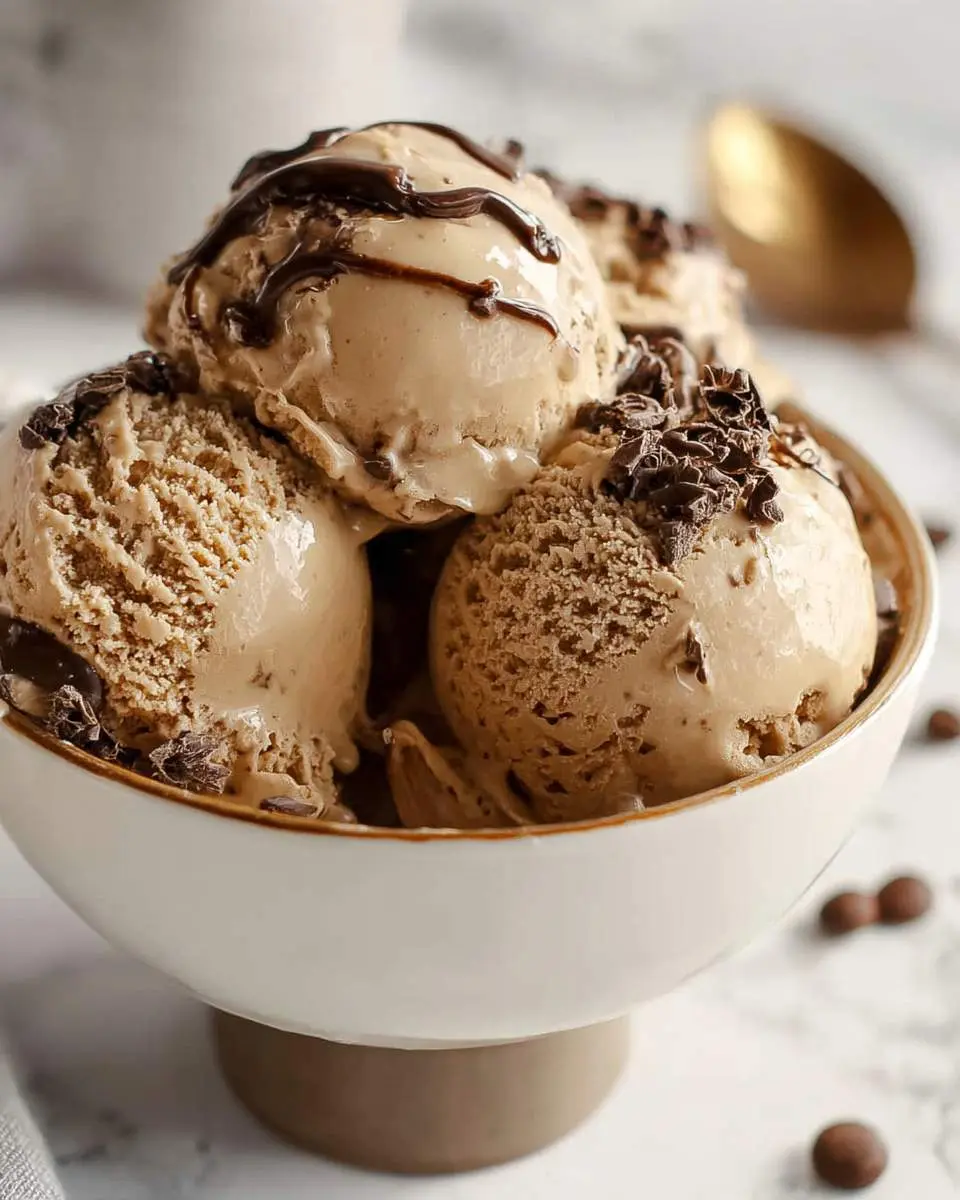
How to Make coffee ice cream
The journey to this delightful treat starts with infusing our coffee flavor, which means dissolving that gorgeous espresso powder into a touch of warm cream, letting its rich aroma fill the kitchen. Once that’s cooled, I gently fold it into the sweetened condensed milk, creating our sweet, concentrated coffee base. The real magic happens next, as I whip cold heavy cream to fluffy peaks, then carefully combine the two mixtures.
It’s such a satisfying process, watching the creamy base come together, feeling the soft texture under my spatula. Then, it’s into the freezer, where the anticipation builds as it slowly transforms from a liquid dream into a scoopable reality, a transformation I love just as much as watching our raspberry chocolate chunk ice cream come to life.
Pro Tips
For the deepest, most authentic coffee flavor in your ice cream, always opt for a high-quality instant espresso powder; it delivers a concentrated punch without adding too much liquid, which can make your ice cream icy.
Make sure your heavy cream is really, really cold before you whip it. This helps it achieve stiff peaks quickly and creates a more stable, airy base, essential for that incredibly creamy texture we all crave.
Don’t be tempted to over-mix once you’ve folded the whipped cream into the coffee mixture. Gentle folding is key to maintaining all that lovely air you just whipped in, preventing a dense result.
My Secret Trick: Bloom your espresso powder in just a tablespoon or two of hot cream for about a minute before adding it to the rest of the cold ingredients; this truly intensifies the coffee notes, making every bite of this coffee ice cream sing.
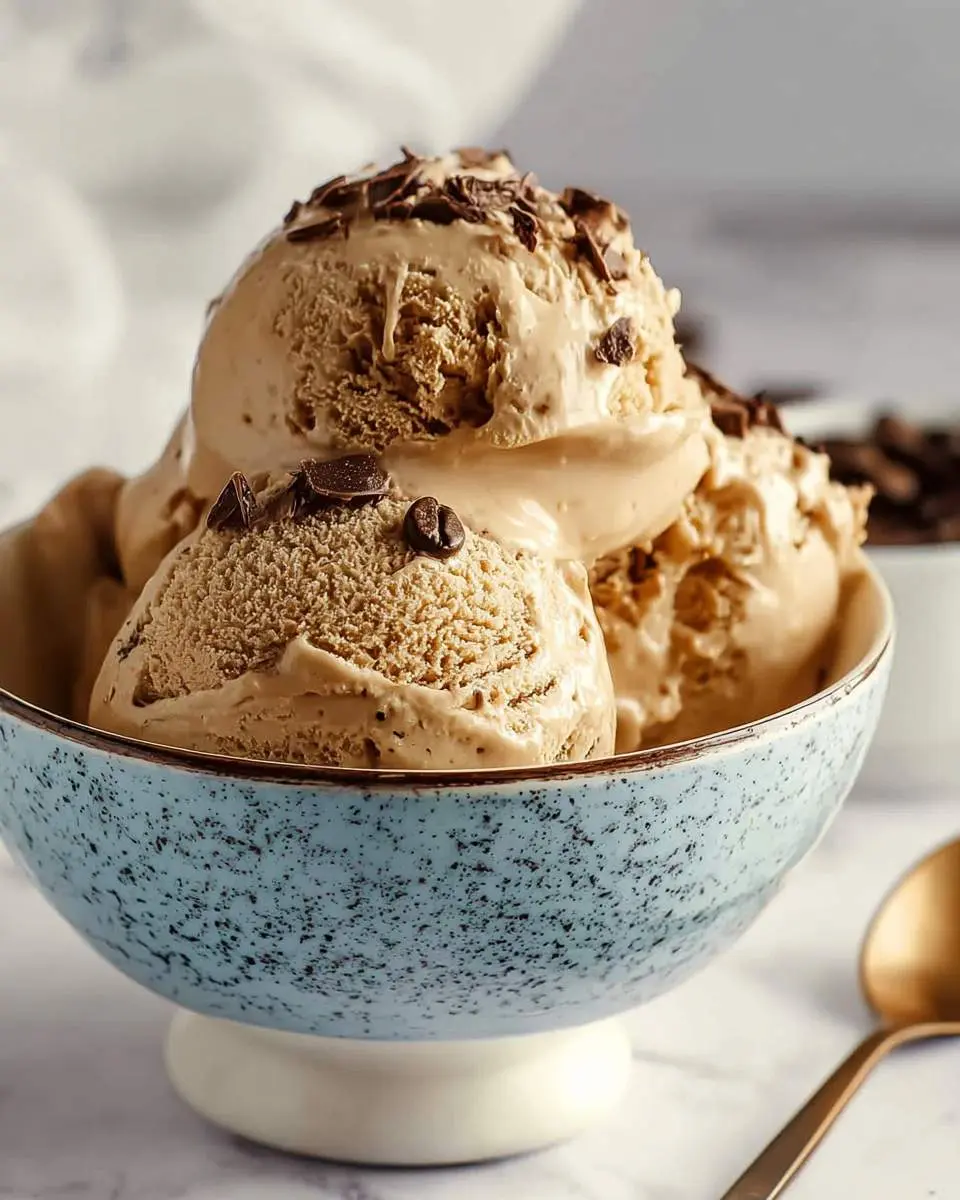
How to Store coffee ice cream
- Always transfer your freshly made ice cream to an airtight container before freezing to prevent freezer burn and absorb odors.
- For the best texture, press a piece of plastic wrap directly onto the surface of the ice cream before sealing the container.
- This coffee ice cream will stay wonderfully fresh and scoopable in the freezer for up to two weeks.
- When ready to serve, let it sit on the counter for 5-10 minutes to soften slightly for the perfect scoop.
Nutritional Benefits
While we all adore this coffee ice cream for its incredible taste, it also offers a few gentle nods to wellness. The dairy provides a good source of calcium and protein, contributing to bone health and satiety. And let’s not forget the star ingredient: coffee itself contains antioxidants, which are little powerhouses that help protect our cells. So, while it’s certainly a treat, you can enjoy each spoonful knowing it brings a little bit of goodness, too.
FAQs
Can I use regular brewed coffee instead of espresso powder?
Yes, but it needs to be very strong and cooled. Espresso powder offers a more concentrated flavor without adding too much liquid, which helps maintain a creamy texture. Adjusting the amount of liquid when using brewed coffee is crucial for the perfect scoop.
How do I prevent my coffee ice cream from getting icy?
The best way to keep your ice cream from forming ice crystals is to ensure your base is very cold before freezing and then freeze it quickly in an airtight container. Pressing plastic wrap directly onto the surface also creates a barrier against air, which is a major culprit for iciness.
Can I make this recipe without an ice cream maker?
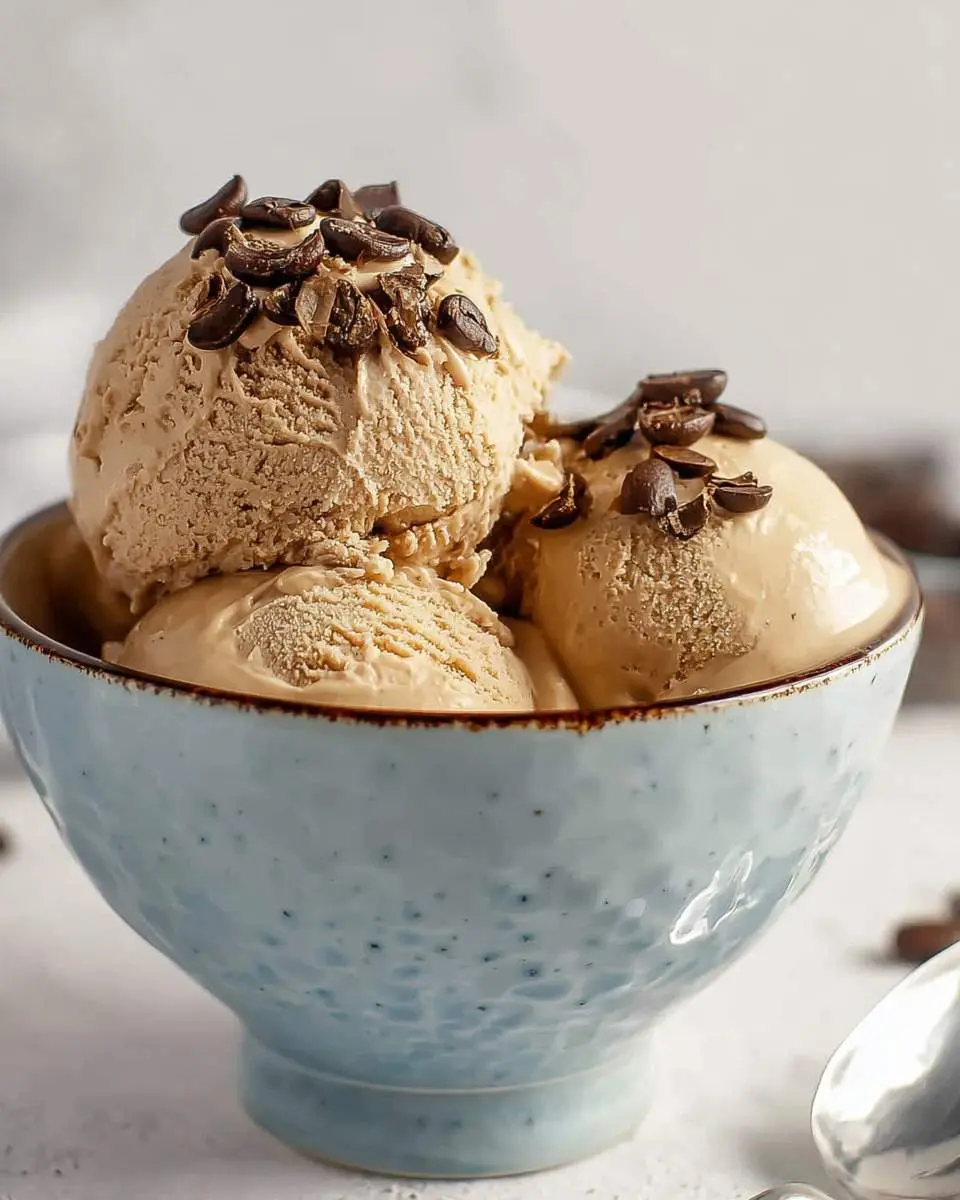
Absolutely! This recipe is specifically designed to be a no-churn coffee ice cream. You’ll typically whip heavy cream to stiff peaks, then fold it into your coffee-flavored condensed milk mixture. This creates an incredibly smooth and scoopable treat, even without a machine.
What kind of coffee is best for this ice cream?
For the deepest, most authentic flavor in your ice cream, I recommend using a high-quality instant espresso powder or finely ground dark roast coffee, steeped strongly. The robust notes will shine through the creamy base beautifully, making every bite a rich experience.

Coffee Ice Cream
Ingredients
Equipment
Method
- Combine heavy cream, whole milk, 1/2 cup of the granulated sugar, instant espresso powder, and salt in a medium saucepan. Heat over medium heat, stirring occasionally, until the mixture is steaming and small bubbles just begin to form around the edges of the pan. Do not let it boil. Remove the saucepan from the heat.
- In a separate medium bowl, whisk the large egg yolks with the remaining 1/4 cup of granulated sugar until the mixture is pale and creamy. This helps create a smooth base.
- Slowly pour about 1 cup of the warm coffee-milk mixture into the egg yolk mixture, whisking constantly to gradually bring up the temperature of the yolks. Then, pour the tempered egg yolk mixture back into the saucepan with the remaining warm coffee-milk.
- Return the saucepan to medium-low heat. Cook, stirring constantly with a wooden spoon or heatproof spatula, until the custard thickens enough to coat the back of the spoon. If you have a thermometer, it should reach 175-180°F (80-82°C). Be careful not to boil, as this can curdle the eggs.
- Immediately strain the hot custard through a fine-mesh sieve into a clean bowl to ensure a silky-smooth texture, removing any tiny bits of cooked egg. Stir in the vanilla extract. Place the bowl into an ice bath (a larger bowl filled with ice and a little water) and stir occasionally until the custard is completely cool. Cover the bowl tightly and refrigerate for at least 4 hours, or preferably overnight, until it is very cold.
- Once the custard base is thoroughly chilled, pour it into your ice cream maker bowl. Churn according to the manufacturer's instructions, typically for 20-30 minutes, until the ice cream reaches the consistency of soft-serve.
- Transfer the soft ice cream to an airtight freezer-safe container. Press a piece of parchment paper or plastic wrap directly onto the surface of the ice cream to prevent ice crystals from forming. Cover tightly with the lid and freeze for at least 4 hours, or until it's firm enough to scoop, before enjoying.
Notes
Conclusion
There’s something so deeply satisfying about creating such a luxurious treat right in your own kitchen. This coffee ice cream isn’t just a dessert; it’s an experience, a moment of pure, unadulterated pleasure. I truly hope you’ll give this recipe a try and let it transport you to your happiest coffee-filled memories. You deserve this little bit of magic, and if you loved this, you might also adore our pistachio ice cream!