Hasselback kielbasa
The first time I saw those accordion-style slices fanning out from a kielbasa, I knew I had to try it. Something about the way the cuts open up to catch every bit of glaze — that visual alone had me pulling out my sharpest knife at ten on a Tuesday night. I had stumbled onto hasselback kielbasa completely by accident, and now I make it whenever I need a guaranteed crowd-pleaser that looks way more impressive than the effort it takes.
My grandmother used to simmer kielbasa with sauerkraut for Sunday dinners, and the smell still transports me straight back to her cramped kitchen in Pittsburgh. This version honors that memory but gives it a modern twist — the same smoky, garlicky sausage I grew up with, now transformed into something that belongs on a party platter rather than a stew pot. I served these at my nephew’s graduation party last spring, and three people asked for the recipe before the platter was empty.
What I love most is how adaptable this dish proves to be. I’ve dressed it up with fancy mustards for cocktail parties and kept it simple with ketchup for game day — it never fails. If you are looking for more easy appetizers that travel well and disappear fast, my cowboy caviar recipe has been my go-to potluck contribution for years.
What You Need to Make This Recipe
The kielbasa itself matters more than you might think — I reach for Polish-style with visible fat marbling, because lean versions dry out in the oven and lose that satisfying snap when you bite in. A sharp chef’s knife makes the slicing almost meditative once you get the rhythm down, and I keep wooden spoons handy to prop the sausage steady without slipping. The glaze is where you can play: I rotate between grainy mustard and honey, or go spicy with gochujang and brown sugar when I’m feeling adventurous. For another appetizer that lets quality ingredients shine through simple preparation, my peach bruschetta with whipped ricotta follows the same philosophy.
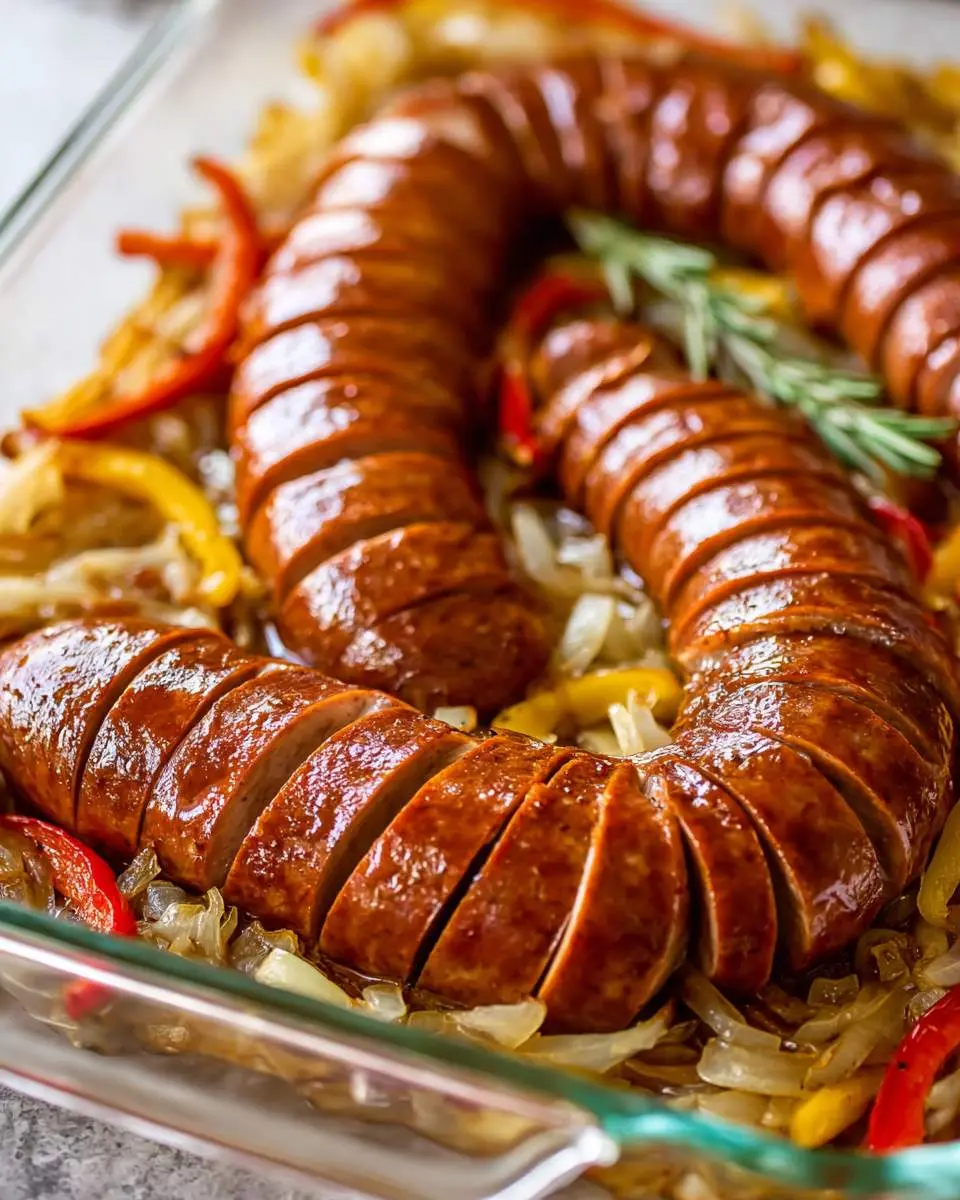
How to Make Hasselback kielbasa
I start by placing two wooden spoons parallel on my cutting board, then nestle the kielbasa between them — this simple trick prevents me from slicing all the way through. The knife makes a satisfying thwack with each cut, and I work slowly, about a quarter-inch apart, watching the sausage transform into something that looks almost like a spring. The smell of raw garlic and paprika rises up as I handle it, promising what’s to come.
Into a hot oven it goes, and I set a timer for the first glaze application. The kitchen fills with that unmistakable smoky-savory aroma that makes my dog wander in hopefully. I brush on the glaze three times total, each layer caramelizing and bubbling in the cuts, creating these sticky, lacquered edges that crackle slightly when you pull them apart. The final five minutes are crucial — I watch through the oven door like a hawk, waiting for that deep mahogany color that signals perfection. For another recipe where oven timing transforms simple ingredients, my honey sriracha brussels sprouts taught me the value of patience at high heat.
Pro Tips
Score the skin first: That thin casing on Polish kielbasa can shrink and split unpredictably in the oven. I run my knife lightly across the surface before slicing to give it controlled expansion points — this keeps the presentation clean and prevents the glaze from pooling in torn pockets.
Rest before the final glaze: I pull the sausage out five minutes early, let it settle, then apply the last coating. The residual heat sets the glaze without burning the sugars, giving you that professional-looking sheen that photographs beautifully and tastes even better.
Save the drippings: The rendered fat and caramelized glaze that collect in the pan are liquid gold. I spoon them over the finished slices right before serving, or whisk them into a quick pan sauce if I’m feeling fancy.
My Secret Trick: I place a damp paper towel under my cutting board before slicing — the stability lets me cut faster and more evenly, and I can make those tight hasselback cuts without the sausage rolling away from me. This one simple change cut my prep time in half.
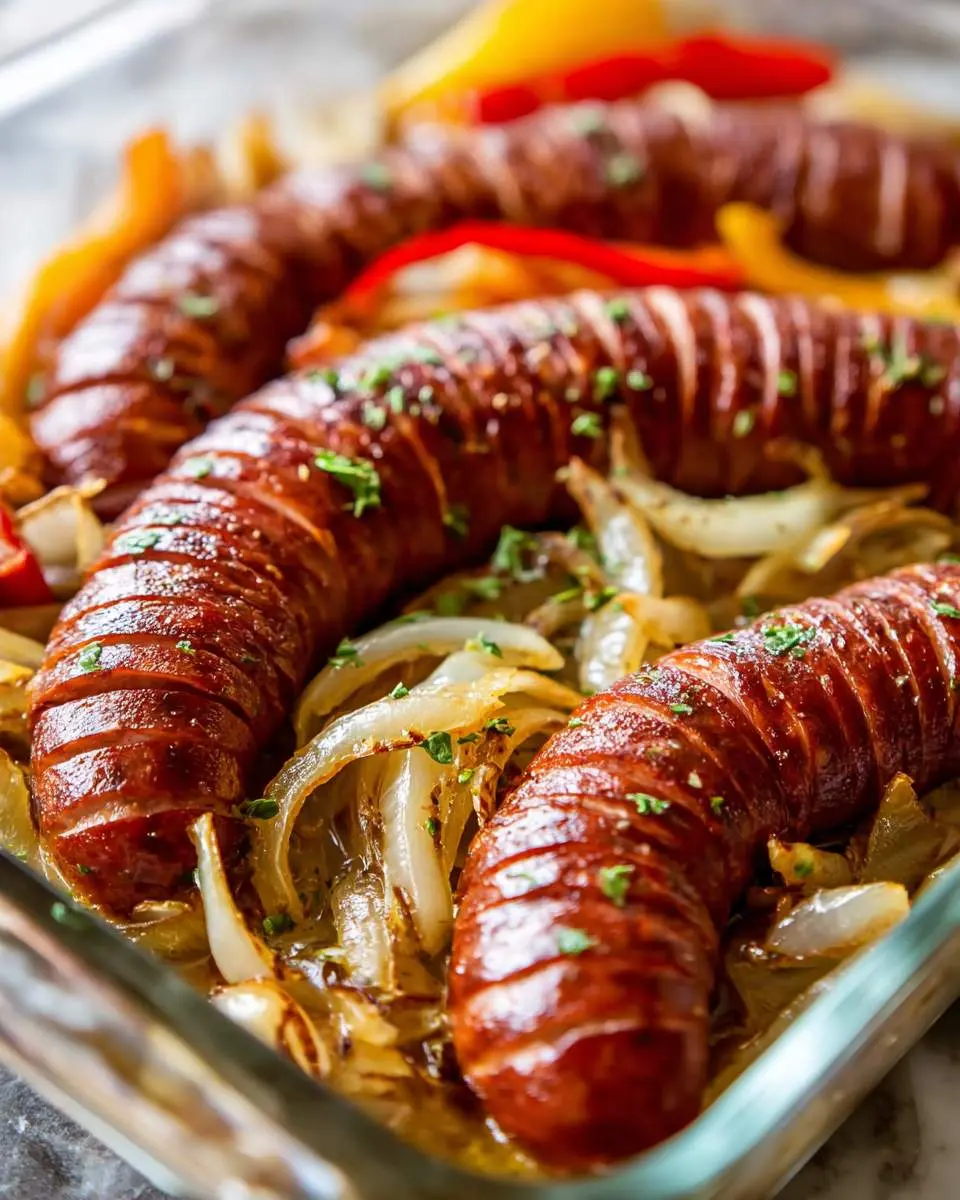
How to Store Hasselback kielbasa
- Refrigerate in an airtight container for up to 4 days — the glaze actually deepens in flavor overnight
- Freeze individual slices on a parchment-lined sheet pan first, then transfer to freezer bags for up to 2 months
- Reheat in a 350°F oven for 8-10 minutes to restore crisp edges — the microwave makes them rubbery
- Slice and add cold to grain bowls or scrambled eggs within 3 days for quick meals
Nutritional Benefits
Kielbasa brings substantial protein to the table — about 14 grams per serving — which keeps these satisfying rather than just snackable. The slicing technique in hasselback kielbasa creates more surface area, meaning you can use less glaze overall while still getting intense flavor in every bite. I appreciate that the dish feels indulgent without requiring heavy breading or deep frying, and the garlic and paprika in traditional Polish sausage carry their own antioxidant properties that make me feel slightly better about reaching for seconds.
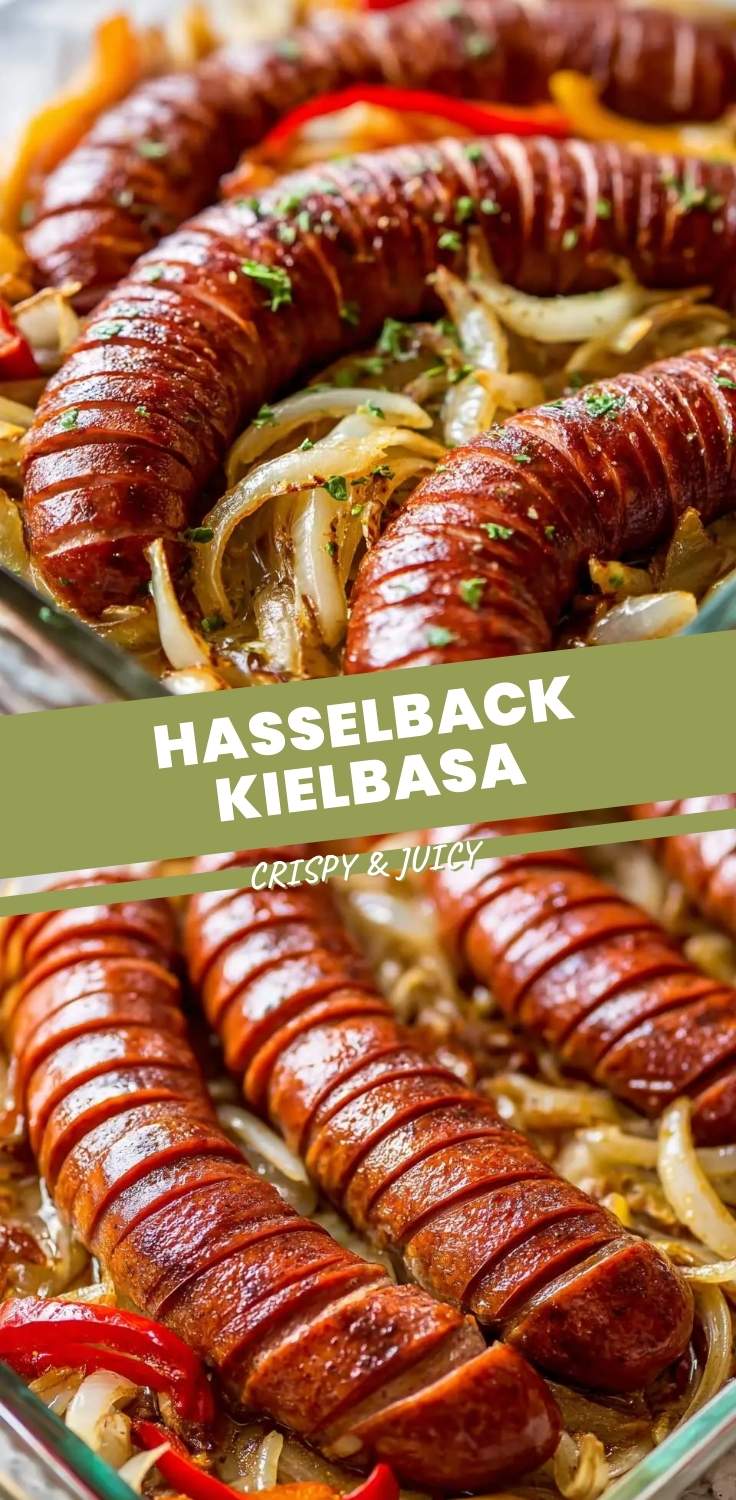
FAQs
What kind of kielbasa works best for this technique?
Polish-style kielbasa with natural casing holds its shape beautifully and delivers that signature snap. Avoid pre-cooked turkey or chicken varieties — they lack the fat content needed to stay juicy through the high-heat glazing process.
How do I keep the slices from falling apart?
Don’t cut deeper than three-quarters of the way through. The wooden spoon method prevents accidents, and chilling the sausage for 20 minutes before slicing firms it up for cleaner cuts.
Can I make this ahead for a party?
Absolutely. Slice and par-bake for 15 minutes, then refrigerate up to 24 hours. Finish with final glazing and the last bake just before guests arrive — the house will smell incredible as they walk in.
What dipping sauces pair well with this?
Grainy mustard is classic, but I love serving hasselback kielbasa with a quick aioli or even straight hot honey. The sweet-heat contrast against the smoky sausage creates something genuinely addictive.
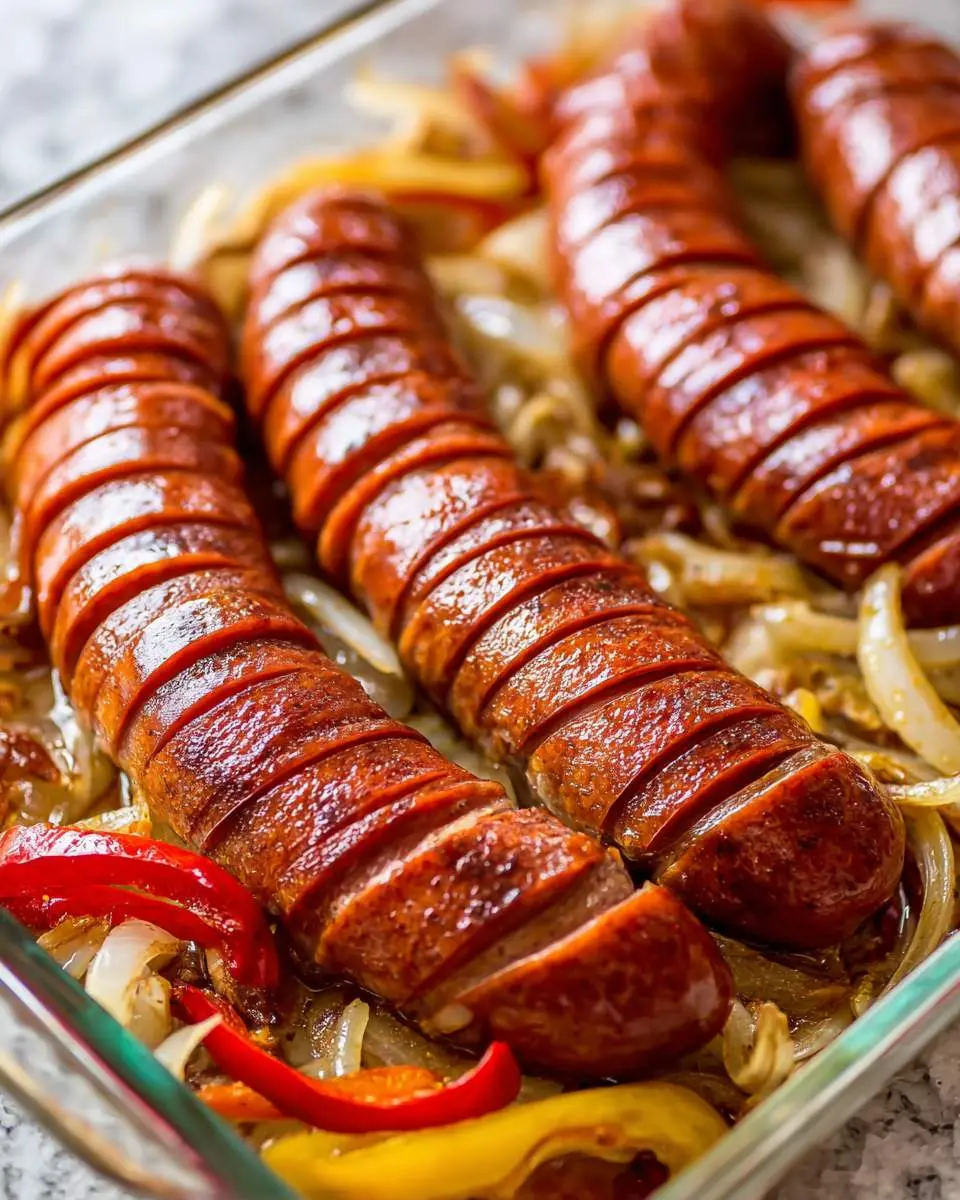

Hasselback Kielbasa
Ingredients
Equipment
Method
- Place the kielbasa on a cutting board. Using a sharp knife, make crosswise cuts about 1/4 inch apart, slicing three-quarters of the way through - stop before you hit the bottom so the sausage stays in one piece. A chopstick placed alongside the kielbasa helps prevent cutting all the way through.
- Rub the kielbasa all over with olive oil, working some into the cuts. Transfer to a rimmed baking sheet, fanning the slices slightly so they open up.
- In a small saucepan, combine mustard, honey, vinegar, and smoked paprika. Bring to a simmer over medium heat and cook for 2 minutes until slightly thickened. Remove from heat.
- Roast the kielbasa at 400F for 15 minutes until it starts to render fat and the edges curl slightly.
- Remove from oven and brush generously with about half the glaze, working it into the cuts. Return to oven for 8-10 more minutes until deeply browned and crispy at the edges.
- Transfer to a cutting board or serving platter. Brush with remaining glaze and let rest 5 minutes. The cuts will open more as it rests, creating perfect sauce pockets.
- Sprinkle with chopped parsley and serve warm. Provide bread for soaking up the glaze, or pair with buttered pierogies for a full meal.
Notes
Conclusion
This is the kind of recipe that makes people think you spent hours when you really just paid attention to technique. I keep coming back to hasselback kielbasa because it delivers that rare combination of simplicity and drama — the kind of dish that starts conversations and ends with empty plates. If you need one more guaranteed hit for your appetizer rotation, my smoked queso dip has never once made it to halftime at any party I’ve thrown.