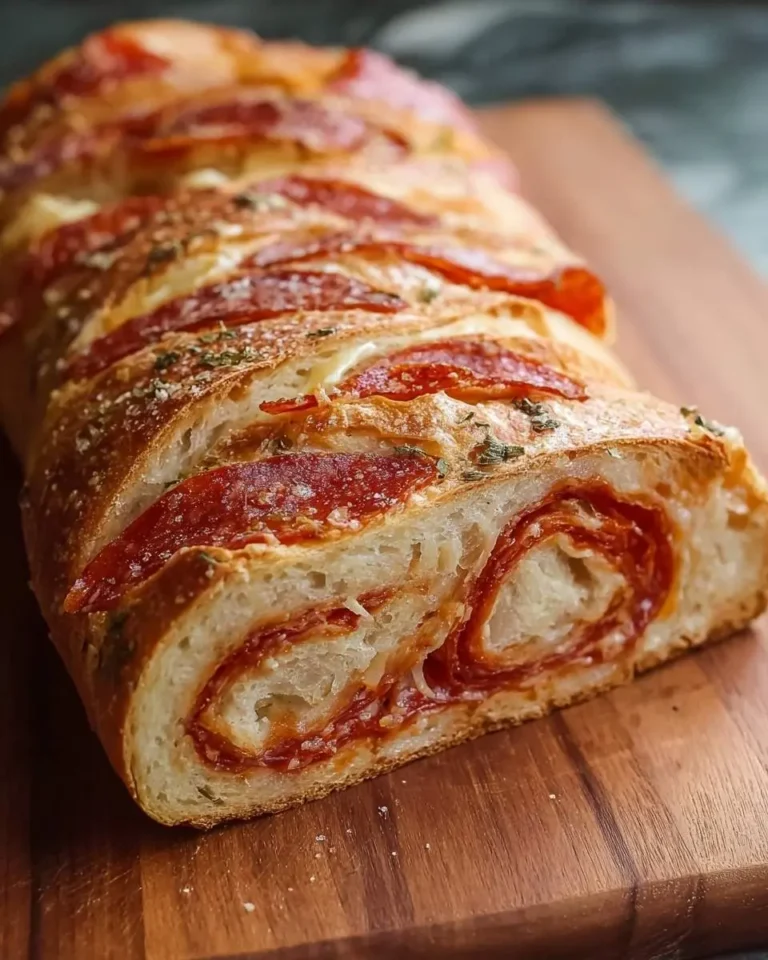
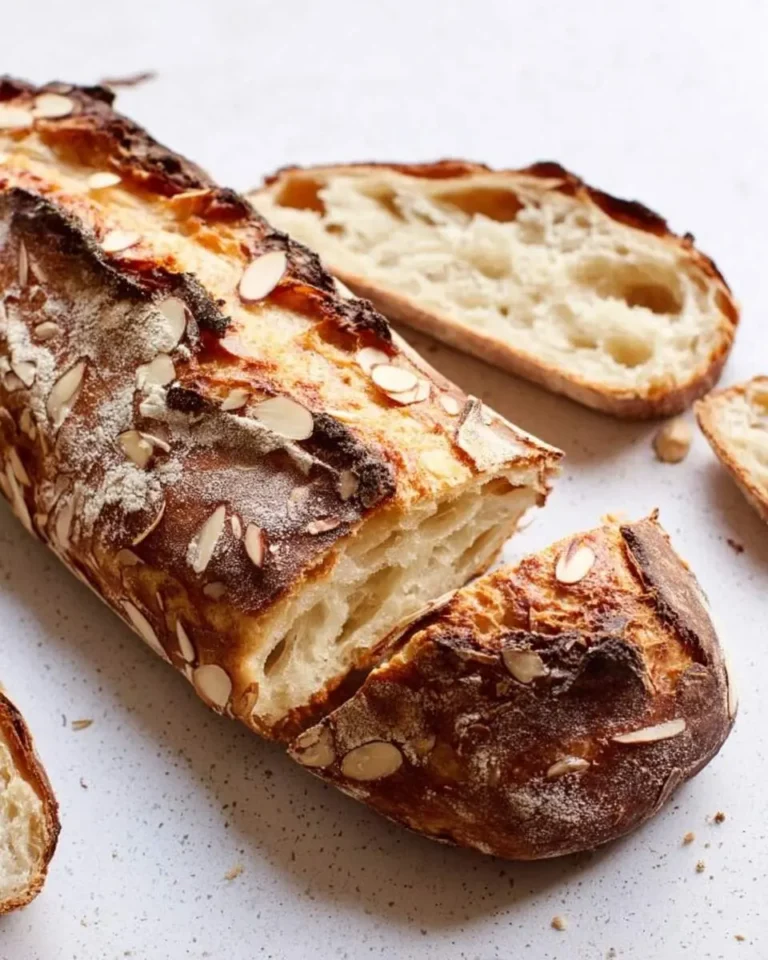
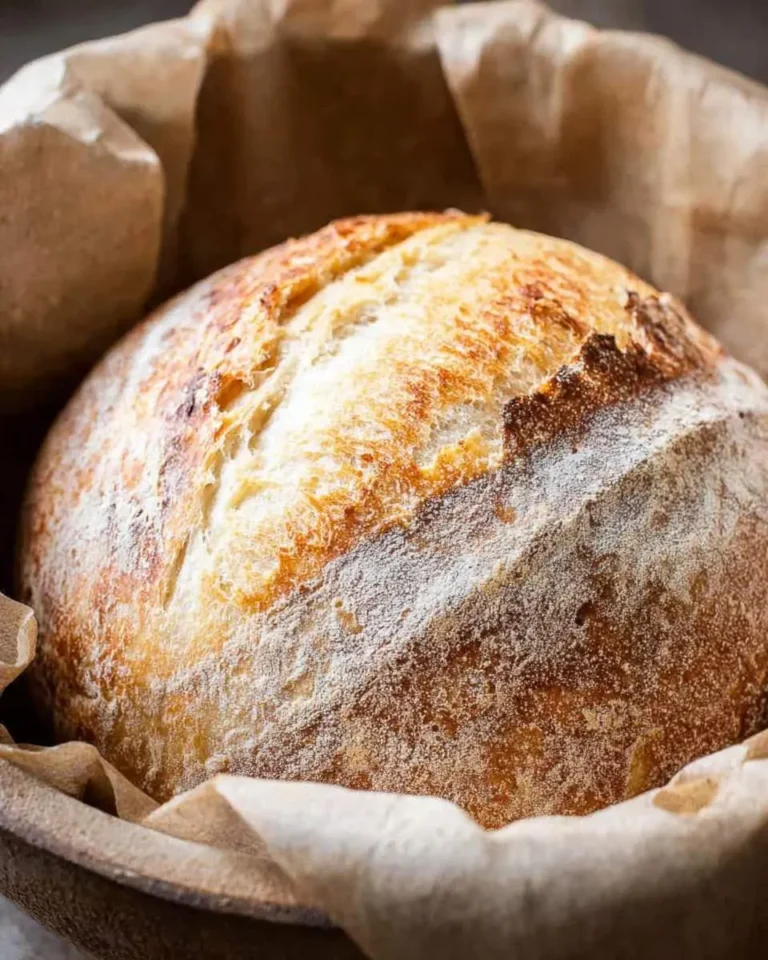
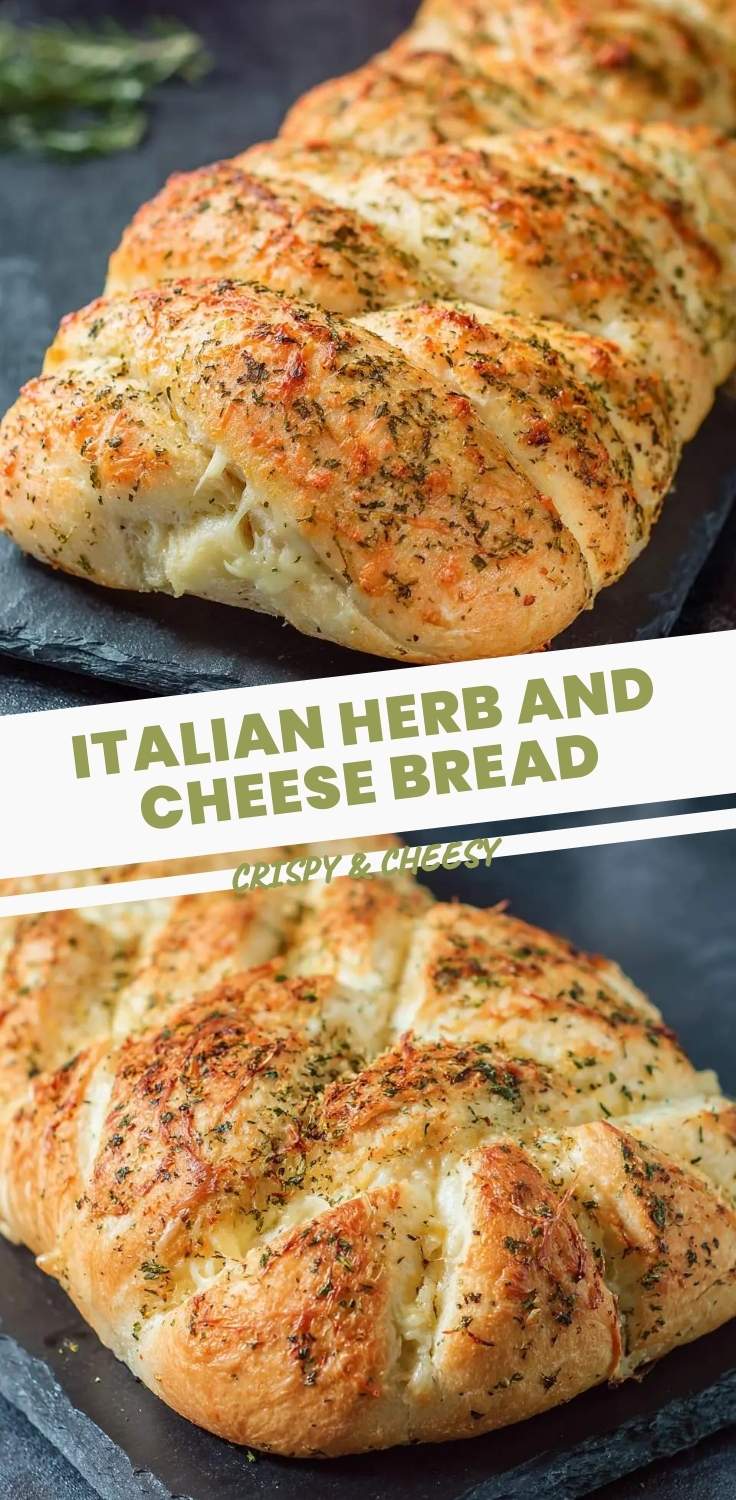
Italian Herb and Cheese Bread
The first time I pulled a loaf of homemade bread from my oven, the smell hit me like a wave, warm, yeasty, and somehow already nostalgic before I’d even taken a bite. That memory came flooding back last weekend when I decided to tackle Italian herb and cheese bread, a loaf I’d been craving since a tiny bakery in Providence ruined me for store-bought forever.
My grandmother never measured her herbs. She’d pinch dried oregano between her fingers, rub it until the kitchen filled with something earthy and sharp, then shrug and say “that’s enough.” I thought of her hands working dough on a floured counter, the way she’d tear off the crustiest corner for me while the rest cooled. Some recipes carry people with them.
This loaf demands that same unhurried attention. The dough starts shaggy and almost ugly, then transforms into something silky and alive under your palms. If you’re newer to yeast breads, my cloverleaf dinner rolls build the same foundational skills in a smaller, less intimidating package.
What You Need to Make This Recipe
The cheese matters more than you’d think, I use a sharp aged provolone that melts into stretchy ribbons but keeps its personality, not the bland pre-shredded stuff that disappears into greasy nothing. For the herb blend, dried Italian seasoning works, though I prefer mixing my own: basil, oregano, thyme, and a whisper of rosemary that doesn’t bully the others. The real secret weapon is instant yeast; it removes the proofing guesswork that trips up so many home bakers. I keep mine in the freezer and it never fails me. If you’re curious about another loaf where banana meets unexpected depth, my coffee banana bread uses the same reliable yeast approach with wildly different results.
How to Make Italian Herb and Cheese Bread
I start my dough the night before, mixing flour, yeast, warm water, and a glug of olive oil until it looks like a mistake, rough, sticky, almost porridge-like. The stand mixer does the hard work for seven minutes, and I watch through the bowl as the mess pulls together into a satin-smooth ball that slaps the sides with a satisfying rhythm. That’s when I know we’re there.
The first rise happens in my oven with just the light on, the dough doubling slowly while I clean up. Punching it down releases a yeasty sigh, and I fold in the herbs and cheese in stages, tearing the dough into pieces and pressing the good stuff into every layer. The second rise is shorter, just until the loaf looks puffy and optimistic.
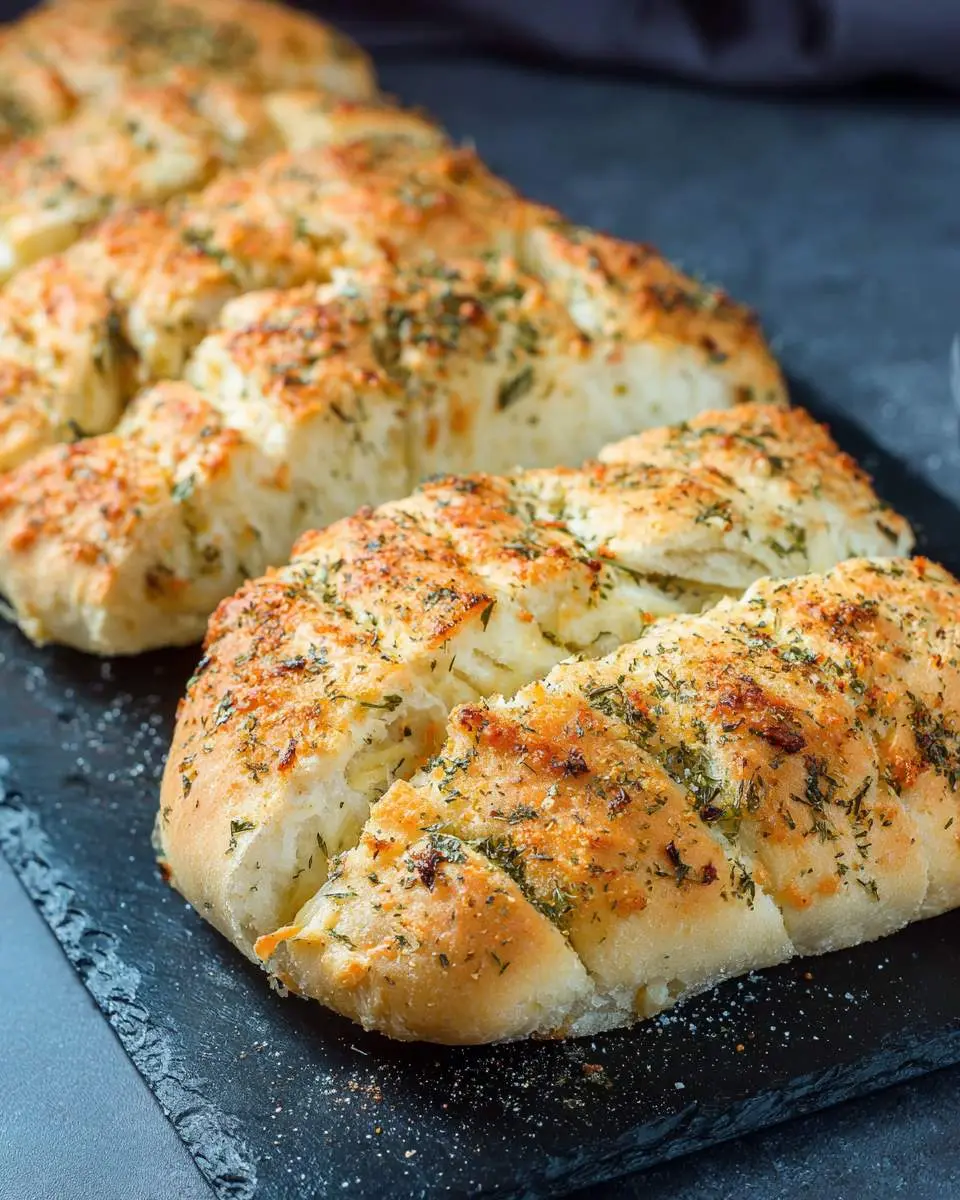
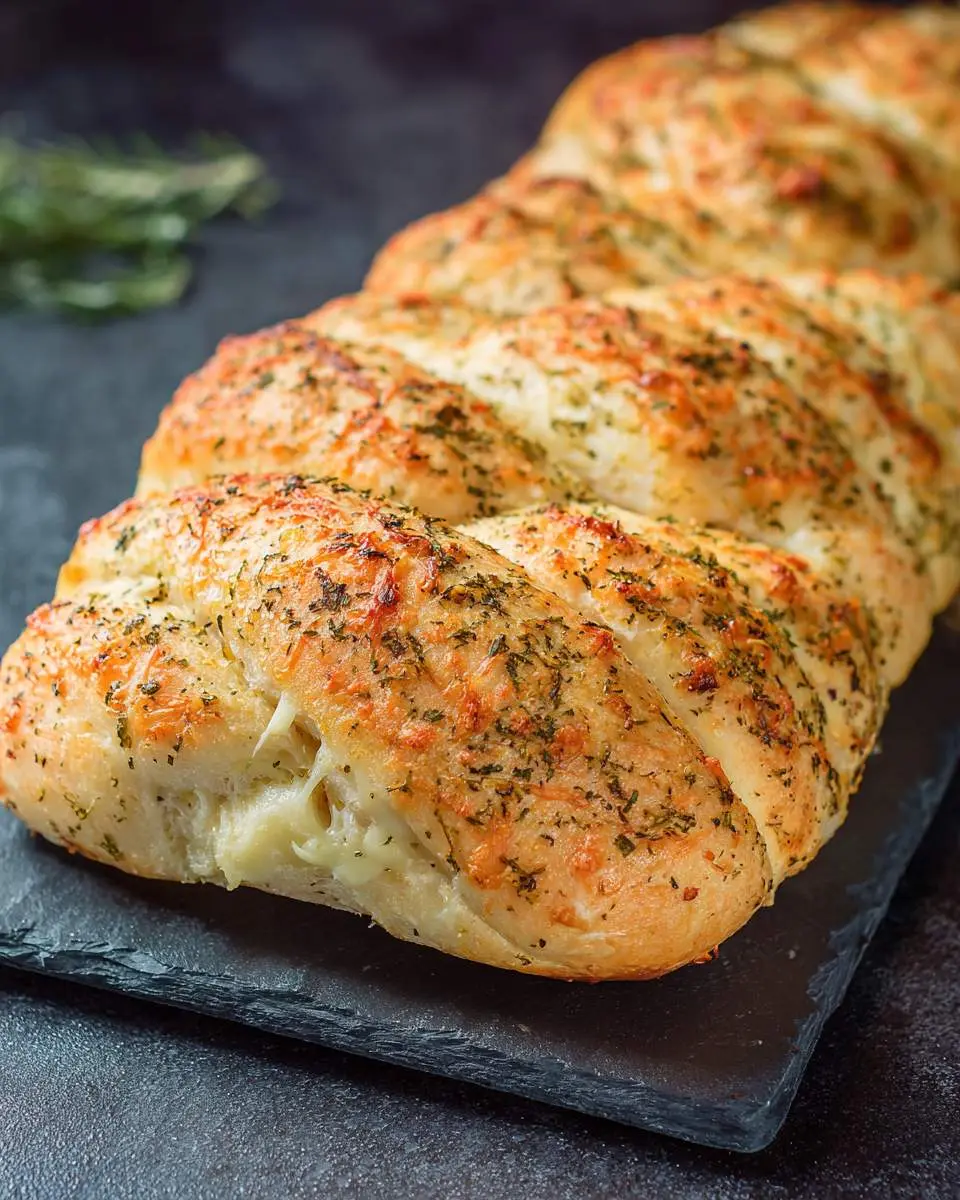
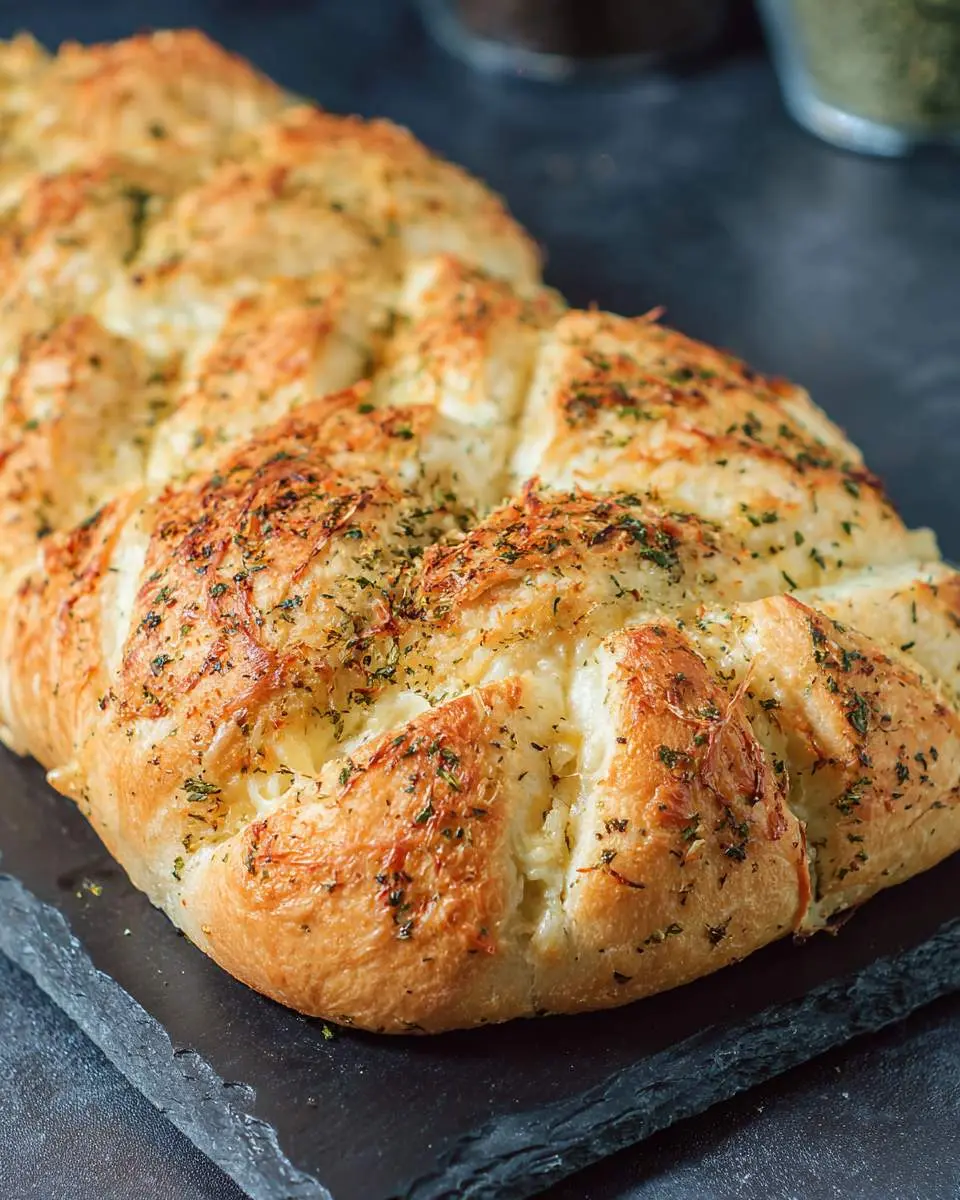
Baking transforms everything. At 375 degrees, the kitchen fills with toasted cheese and blooming oregano, and I peek through the oven window like a kid. The crust turns deep gold, then chestnut at the edges, and the cheese bubbles into crispy freckles I always pick off “to test.” For a completely different cheese-bread experience with garlic front and center, try my cheesy garlic bread next.
Pro Tips
Grate your own cheese. Pre-shredded varieties are coated in cellulose that prevents clumping but also prevents that gorgeous melt you’re after. I use the coarse side of a box grater and accept the ten minutes of knuckle work.
Layer, don’t mix. When adding herbs and cheese to the dough, flatten it into a rectangle, scatter fillings, fold like a letter, and repeat. This creates pockets and ribbons instead of a uniform, boring distribution.
My Secret Trick: I reserve a tablespoon of the herb blend and mix it with flaky sea salt, then sprinkle this over the loaf right before baking. It creates a crust that crackles between your teeth and delivers a hit of flavor before you even reach the soft interior.
Cool completely on a wire rack. Italian herb and cheese bread continues cooking from residual heat, and slicing too early steams the crumb into gumminess. I know the wait hurts. I also know it’s worth it.
How to Store Italian Herb and Cheese Bread
- Room temperature: Wrap completely cooled loaf in parchment paper, then slide into a paper bag. Keeps 2 days at normal kitchen temperatures. The paper prevents the crust from going rubbery.
- Refrigerator: Not recommended. Cold temperatures accelerate staling and the cheese firms unpleasantly. If you must, use within 24 hours and toast slices to revive.
- Freezer: Slice first, then layer between parchment in a freezer bag with air pressed out. Stores 2 months at 0°F. I freeze in pairs since that’s what my household consumes.
- Reheating: Thaw frozen slices at room temperature 30 minutes, then 325°F oven for 8 minutes directly on the rack. Restores the crust’s shatter and warms the cheese without drying the crumb.
Nutritional Benefits
Italian herb and cheese bread carries more nutritional weight than its indulgent reputation suggests. The oregano and thyme in my herb blend deliver genuine antioxidant compounds, thymol and carvacrol, that research links to anti-inflammatory properties, while the aged provolone contributes a meaningful dose of calcium and protein that makes a single thick slice surprisingly sustaining alongside soup or salad.
FAQs
Can I use fresh herbs instead of dried?
Yes, but triple the quantity since fresh contain more water and less concentrated flavor. Chop finely and pat dry with paper towels to avoid adding excess moisture that throws off the dough’s hydration balance.
Why did my cheese burn on top before the inside cooked?
Your oven runs hot or the loaf was positioned too high. Next time, tent loosely with foil after 20 minutes and place the rack in the lower third. The cheese needs protection while the interior finishes.
Can I make this in a bread machine?
The dough cycle works beautifully through the first rise. Remove, shape, add extra cheese and herbs by hand, then proceed with pan rising and oven baking. The machine can’t handle the layering technique properly.
What cheese works best if I can’t find aged provolone?
Aged asiago or a sharp white cheddar both melt well while keeping character. Avoid mozzarella alone, it’s too mild and too wet. Italian herb and cheese bread needs a cheese that asserts itself.

Italian Herb and Cheese Bread
Ingredients
Equipment
Method
- In a large bowl, combine warm water, yeast, and sugar. Let stand 5 minutes until foamy. If it doesn't foam, your yeast is dead - start over with fresh yeast.
- Stir in olive oil, 2 cups flour, and salt. Mix until a shaggy dough forms. Gradually add remaining flour, 1/4 cup at a time, until dough pulls away from bowl sides and is tacky but not sticky.
- Turn onto a lightly floured surface and knead 8-10 minutes until smooth and elastic. The dough should spring back when poked. Place in an oiled bowl, turn to coat, cover with plastic wrap, and let rise in a warm spot until doubled, about 60 minutes.
- Punch down dough and roll into a 12x8 inch rectangle. Sprinkle evenly with 1 cup mozzarella, Italian seasoning, and garlic powder, leaving a 1-inch border. Starting from a short end, roll tightly into a log, pinching the seam to seal.
- Place seam-side down in a greased 9x5 inch loaf pan. Cover loosely and let rise 30-40 minutes until dough crowns 1 inch above pan rim. Preheat oven to 375 degrees F during final rise.
- Brush top with olive oil and sprinkle with remaining 1/2 cup mozzarella and Parmesan. Bake 30-35 minutes until deep golden brown and internal temperature reaches 190 degrees F. If browning too quickly, tent with foil after 20 minutes.
- Cool in pan 10 minutes, then turn out onto a wire rack. Cool at least 30 minutes before slicing - this prevents a gummy texture and lets the cheese set.
Notes
Conclusion
This loaf has earned its place in my regular rotation, not because it’s impressive, though it is, but because the process grounds me. The kneading, the waiting, the smell that fills my house like a promise kept. If bread baking intimidates you, let this be your breakthrough. And when you’re ready to explore another hands-on loaf with olive oil and fresh rosemary, my rosemary focaccia bread welcomes you with open arms and dimpled, crispy edges.