Chocolate Chip Peanut Butter Cups
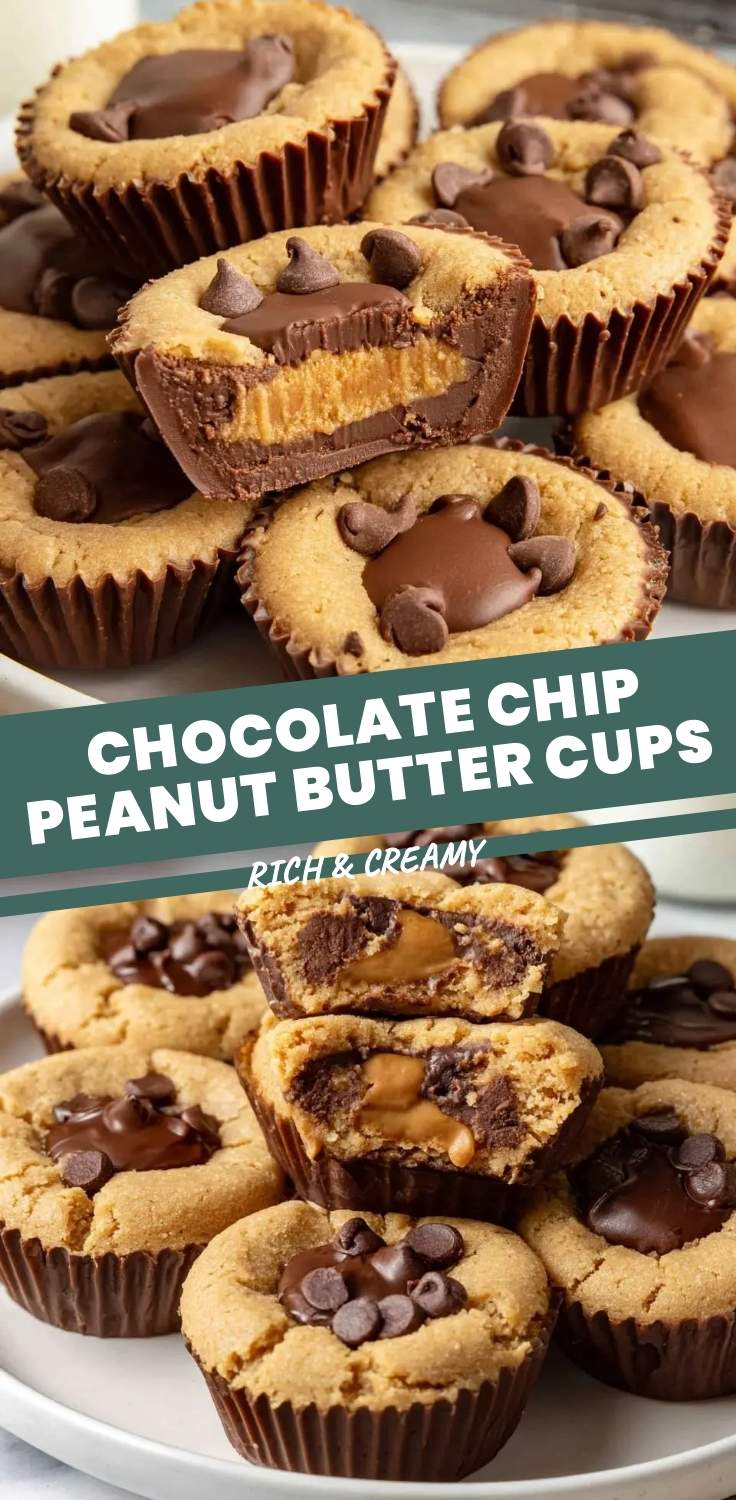
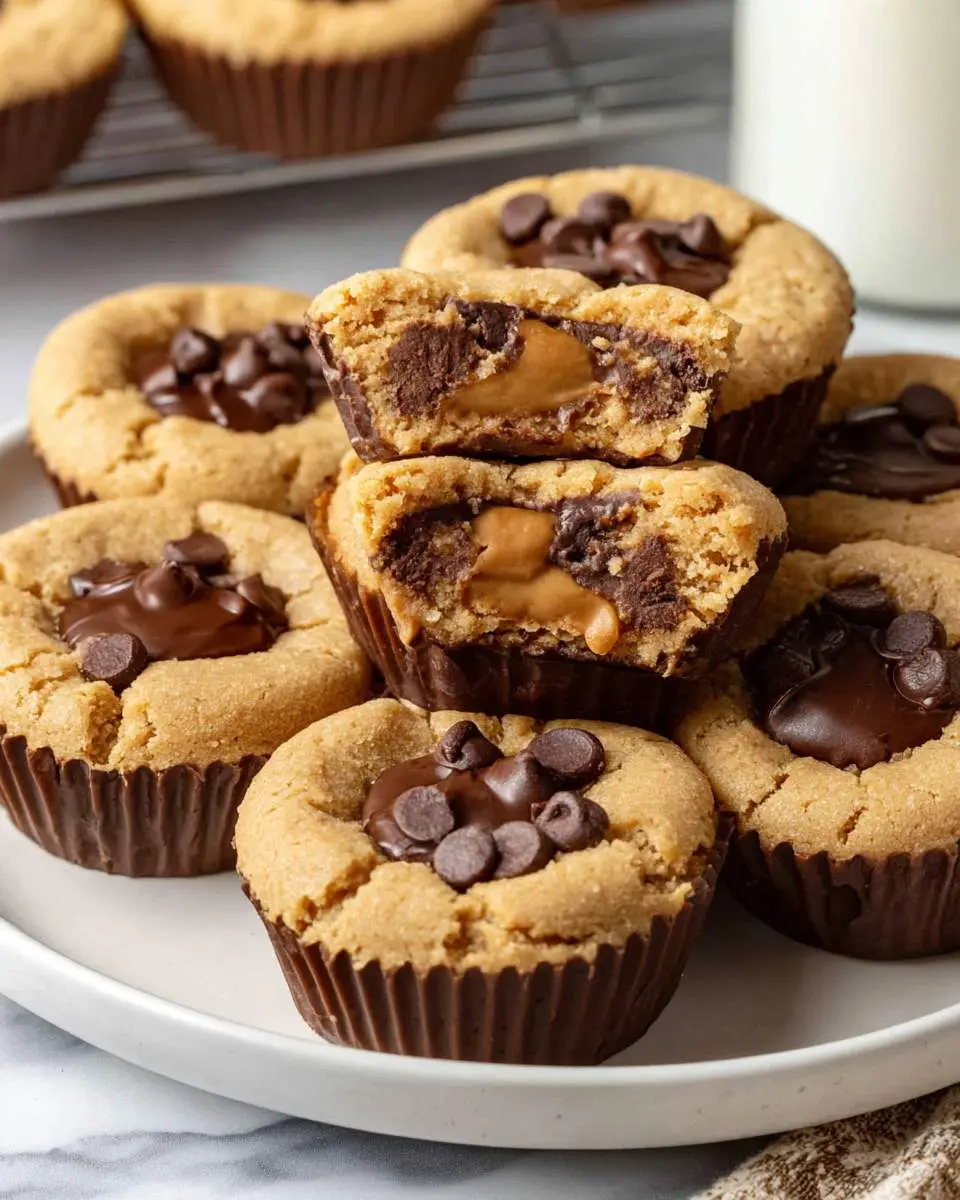
The first time I bit into one of these, I was standing at my kitchen counter at 10 p.m. in my pajamas. The chocolate shell gave way with this perfect little snap, and then there it was , that salty-sweet peanut butter center studded with tiny pockets of melted chocolate. I made these chocolate chip peanut butter cups on a whim, and honestly? I haven’t stopped thinking about them since.
My grandmother kept a glass jar of peanut butter cups on her windowsill above the sink. She’d sneak me one while my mother wasn’t looking, pressing her finger to her lips like we were in on the greatest secret together. These remind me of her, but they’re somehow better , the mini chocolate chips scattered through the filling catch you by surprise, little bursts of texture she never would have thought to add.
What I love most is how unfussy they are. No tempering chocolate over a double boiler, no candy thermometer, no stress. If you want something equally comforting but layered and dramatic, my chocolate lasagna has that same make-ahead ease with a completely different personality.
What You Need to Make This Recipe
You’ll need creamy peanut butter , not the natural kind that separates, but the stable, shelf-stable variety that holds its shape when chilled. I learned this the hard way when my first batch turned oily and sad. The mini chocolate chips are non-negotiable; they create these tiny fudgy pockets inside the filling that regular chips can’t replicate. For the shell, I use good-quality semisweet chocolate with a touch of coconut oil, which gives that satisfying crack when you bite in without being waxy. If you’re the type who stocks cream cheese for impromptu baking, my cinnamon roll cheesecake uses it in a completely different way that’s worth your time.
How to Make Chocolate Chip Peanut Butter Cups
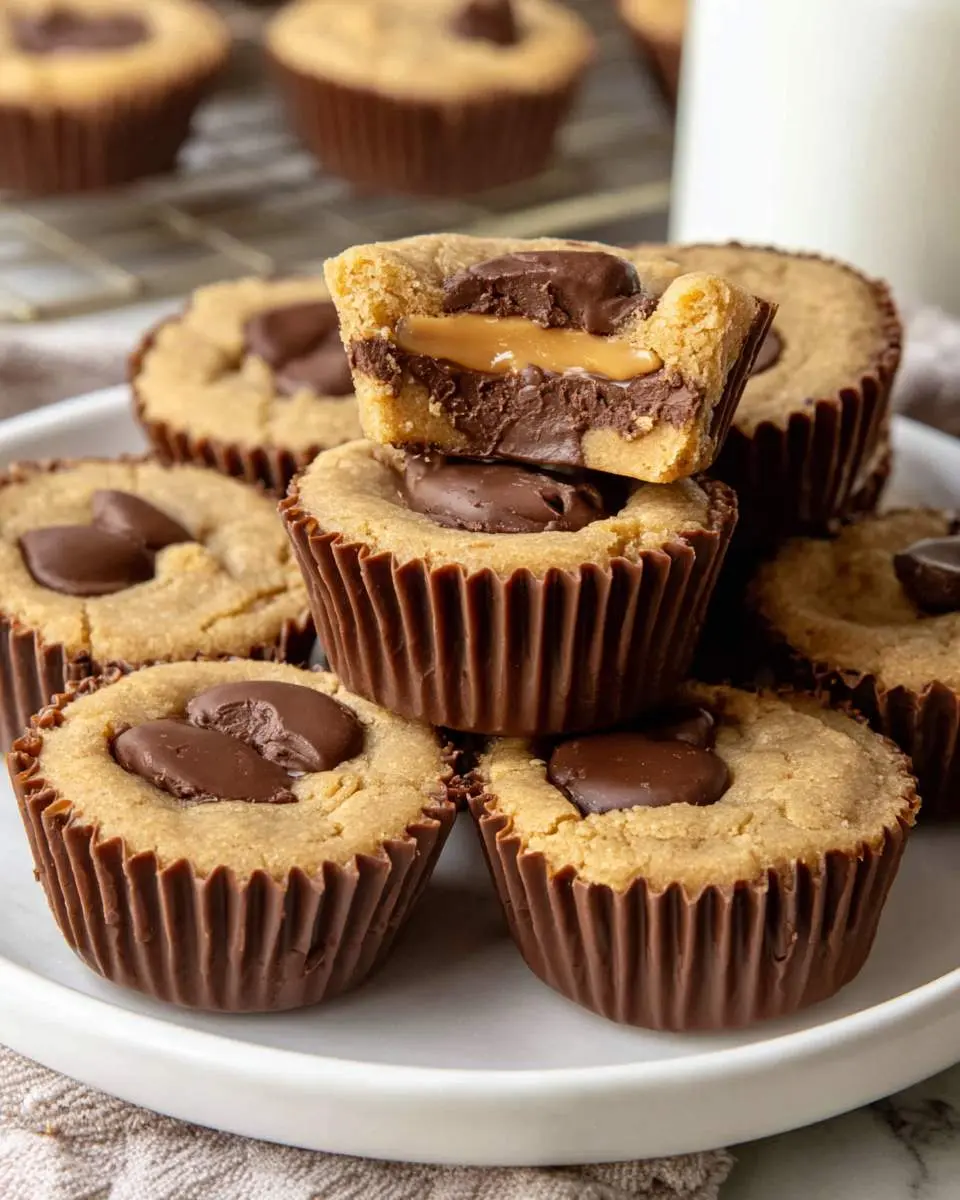
I start by melting the chocolate in short bursts in the microwave, stirring between each one until it’s glossy and smooth. The coconut oil goes in last, and I stir until it disappears completely , this is the moment the kitchen starts smelling like a candy shop. I paint the first layer of chocolate into silicone muffin cups using the back of a spoon, working it up the sides so there are no thin spots that’ll crack later.
While that sets in the freezer, I mix the peanut butter filling. The powdered sugar goes in gradually, and I stop when it feels like thick cookie dough , too dry and it’ll crumble, too soft and it’ll ooze. I fold in the mini chocolate chips last, listening to them skitter against the bowl like tiny pebbles. The filling gets rolled into balls, flattened slightly, and pressed into the chilled shells. Then comes the final layer of chocolate, spread carefully to seal everything in.
The hardest part is waiting. I let them firm up in the freezer for twenty minutes, then transfer to the fridge. When I pop one out and that shell makes its little cracking sound, I know it’s ready. For another no-bake treat with serious peanut butter presence, these no-bake chocolate peanut butter dessert bars have a similar energy but feed a crowd.
Pro Tips
Chill between every layer. I learned this after my filling melted the base and created these muddy, indistinct layers. Five minutes in the freezer hardens the chocolate just enough to protect what comes next.
Use a cookie scoop for the filling. It keeps every cup uniform, which matters because uneven thickness means some bite too much peanut butter, others too little. Consistency is everything with chocolate chip peanut butter cups.
Tap the silicone tray on the counter after adding the top chocolate layer. This releases trapped air bubbles that would otherwise leave pockmarks on the surface. Your cups will look professionally molded.
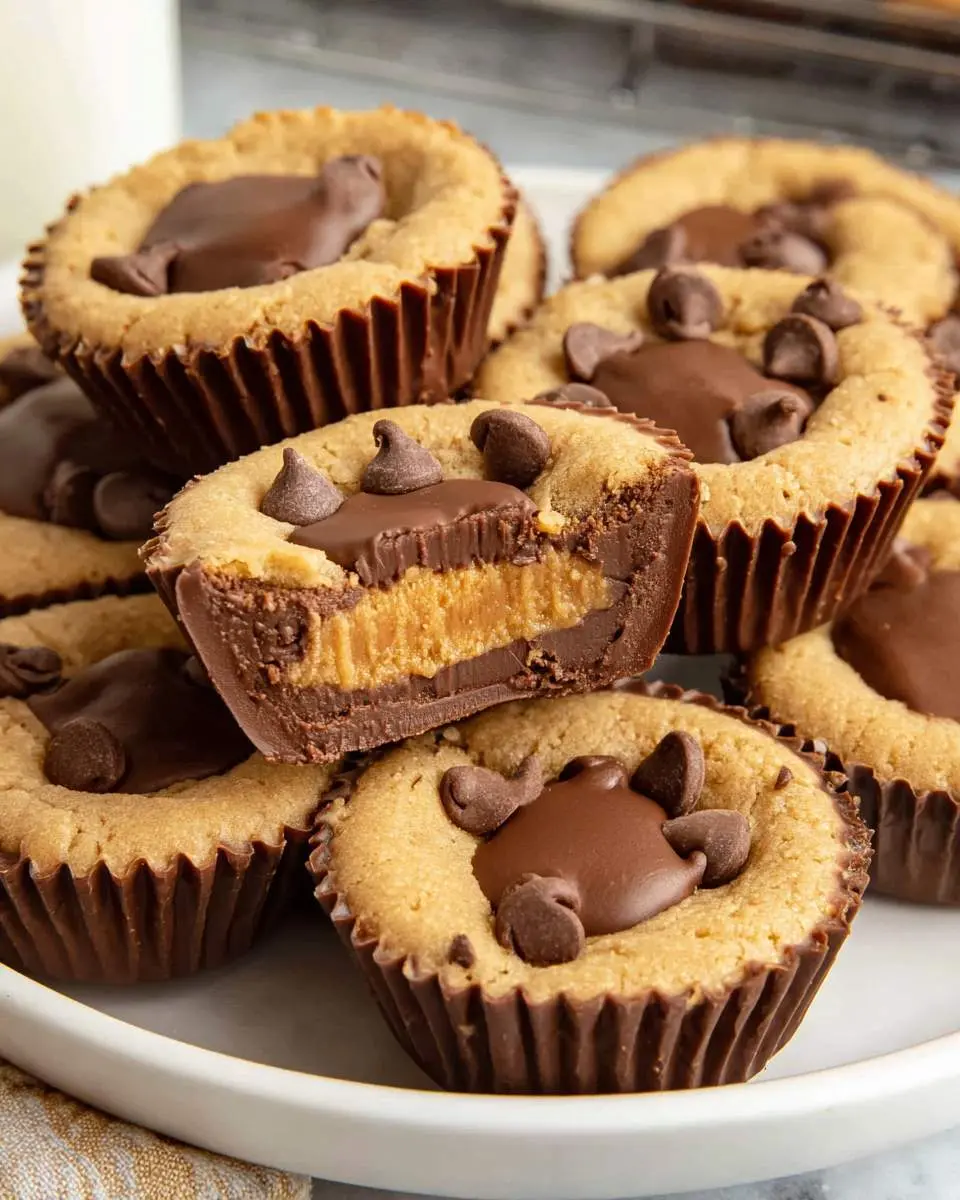
My Secret Trick: I add a tiny pinch of flaky sea salt to the top of each cup while the final chocolate layer is still wet. It doesn’t make them salty , it makes the peanut butter taste more like itself, amplifying that nostalgic flavor in a way that stops people mid-chew.
How to Store Chocolate Chip Peanut Butter Cups
- Refrigerate in an airtight container for up to 10 days; I use glass rather than plastic to prevent any absorbed odors
- Layer between sheets of parchment paper if stacking , the chocolate can soften slightly and stick at room temperature
- Freeze for up to 3 months in a freezer-safe container; thaw overnight in the refrigerator before serving
- Serve chilled or let sit at room temperature for 10 minutes for a softer bite; I prefer them cold for that snappy shell contrast
Nutritional Benefits
I’m not going to pretend these are health food, but I do appreciate that peanut butter brings actual protein and sustained energy to something that otherwise reads as pure indulgence. The dark chocolate in these chocolate chip peanut butter cups contributes small amounts of iron and magnesium, and I find that their richness means I’m genuinely satisfied after one or two rather than endlessly snacking.
FAQs
Can I use crunchy peanut butter instead of creamy?
You can, but the texture changes significantly. The filling becomes harder to shape smoothly, and those peanut fragments can pierce the chocolate shell. If you love crunch, I’d stick with creamy filling and rely on the mini chocolate chips for that textural contrast instead.
Why did my chocolate turn thick and grainy when melting?
Your heat was too high or you melted too long at once. Chocolate seizes when overheated. I microwave in 20-second intervals, stirring each time, and stop before it’s fully melted , residual heat finishes the job. A teaspoon of coconut oil can rescue slightly overheated chocolate.
Can I make these without silicone muffin cups?
Paper liners work in a pinch, but you’ll need to peel them carefully and the shape won’t be as clean. Silicone lets you pop these out perfectly every time. I’ve also used mini muffin tins lined with paper, though removal requires more patience.
How do I prevent the peanut butter filling from being too sweet?
Start with less powdered sugar than the recipe calls for, taste, and add gradually. Natural peanut butter has less added sugar than conventional brands, so switching types can help. I find the salt in the recipe balances things, but you can reduce sugar by two tablespoons without structural issues.

Chocolate Chip Peanut Butter Cups
Ingredients
Equipment
Method
- Line a 12-cup muffin tin with paper liners. Set aside.
- In a medium bowl, beat together the peanut butter, powdered sugar, softened butter, and fine sea salt with a rubber spatula until completely smooth and thick, about 2 minutes. Fold in the mini chocolate chips. The mixture should hold its shape when pressed.
- Divide the peanut butter mixture into 12 equal portions (about 1.5 tablespoons each). Roll into balls, then flatten into disks slightly smaller than the muffin liners. Place on a plate and refrigerate while you prepare the chocolate.
- Place 1.5 cups of the chocolate chips and coconut oil in a microwave-safe bowl. Microwave in 30-second bursts, stirring between each, until completely melted and smooth, about 90 seconds total.
- Spoon about 1 tablespoon of melted chocolate into each prepared liner. Use the back of the spoon to spread the chocolate up the sides, creating a thin even shell that covers the bottom and about 0.5 inch up the sides. Freeze for 10 minutes until set.
- Place one peanut butter disk into each chocolate shell, pressing gently so it sits level without touching the sides.
- Melt the remaining 0.5 cup chocolate chips. Spoon about 1 tablespoon over each cup to cover the filling completely, spreading to the edges to seal. Tap the pan gently on the counter to smooth the tops. Sprinkle with flaky salt if desired.
- Refrigerate until completely firm, about 30 minutes. Peel off paper liners before serving. Store refrigerated in an airtight container for up to 2 weeks.
Notes
Conclusion
These chocolate chip peanut butter cups have become my signature bring-along for potlucks and my quiet Friday night treat. They’re forgiving, impressive, and genuinely fun to make. If you’re craving something with cookie dough energy and cheesecake richness, my chocolate chip cookie cheesecake bars belong on your list too. I hope you love them as much as I do.