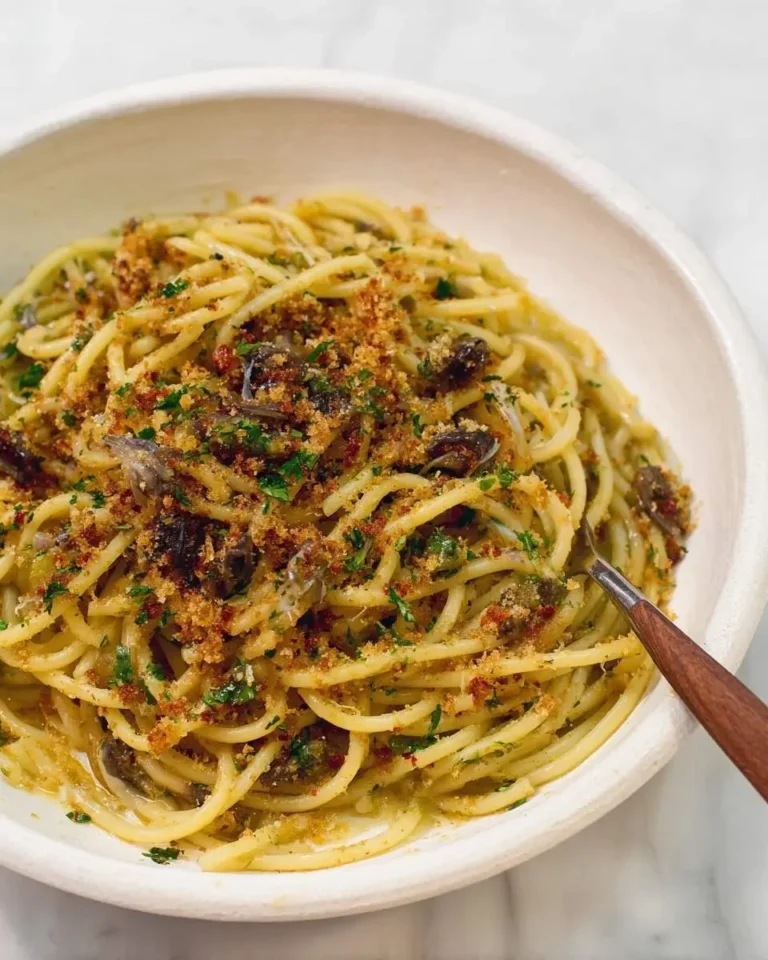
ramen noodles
There’s something truly magical about transforming a few simple ingredients into a bowl of incredible, chewy ramen noodles. For me, the process itself is a story—the feel of the dough coming together, the hum of the pasta roller, the bubbling pot that signals dinner is almost ready. It’s a rhythm that feels both ancient and brand new, all at once.
Growing up, our Sunday table was the heart of the home. It wasn’t always about fancy recipes, but about the hands that made the food and the laughter that filled the room. Making noodles from scratch brings me right back to that feeling—a little bit of effort for a whole lot of connection. It’s a chance to slow down and create something nourishing from the ground up.
This recipe is more than just a meal; it’s an invitation to make a memory. It’s wonderfully approachable, and the flavor of fresh noodles is a reward in itself. My favorite tip is to embrace the process. Don’t worry about perfection; just enjoy the simple, creative act of making your own delicious ramen noodles.
What You Need to Make This Recipe
The real magic in these homemade ramen noodles comes from a few key players: bread flour provides strength, vital wheat gluten gives that signature chew, and baked baking soda creates the perfect alkaline environment. The full ingredient list and measurements are waiting for you in the recipe card below!
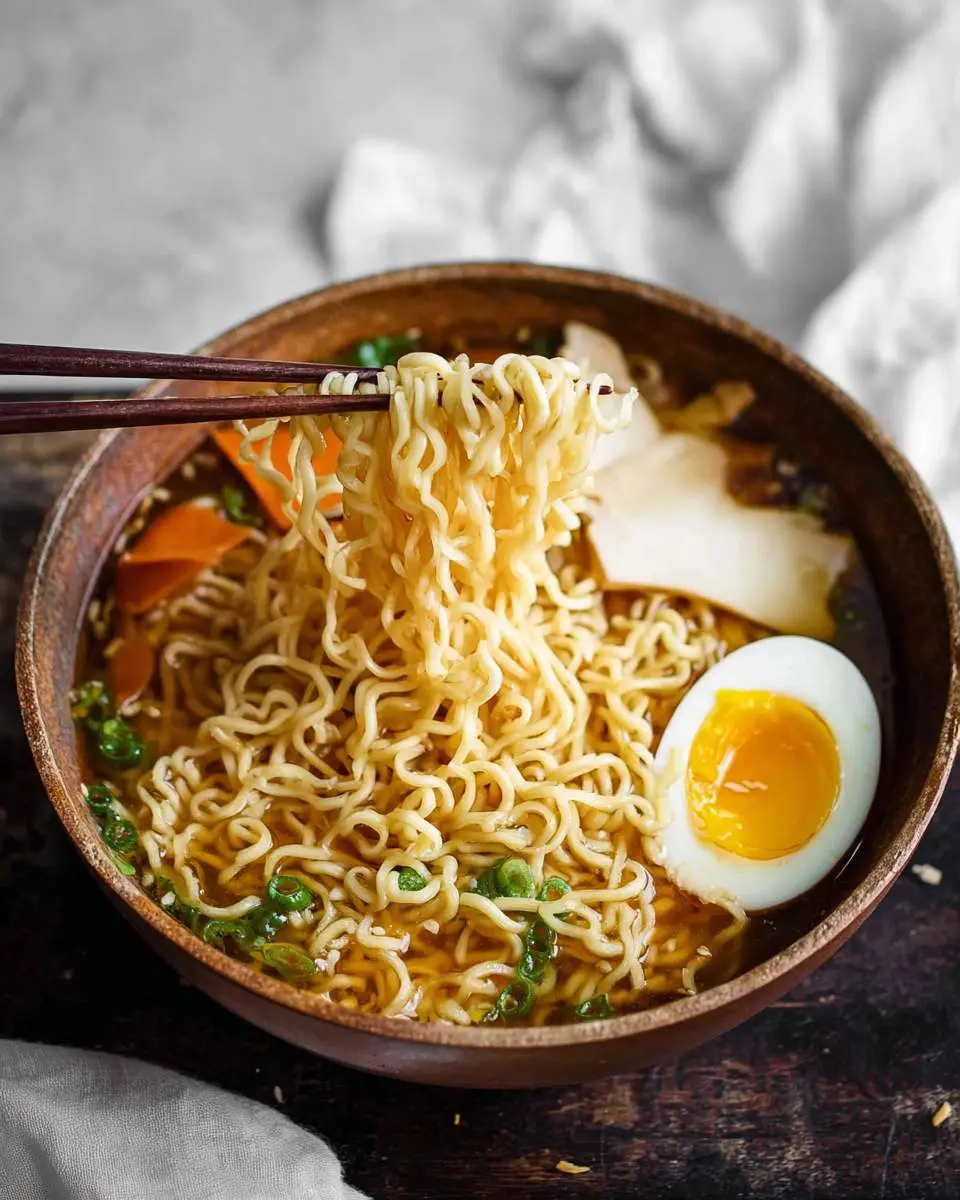
How to Make ramen noodles
First, you’ll create a special baked baking soda to give the dough its authentic texture. Next, you’ll mix and knead the dough until it’s smooth and let it rest. Finally, you’ll roll it out, cut it into strands, and boil your fresh noodles for just a few minutes. It’s a simple process that yields spectacular results, much like our rich and rewarding Million Dollar Spaghetti.
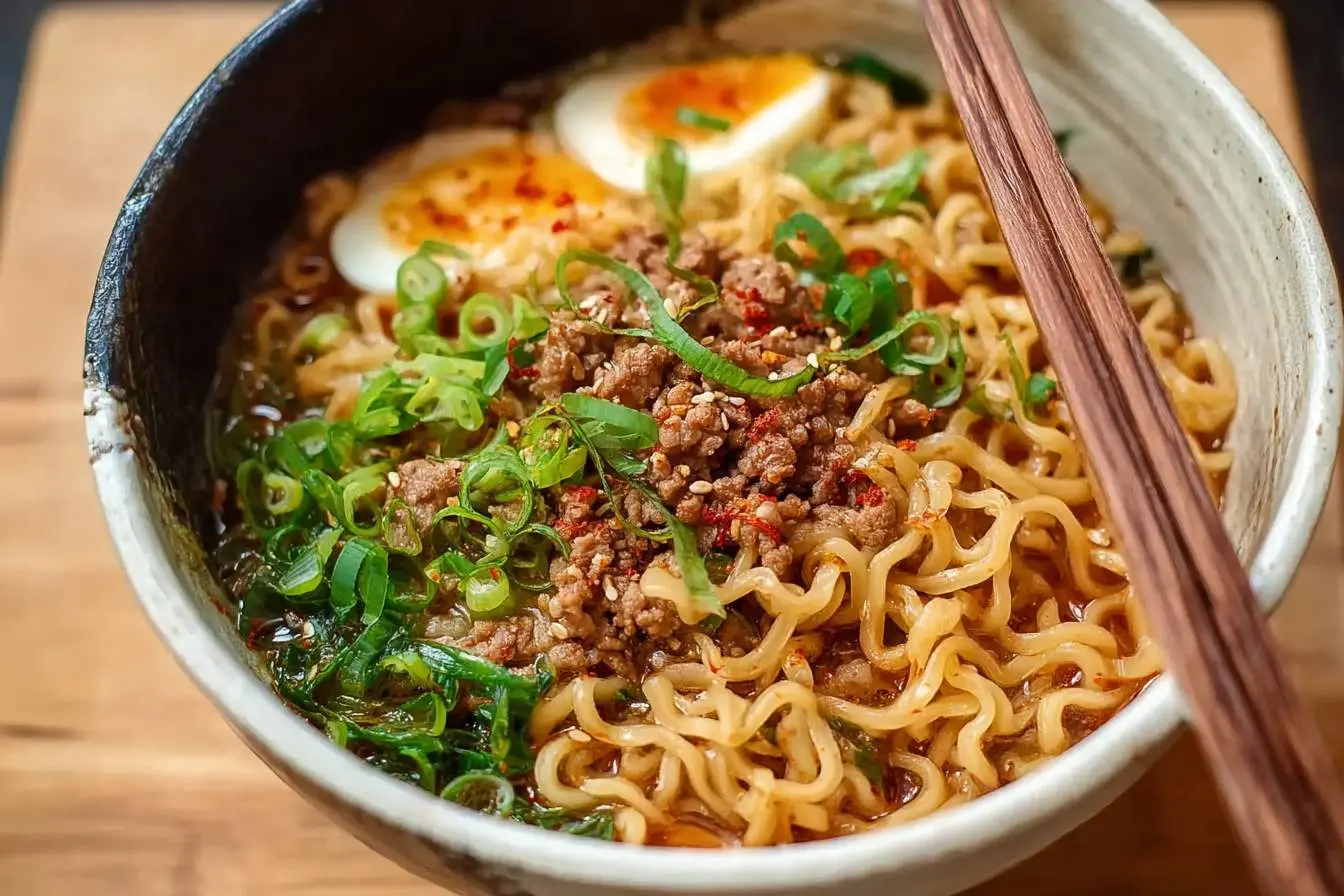

Authentic Homemade Ramen Noodles
Ingredients
Equipment
Method
- Preheat your oven to 250°F (120°C). Spread the 1/2 cup of baking soda in a thin, even layer on a small, foil-lined baking sheet.
- Bake for 1 hour. This process converts the sodium bicarbonate into sodium carbonate, a stronger alkaline salt that gives ramen noodles their signature color, flavor, and texture. Let it cool completely. Store the leftover baked soda in an airtight container for future batches. Be careful not to touch it with bare hands as it can be a mild irritant.
- In a small bowl, dissolve 4g of the cooled baked baking soda and 4g of salt into the 160ml of warm water. Stir until fully dissolved. This is your alkaline water.
- In the bowl of a stand mixer (or a large mixing bowl), whisk together the 400g bread flour and 4g vital wheat gluten (if using).
- With the mixer on low speed (using the dough hook), slowly drizzle in the alkaline water. The mixture will look very dry and crumbly, like small pebbles. This is normal for a low-hydration ramen dough. Continue mixing for 2-3 minutes until it comes together into a very shaggy mass.
- Turn the dough out onto a work surface (do not flour it) and knead by hand for 10-15 minutes. The dough will be extremely stiff and difficult to work with initially. Use the heel of your hand and your body weight. Knead until it forms a cohesive, firm, and slightly smoother ball. Alternatively, you can place the crumbly dough in a sturdy zip-top bag, seal it, and knead it by stepping on it with clean feet for a few minutes.
- Wrap the dough tightly in plastic wrap or place it in a sealed bag. Let it rest at room temperature for at least 1 hour, or up to 4 hours, to allow the flour to fully hydrate and the gluten to relax.
- After resting, the dough will be more pliable. Unwrap it and divide it into 4 equal pieces. Keep the pieces you aren’t working with covered to prevent them from drying out.
- Take one piece of dough and flatten it with your palm or a rolling pin until it’s thin enough to fit into your pasta machine on its widest setting. Lightly dust the dough with flour if it feels sticky.
- Pass the dough through the widest setting. Fold the sheet into thirds, like a letter, and pass it through the widest setting again. Repeat this folding and rolling process 2-3 more times. This step develops the gluten and creates a chewier noodle.
- Continue passing the sheet through the roller, reducing the thickness one setting at a time, until you reach your desired thickness (usually setting 3 or 4 for ramen). Do not fold the dough during this stage. The sheet will become very long.
- Switch to the spaghetti or fettuccine cutter attachment on your pasta machine and run the sheet through to cut the noodles. As the noodles emerge, catch them and immediately toss them gently with a generous amount of cornstarch or potato starch to prevent sticking. Form them into small nests.
- Bring a large pot of water to a rolling boil. Do NOT salt the water, as the noodles are already salted and alkaline.
- Gently shake off any excess starch from the noodle nests and drop them into the boiling water. Stir immediately to prevent clumping. Cook for 90 seconds to 3 minutes, depending on thickness, until they are al dente with a pleasant chew. Taste one to check for doneness.
- Drain the noodles immediately using a colander or spider strainer. Do not rinse. Serve right away in your favorite hot ramen broth with your desired toppings.
Notes
Pro Tips for Making This ramen noodles
Getting that perfect bouncy chew in your noodles is all about the details. Here are a few things I’ve learned from my kitchen that will help you succeed.
- Don’t Skip the Rest: Letting the dough rest for at least an hour is crucial. This step allows the gluten to relax, making the dough much easier to roll out. It also helps develop the flavor and texture of the final ramen noodles.
- Keep it Floured (or Starched!): As you roll and cut the dough, be generous with your cornstarch or potato starch. Fresh pasta loves to stick together, and a good dusting is your best friend for keeping those beautiful strands separate.
- My Secret Trick: The baked baking soda is a non-negotiable game-changer. Baking it transforms it chemically, making it more alkaline. This is what gives authentic ramen noodles their characteristic springiness, color, and flavor. It’s a simple step that makes a world of difference.
- Knead with Patience: The dough will feel very firm and dry at first—that’s normal! Keep kneading for the full 10-12 minutes. It will gradually become smoother and more pliable. This process develops the gluten structure, which is essential for chewy noodles. It reminds me of the simple, hands-on process of our Baked Feta Pasta.
Fun Variations for ramen noodles
Once you’ve mastered the basic recipe, you can start tinkering! It’s one of my favorite ways to add a personal touch to a dish. Here are a few ideas to get you started.
- Herbal Infusion: For a subtle, fresh flavor, try kneading in a tablespoon of finely chopped fresh herbs like chives, parsley, or cilantro into the dough. Reda loves this variation; she’s always looking for ways to add an unexpected layer of flavor.
- Spicy Kick: If you like a little heat, add about half a teaspoon of crushed red pepper flakes or a pinch of cayenne pepper to your dry ingredients. It gives the noodles a gentle warmth that builds with every bite.
- Whole Wheat Heartiness: For a nuttier flavor and more rustic texture, you can substitute about one-third of the bread flour with whole wheat flour. Daniel, with his love for breads and practical, hearty meals, really enjoys these earthy ramen noodles.
- Spinach Noodles: Add a vibrant green color by blending a handful of fresh spinach with the water before adding it to the flour. You’ll need to squeeze out any excess moisture from the spinach puree to maintain the right dough consistency.
What to Serve With ramen noodles
A beautiful batch of fresh noodles deserves the perfect pairing! My favorite way to serve these is in a rich, savory broth topped with a soft-boiled egg, crisp bamboo shoots, and a few slices of tender pork belly. It turns these humble ramen noodles into a complete, comforting meal.
Here are a few other ideas our family loves:
- Simple Miso Butter Noodles: After boiling, toss the hot noodles with a pat of butter, a teaspoon of miso paste, and a sprinkle of sesame seeds. It’s quick, easy, and incredibly flavorful.
- Spicy Garlic Stir-Fry: Use the cooked noodles as a base for a stir-fry. Sauté them with garlic, ginger, soy sauce, and your favorite vegetables for a quick weeknight dinner. Daniel loves how practical and versatile this is.
- With a Flavorful Protein: For a heartier meal, serve your noodles alongside a bold main course. The flavors would pair beautifully with a recipe like our Cajun Chicken Pasta, swapping the penne for your fresh ramen.
How to Store ramen noodles
One of the best parts of making a big batch of noodles is having them ready for a quick meal later. Proper storage is key to keeping them fresh and delicious.
For Uncooked Noodles:
You can store the fresh, uncooked ramen noodles in the refrigerator for up to 3-4 days. Dust them generously with cornstarch, arrange them into small nests, and place them in an airtight container. For longer storage, you can freeze them for up to a month. Lay the nests on a baking sheet to freeze individually, then transfer them to a freezer-safe bag. Cook them directly from frozen, adding about a minute to the cooking time.
For Cooked Noodles:
If you have leftover cooked noodles, store them separately from any broth or sauce in an airtight container in the fridge for up to 2 days. I like to toss them with a tiny bit of sesame oil to prevent sticking. Reheat them by briefly dipping them in hot water or adding them directly to a hot soup just before serving.
Nutritional Benefits
Making your own ramen noodles means you control the ingredients, using simple, wholesome items like flour and salt. This recipe provides a wonderful source of carbohydrates for energy, making it a satisfying and comforting foundation for a nourishing meal for the whole family.
FAQs
Can I make these ramen noodles without vital wheat gluten?
You can, but the texture will be quite different. Vital wheat gluten is what gives these ramen noodles their signature “chew” and springiness. Without it, the noodles will be much softer, more like a traditional Italian pasta. If you can’t find it, just know to expect a change in that classic ramen bite.
Why do I need to bake the baking soda?
Baking the baking soda (sodium bicarbonate) converts it into sodium carbonate, a stronger alkaline salt. This alkaline environment is what gives authentic ramen noodles their distinct yellow hue, firm texture, and characteristic flavor. It’s a simple chemistry trick that makes a huge impact on your noodles!
Can I use a pasta machine to roll out the dough?
Absolutely! I highly recommend it. This dough is very firm, and a pasta machine makes the process of rolling it out thin and even much easier. Start with the widest setting and gradually work your way down to your desired thickness before cutting the ramen noodles.
How do I know when the ramen noodles are cooked?
Fresh ramen noodles cook incredibly fast! They typically only need 1 to 2 minutes in boiling water. You’ll know they’re ready when they float to the surface and are tender but still have a pleasant chew. Be sure not to overcook them, as they can become mushy quickly.
Conclusion
There is nothing quite like the satisfaction of sitting down to a meal you’ve created with your own two hands. This recipe for homemade ramen noodles is more than just food; it’s an experience, a story waiting to be told in your kitchen. It’s a chance to connect with the process and share something truly special with the people you love, much like our family-favorite Spinach Mushroom Pasta. I hope you find as much joy in making them as we do.