Black Forest Cake
The first time I tasted a proper Black Forest Cake, I was standing in a tiny bakery in the Black Forest region of Germany, watching snow fall through the window while the owner sliced into a towering, kirsch-soaked masterpiece. The chocolate was dark and barely sweet, the cherries had that boozy depth that makes you close your eyes, and the cream was so light it practically dissolved on my tongue. I knew right then that this wasn’t just dessert—it was an experience I needed to recreate in my own kitchen.
Back home, I spent three years chasing that memory. I ruined cakes that were too dry, others that were too sweet, and one memorable disaster where the whipped cream collapsed into a sad puddle. But last winter, on my grandmother’s birthday, I finally got it right. She took one bite, went quiet for a moment, then said, “This tastes like that trip you told me about.” That was the moment I knew.
This Black Forest Cake has become my signature celebration dessert now. If you’re craving something with similar berry-forward elegance, my low-carb raspberry cheesecake carries that same tart-sweet balance in a lighter form.
What You Need to Make This Recipe
You’ll need Dutch-process cocoa powder—the kind that has been treated with alkali—because it gives the cake that deep, almost black color and mellows the chocolate’s acidity into something smooth and sophisticated. Don’t substitute natural cocoa here; the chemistry matters. For the cherries, I insist on Morello cherries in light syrup, not the bright red maraschinos that have no place in an authentic Black Forest Cake. Their tartness cuts through the richness perfectly. And please, splurge on heavy cream with at least 36% fat for whipping—anything less won’t hold those dramatic peaks between layers. If you’re gathering ingredients for another baking project, my apricot almond coffee cake uses a similar almond base that pairs beautifully with stone fruits.
How to Make Black Forest Cake
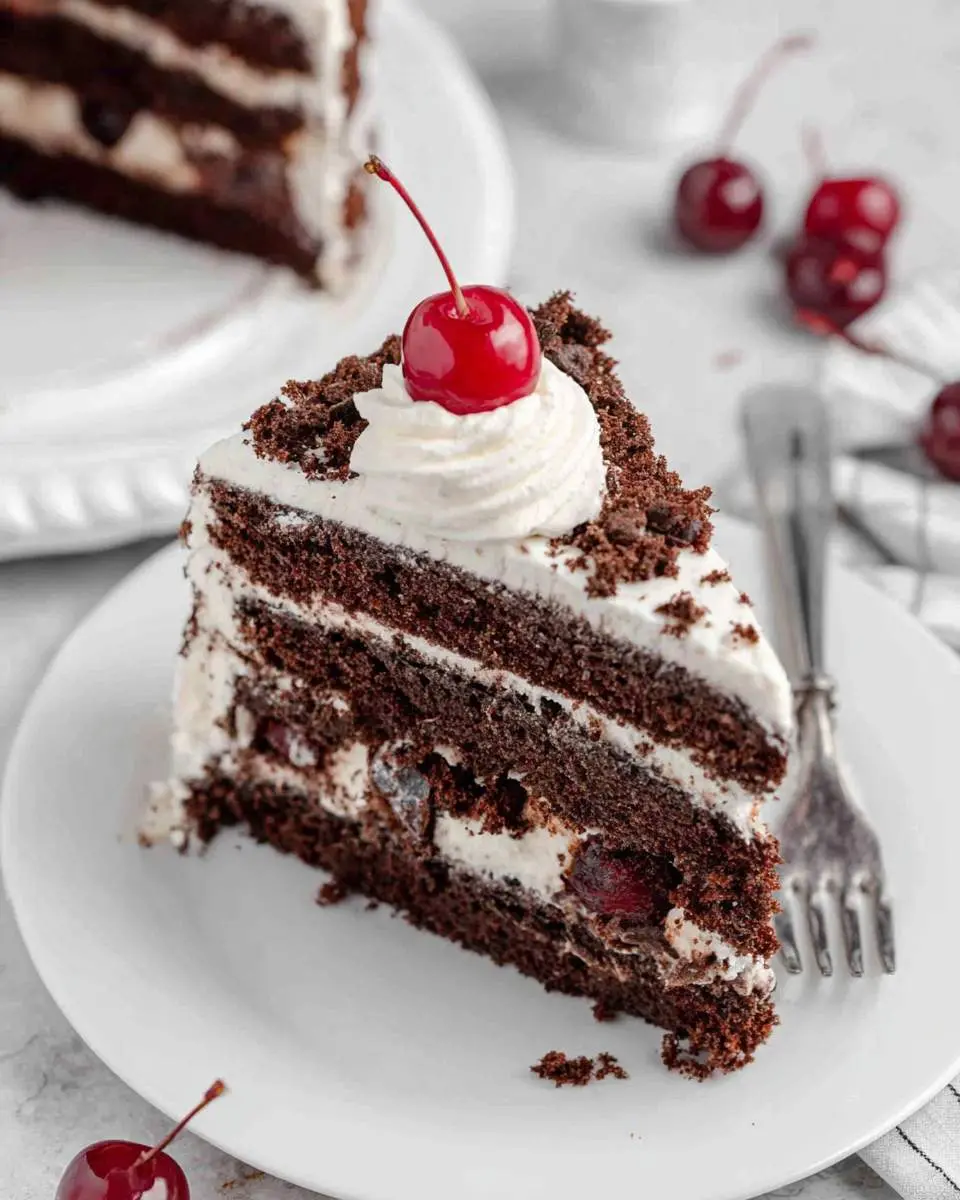
I start by blooming the cocoa in hot coffee—watch how it transforms from powdery and pale to this glossy, fragrant paste that smells like a chocolate factory. The batter comes together in stages: wet ingredients first, then the dry, and I always finish by hand with a spatula to avoid overworking the gluten. The cakes bake low and slow, and your kitchen will fill with this intoxicating aroma that makes everyone wander in asking how much longer.
While they cool, I drain those Morello cherries and save every drop of syrup. That liquid gets reduced with kirsch until it’s syrupy and potent—this is what separates a memorable cake from a forgettable one. I brush it onto each layer generously; the cake should feel almost damp, not soggy. Then comes the whipped cream, which I beat just to stiff peaks with a touch of sugar and vanilla. Too soft and it weeps; too firm and it turns buttery. You’ll know it’s right when the whisk leaves distinct trails that hold their shape.
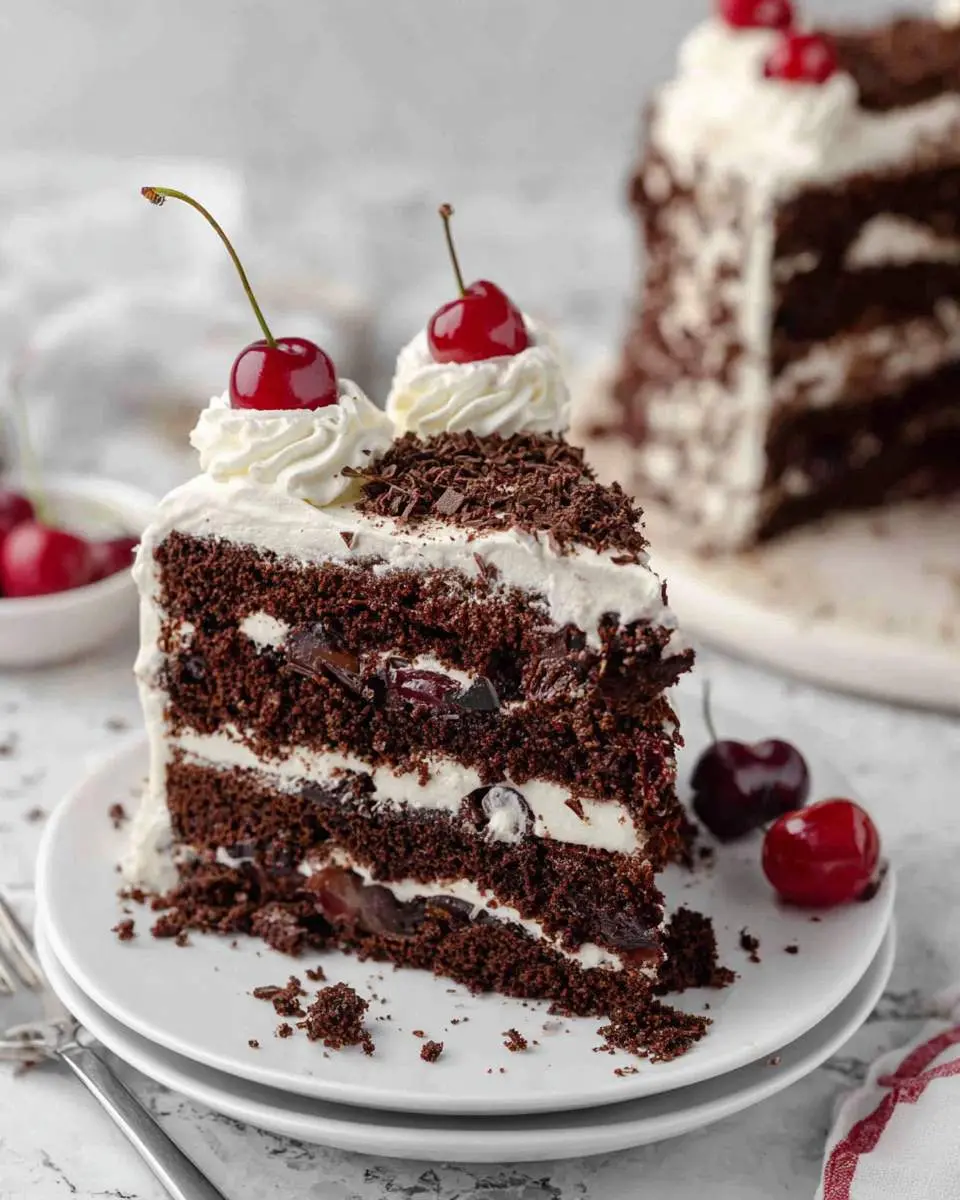
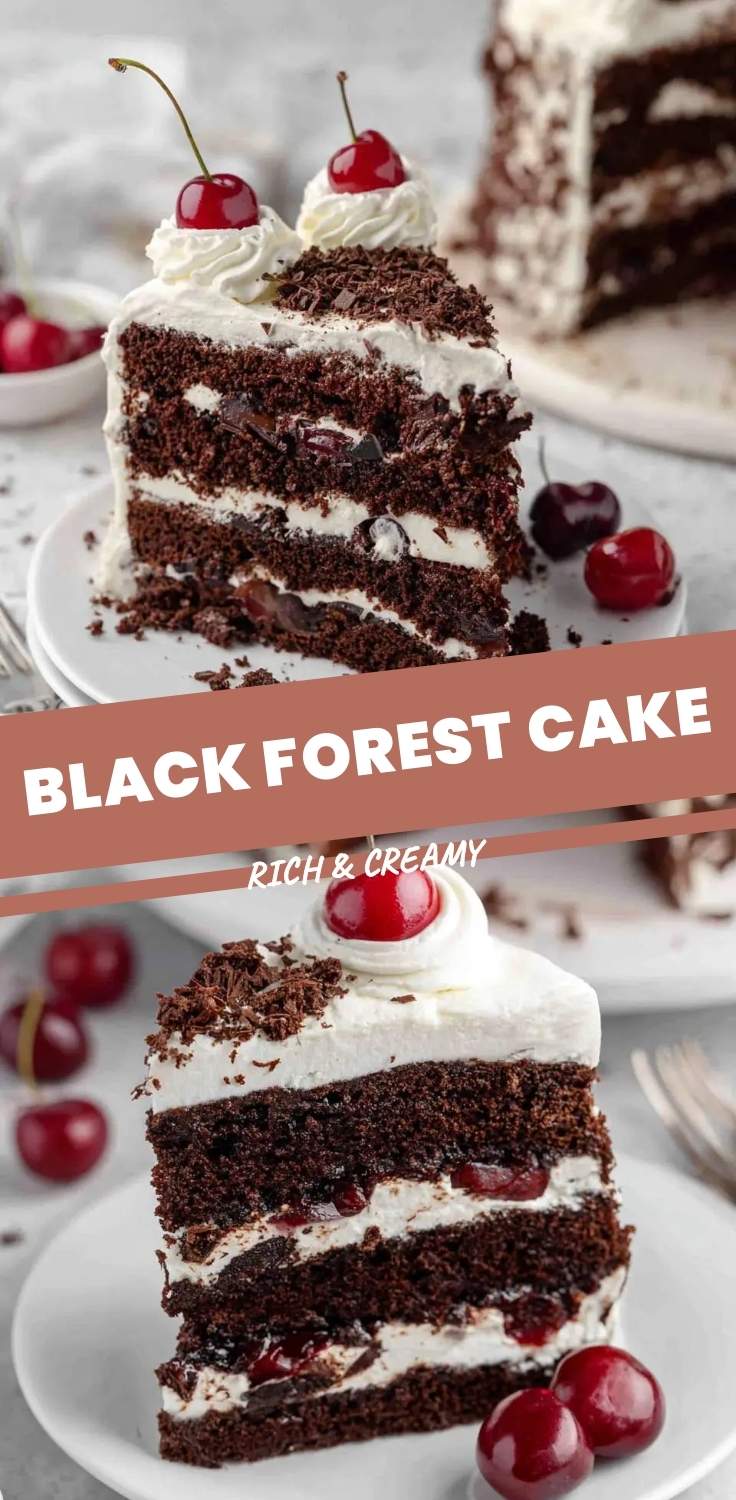
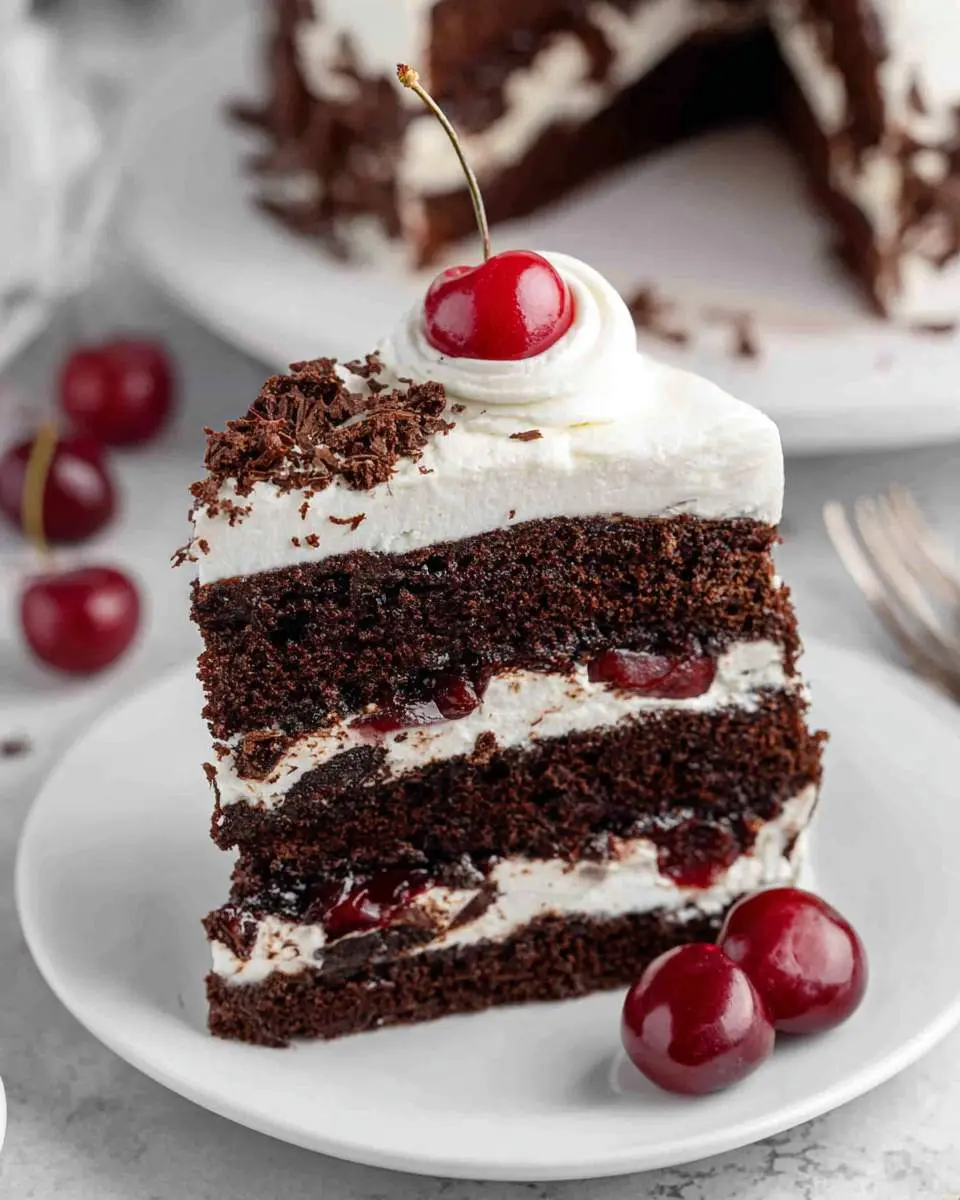
Assembly is where I slow down. Layer of cake, brush of syrup, ring of cream piped to hold the cherries in place, more cream to cover. Repeat. The final coat gets those dramatic chocolate shavings pressed against the sides—use a vegetable peeler on a room-temperature chocolate bar for curls that look professional even when you’re messy about it. For another cherry-forward dessert, my cherry cake keeps things simpler but equally nostalgic.
Pro Tips
Chill your mixing bowl and whisk before whipping cream. I keep mine in the freezer for ten minutes. Cold equipment means faster whipping and more stable structure, which is crucial when you’re building vertical layers that need to support weight.
Don’t skip the kirsch reduction. Raw kirsch poured straight onto cake makes it wet without adding flavor depth. Reducing it with the cherry syrup concentrates the alcohol and creates this sticky, complex glaze that actually soaks in rather than pooling.
Make your chocolate shavings from chocolate that’s slightly warm. Too cold and they crumble into dust; too warm and they melt on contact. I microwave the bar for five-second bursts, testing between each, until the peeler glides through like butter.
My Secret Trick: I pipe a thin “dam” of stiff whipped cream around the edge of each cake layer before filling the center with softer cream and cherries. This wall prevents the filling from squishing out when you stack, giving you those clean, bakery-perfect slices that make people think you trained in Paris.
This Black Forest Cake rewards patience at every stage. Rush the cooling, and your cream melts into the cake. Rush the syrup reduction, and you lose that concentrated cherry flavor. The best versions I’ve made were the ones where I gave myself permission to spread the process across two days.
How to Store Black Forest Cake
- Refrigerate uncovered for the first hour, then cover loosely with plastic wrap to prevent cream from absorbing fridge odors
- Store in the refrigerator at 35-38°F for up to 3 days; the flavors actually improve on day two as the syrup fully penetrates the cake
- Freeze individual slices wrapped in plastic then foil for up to 1 month; thaw overnight in the refrigerator, never at room temperature
- Do not freeze the whole assembled cake—the cream texture suffers and the cherries become watery upon thawing
- Serve cold or let slices sit at room temperature for 15 minutes before eating to soften the cream slightly
Nutritional Benefits
This Black Forest Cake carries more nutritional merit than you’d expect from something so indulgent. The dark chocolate provides meaningful amounts of iron and magnesium, minerals that support energy production and muscle function. The cherries bring anthocyanins—those deep red pigments that research links to reduced inflammation and exercise recovery. I won’t pretend this is health food, but I do appreciate that real ingredients offer real benefits alongside the pleasure.
FAQs
Can I make this without alcohol?
Yes, replace the kirsch with additional cherry syrup plus one teaspoon of almond extract. You’ll lose some complexity but keep the moisture and flavor profile intact. The cake will still taste distinctly Black Forest.
Why did my whipped cream deflate?
Either your cream had insufficient fat content, your equipment wasn’t cold enough, or you over-whipped. Stop when peaks hold their shape but still look glossy and smooth, not grainy or curdled.
Can I use fresh cherries instead of canned?
Fresh cherries work in summer, but you’ll need to pit and cook them down with sugar to release juices and soften their texture. Canned Morellos provide consistent tartness and moisture year-round.
How far in advance can I assemble this Black Forest Cake?
Assemble up to 24 hours ahead—the cake actually improves as the syrup penetrates deeper. Add chocolate shavings just before serving to prevent them from softening in the refrigerator’s humidity.

Black Forest Cake
Ingredients
Equipment
Method
- Preheat oven to 350F. Grease and flour two 9-inch round pans, then line bottoms with parchment. In a large bowl, whisk flour, cocoa powder, sugar, baking soda, and salt. Add eggs, buttermilk, oil, and vanilla. Beat on medium speed for 2 minutes until smooth. Stir in hot coffee - the batter will be thin.
- Divide batter evenly between pans. Bake 30-35 minutes until a toothpick inserted in center comes out with a few moist crumbs. Cool in pans 10 minutes, then turn out onto wire racks to cool completely.
- Drain cherries, reserving 1 cup juice. Combine juice, sugar, and cornstarch in a saucepan. Cook over medium heat, whisking constantly, until mixture thickens and bubbles, about 3-4 minutes. Remove from heat and stir in kirsch and cherries. Cool to room temperature.
- Beat cold heavy cream with powdered sugar and vanilla on medium-high speed until stiff peaks form - about 3-4 minutes. Do not overbeat or it will become grainy.
- Split each cake layer horizontally with a serrated knife to create 4 thin layers total. Place one layer on a cake stand and brush generously with kirsch. Spread with one-third of the cherry filling, then one-third of the whipped cream. Repeat with remaining layers, finishing with whipped cream on top.
- Cover sides of cake with remaining whipped cream. Press chocolate shavings onto sides. Pipe rosettes of whipped cream around top edge and crown each with a fresh cherry. Refrigerate at least 1 hour before slicing - this sets the cream and makes clean cuts possible.
Notes
Conclusion
This Black Forest Cake has earned its place at my most important tables—birthdays, anniversaries, the random Tuesday when someone I love needs reminding that they’re worth the effort. The process teaches patience, and the result teaches that some flavors are worth chasing across years and failed attempts. If you’re looking for another chocolate celebration cake, my chocolate ganache cake delivers that same dramatic presence with a different kind of richness. Make this cake. Make it slowly. Make it for someone who matters.