nectarine galette
There’s something about the late summer sun, still warm on my skin, that just begs for a taste of something simple, sweet, and bursting with fruit. I found myself craving just that last week, a dessert that felt both elegant and effortlessly rustic all at once. And that, my friends, led me straight to creating this incredible nectarine galette.
I remember sitting on my porch, watching the bees buzzing around my small herb garden, and feeling this pull towards something that captured that fleeting summer magic. A galette always feels like such a celebration of fresh produce without any fuss, almost like a happy accident that turns out perfectly every time.
It’s the kind of dessert that looks like you spent hours, but truly, it’s all about letting the beautiful fruit shine. If you’re looking for more ways to celebrate these juicy stone fruits, you might also love my nectarine cobbler.
What You Need to Make This Recipe
For this recipe, the magic really happens with a few simple stars. Perfectly ripe nectarines are a must – not mushy, but yielding just a little, holding their shape beautifully as they bake. And the butter for the crust? Oh, that’s where the flaky, golden perfection truly comes from; I always reach for a high-quality, unsalted stick. A little cornstarch, a secret weapon really, ensures that the juices from our beautiful nectarines thicken just right, preventing any dreaded soggy bottom in our incredible nectarine galette. It’s like a little insurance policy for deliciousness, much like the zing in my lemon icebox pie!
How to Make nectarine galette
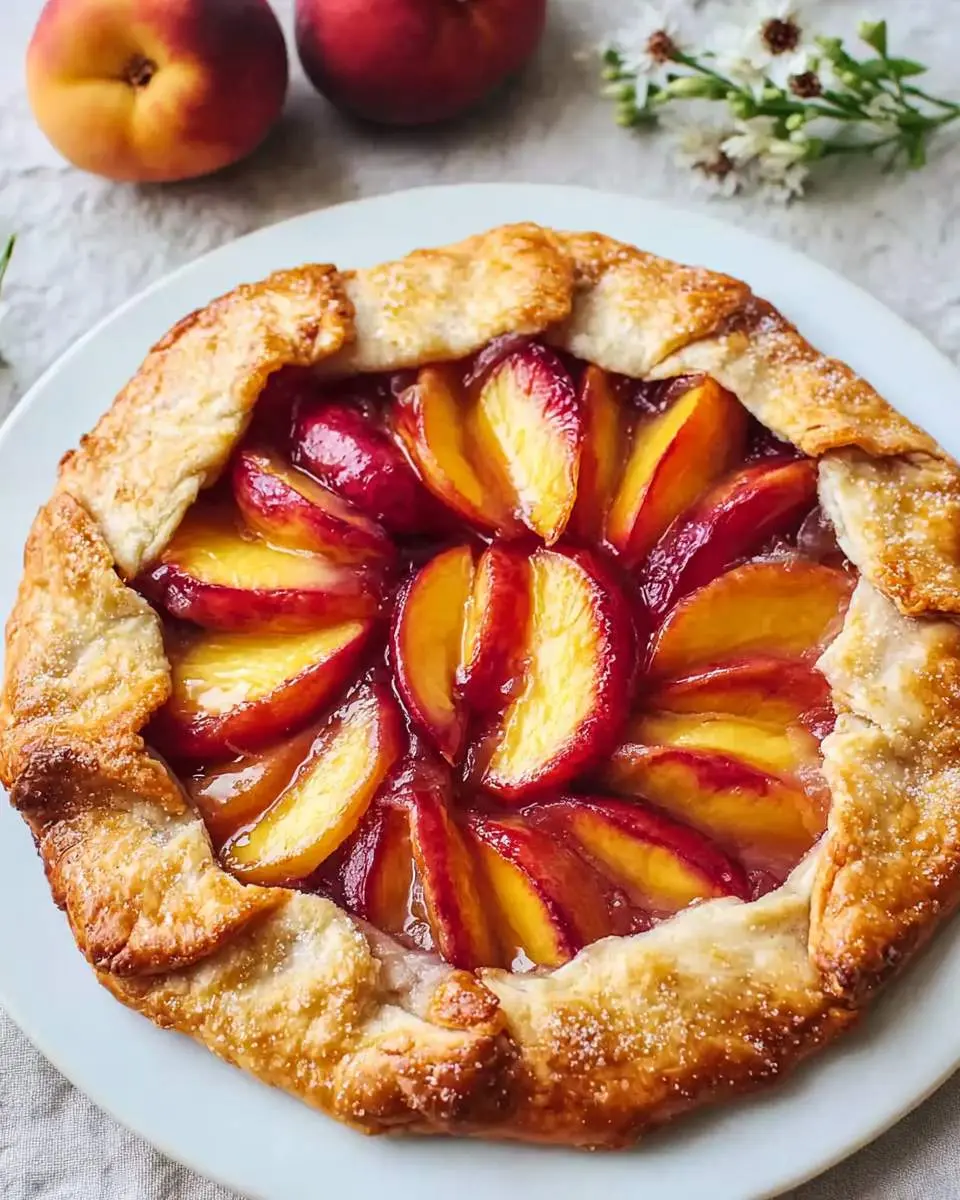
Making this galette always feels like such a satisfying process, starting with rolling out that wonderfully pliable dough. I love the gentle resistance it gives, knowing it’s going to bake up into a crisp, buttery base. Then comes the nectarine slicing, where the sweet, fragrant aroma of the fruit just fills my kitchen – that’s when I know summer is truly here.
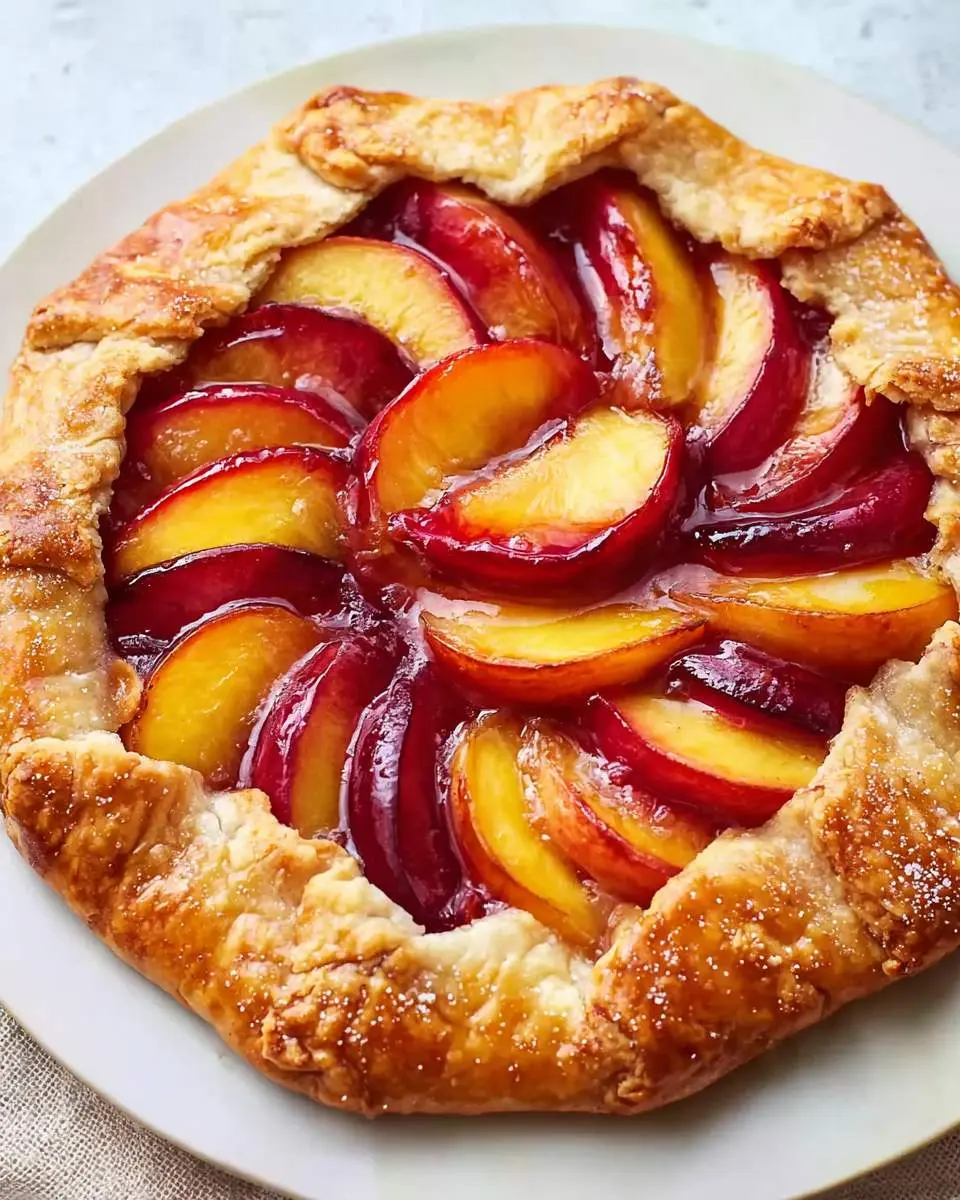
Arranging the slices in a rustic circle feels like I’m painting with fruit, a beautiful, edible mosaic. As it bakes, the smell is just divine: a warm, sweet, buttery perfume that drifts through the house, making everyone ask, “What’s that amazing smell?” You watch the crust turn golden and the fruit juices bubble and caramelize, much like when I prepare my nectarine blueberry galette; it’s a pure joy to witness.
Pro Tips
Getting that perfectly flaky crust and tender, sweet filling is all about a few key details. First, always make sure your butter for the crust is very cold; those tiny pockets of butter are what create incredible flakiness when they melt in the oven. Secondly, don’t overload your galette with too much fruit, as tempting as it might be, because excess moisture can lead to a less-than-crisp bottom.
Chilling your assembled galette for about 15-20 minutes before baking can also really help the crust hold its shape and prevent shrinkage. Keeping your nectarine galette crust crisp is key to enjoying every bite!
My Secret Trick: Sprinkle about a tablespoon of almond flour or crushed vanilla wafers directly onto the rolled-out crust before adding the fruit. It acts as a delicious sponge, soaking up any extra nectarine juices and guaranteeing a perfectly crisp bottom every single time.
How to Store nectarine galette
- Once completely cooled, store leftover galette loosely covered at room temperature for up to 1 day.
- For longer storage, transfer to an airtight container and refrigerate for up to 3 days.
- To freeze, wrap individual slices tightly in plastic wrap, then foil, and store in a freezer-safe bag for up to 1 month.
- Reheat refrigerated or frozen slices in a preheated oven at 300°F (150°C) for 10-15 minutes, or until warmed through and the crust is crisp again.
Nutritional Benefits
Beyond being incredibly delicious, this rustic nectarine galette offers some lovely natural goodness. Nectarines themselves are packed with vitamins A and C, and a good amount of dietary fiber, which is always a bonus. While it’s certainly a treat, using fresh, seasonal fruit means you’re getting some wonderful nutrients tucked into every sweet bite.

FAQs
Can I use frozen nectarines for this galette?
While fresh is always my preference for the best texture and flavor, you absolutely can use frozen nectarine slices. Just make sure to thaw them completely and drain any excess liquid thoroughly before using, so you don’t end up with a watery filling.
How do I prevent a soggy bottom crust?
The key to avoiding a soggy bottom is two-fold: first, ensure your fruit is not overly juicy (drain if needed), and second, use a moisture absorber like almond flour or crushed cookies on the bottom of the crust before adding the filling. Baking on a hot baking sheet can also help.
Can I prepare the galette dough ahead of time?
Yes, absolutely! You can make the galette dough up to 2-3 days in advance. Just wrap it tightly in plastic wrap and store it in the refrigerator. Let it sit at room temperature for about 10-15 minutes before rolling it out to make it more pliable.
How do I know when the galette is fully baked?
You’ll know your nectarine galette is perfectly baked when the crust is a deep golden brown, and the fruit filling is bubbly and tender. The edges of the crust should look crisp and the fruit should yield easily when poked with a fork.


Nectarine Galette
Ingredients
Equipment
Method
- In a large bowl, whisk together the flour, 1 tablespoon of granulated sugar, and 0.5 teaspoon of salt. Add the very cold, cubed butter and cut it into the flour mixture using a pastry blender or your fingertips until pea-sized crumbs form. You want some larger pieces of butter for flakiness!
- Gradually add the ice water, 1 tablespoon at a time, mixing gently until the dough just comes together. Be careful not to overmix! Form the dough into a disc, wrap it tightly in plastic, and refrigerate for at least 30 minutes (or up to 2 days).
- While your dough is chilling, prepare the nectarines. In a medium bowl, gently toss the sliced nectarines with 0.25 cup granulated sugar, cornstarch, freshly squeezed lemon juice, and pure vanilla extract. Let this mixture sit while you prepare your workspace.
- Preheat your oven to 400°F (200°C). Line a large baking sheet with parchment paper; this will make cleanup much easier and prevent sticking.
- On a lightly floured surface, roll out the chilled dough into a rough 12 to 14-inch circle. Don't worry if it's not perfectly round – rustic is the charm of a galette! Carefully transfer the rolled dough to your prepared baking sheet.
- Arrange the nectarine slices in a single layer over the dough, leaving a 2-inch border all around. Fold the dough border up over the fruit, pleating it as you go to create that beautiful, free-form rustic edge.
- Brush the folded dough edge with the beaten egg and sprinkle it generously with turbinado sugar for a lovely sparkle and crunch. Bake for 35 to 40 minutes, or until the crust is deeply golden brown and the fruit filling is tender and bubbling.
- Let the galette cool on the baking sheet for at least 15-20 minutes before slicing and serving. This is important as it allows the fruit juices to set, preventing a runny mess when you cut into it.
Notes
Conclusion
This nectarine galette truly is a slice of summer joy on a plate, bringing together those sweet, fragrant fruits with a perfectly crisp, buttery crust. I hope you feel inspired to bring this simple elegance into your own kitchen and savor every sun-kissed bite. It’s a wonderful way to celebrate the season’s bounty, and I promise you, everyone will be asking for the recipe. If you enjoyed this, you might also adore our blueberry galette.