peanut butter ice cream
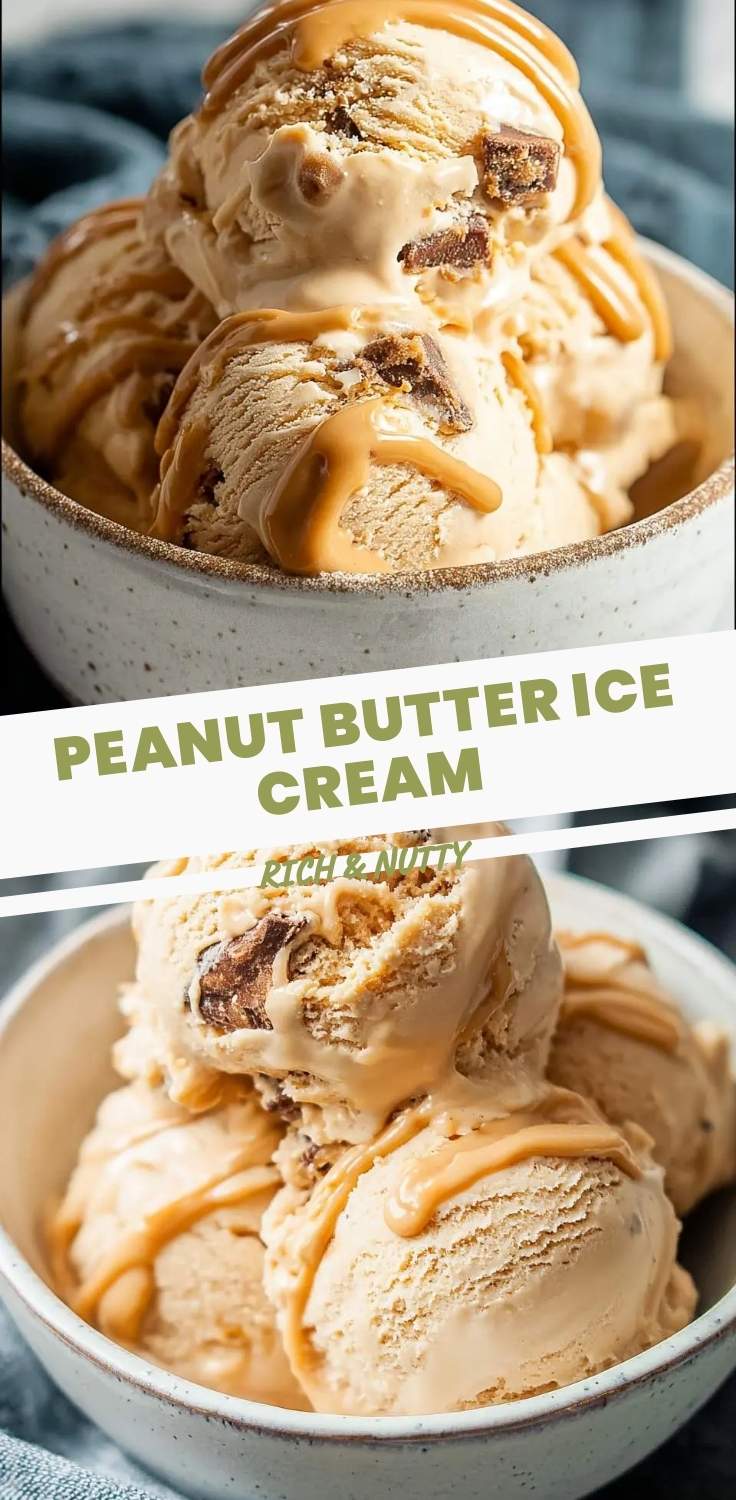
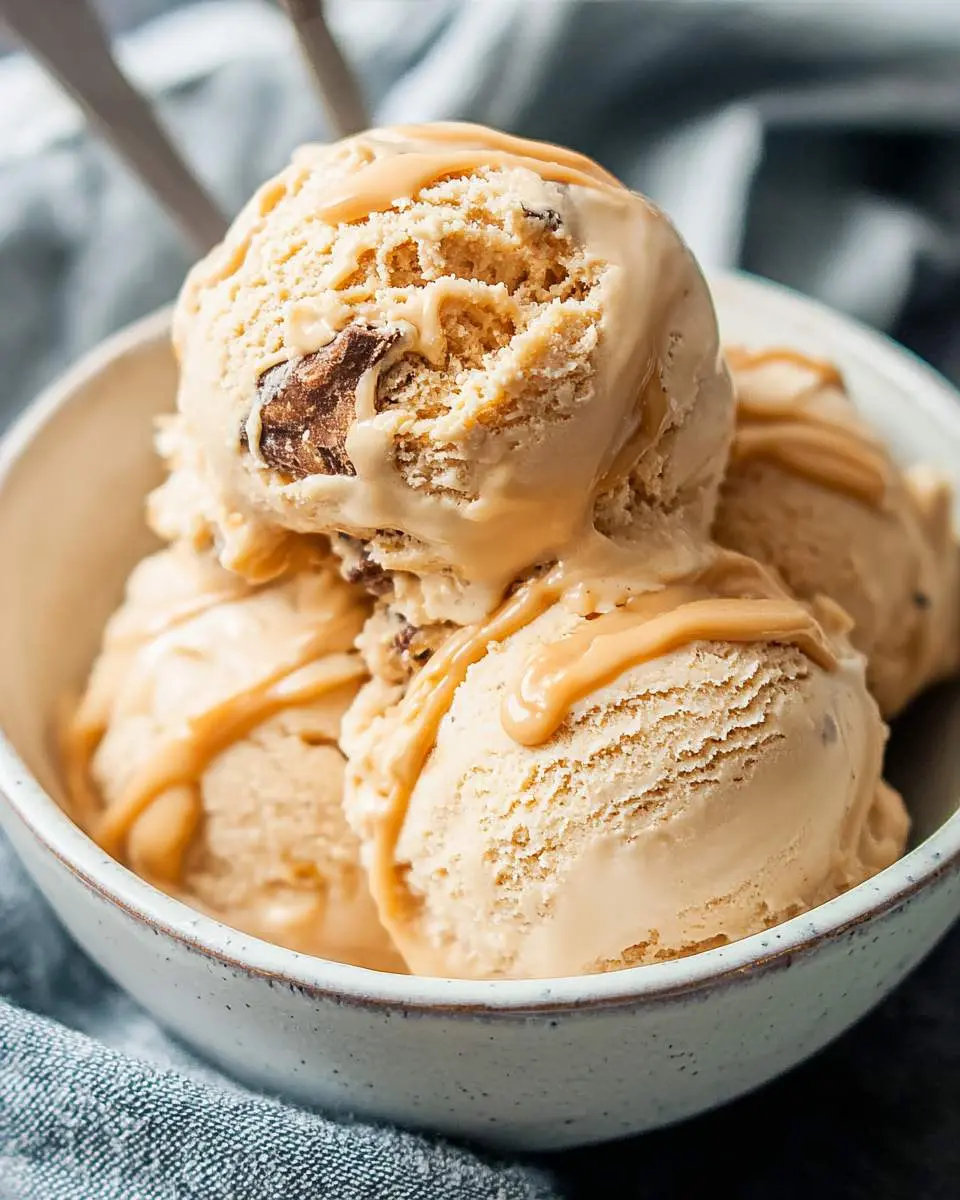
The summer sun always makes me crave something cold and wonderfully decadent, and lately, my thoughts have drifted to a creamy, dreamy treat. I’m talking about the kind of indulgence that makes you close your eyes and savor every single spoonful – a truly irresistible homemade peanut butter ice cream.
I remember a time when I thought store-bought was good enough, but one afternoon, messing around in my kitchen, I stumbled upon a version that just blew everything else out of the water. My husband practically inhaled his bowl.
It’s surprisingly simple to make, and I promise, the effort is so worth it for that velvety texture and intense flavor. If you’re anything like me and love a rich, cooling dessert, you might also enjoy my homemade coffee ice cream recipe.
What You Need to Make This Recipe
When I decided to perfect this recipe, I realized a few key players make all the difference for the best peanut butter ice cream. First, using a really good quality, natural peanut butter (the kind that separates a little) is essential; it gives you that true, intense peanut flavor without a lot of extra sugar or oils. Then, heavy cream and whole milk are your foundation for that unbelievably rich and smooth texture – please don’t skimp here, it’s what makes it feel so luxurious. And finally, a touch of brown sugar adds a lovely depth and chewiness that white sugar just can’t quite replicate. For another great no-churn option, check out my recipe for no-churn vanilla ice cream.
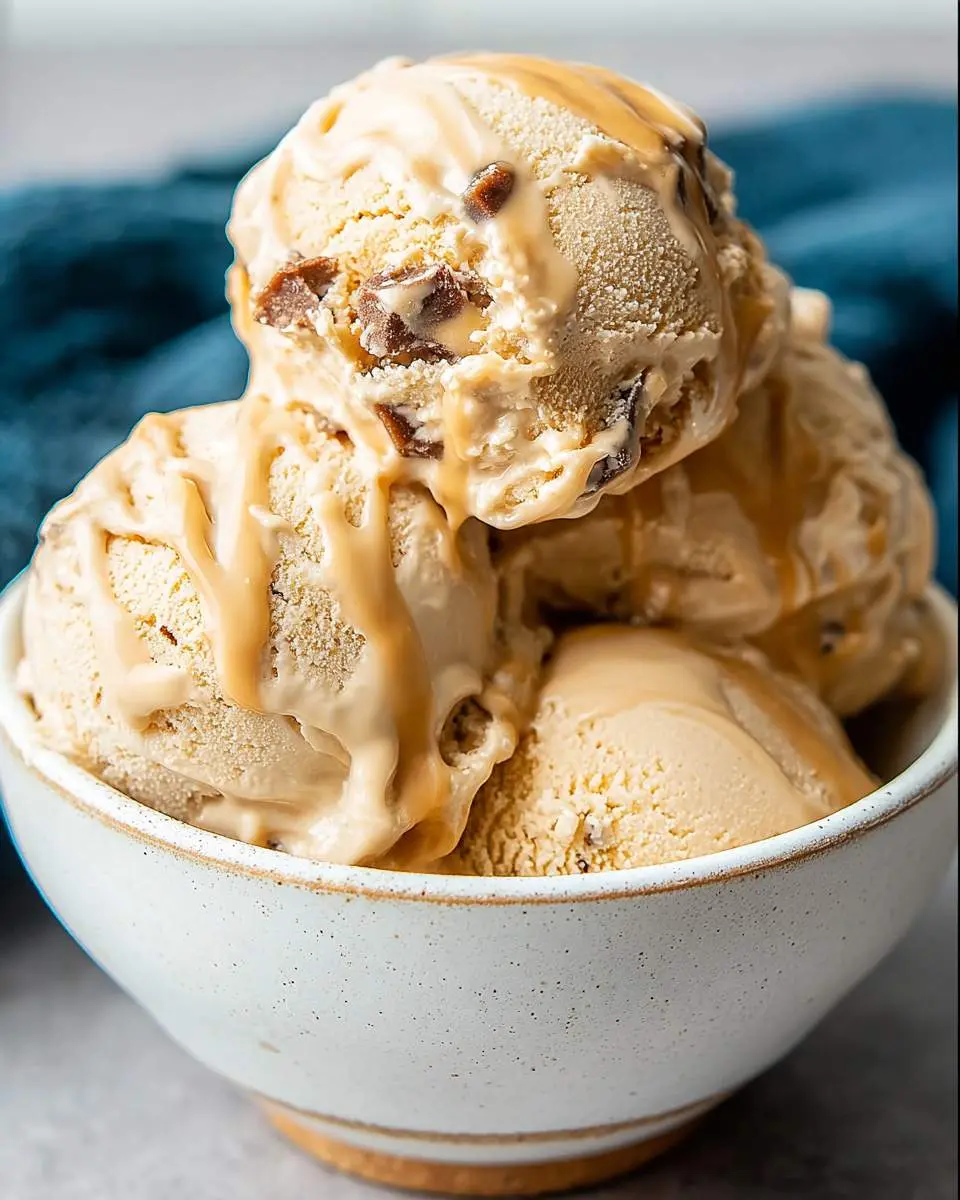
How to Make peanut butter ice cream
The magic starts with a gentle simmer on the stovetop, where the milk, cream, and sugars come together, slowly dissolving into a fragrant, warm base. You’ll stir it patiently, watching as the mixture just barely begins to steam, then remove it before it boils. Next, the star of the show, the peanut butter, gets whisked in until it melts completely, transforming the pale cream base into a beautifully uniform, nutty golden liquid that smells absolutely divine. After a good chill in the fridge, letting all those flavors really get to know each other, it’s time for the ice cream maker to do its wonderful churning dance. It’s so satisfying to watch it slowly transform into a thick, soft-serve consistency. For another peanut butter treat, don’t miss my peanut butter banana ice cream.
Pro Tips
To get that truly incredible texture in your homemade peanut butter ice cream, I’ve learned a few things.
- Chill the Base Thoroughly: Make sure your ice cream base is absolutely ice-cold before churning, ideally chilling for at least 8 hours or even overnight. This allows the fat globules to firm up, leading to a much smoother, creamier final product.
- Don’t Over-Churn: Stop your ice cream maker when the mixture resembles soft-serve. Over-churning can incorporate too much air, leading to a grainy texture, so trust your eyes and the machine’s sound.
- My Secret Trick: For an extra rich and slightly chewy result, stir in a quarter cup of softened cream cheese to the warm base before chilling. It emulsifies beautifully and prevents ice crystals, making it incredibly smooth.
- Add-ins at the End: If you want to include chopped peanuts, chocolate chips, or fudge swirls, gently fold them in during the last few minutes of churning, or after the ice cream is transferred to a freezer-safe container. This ensures they are evenly distributed without getting crushed.
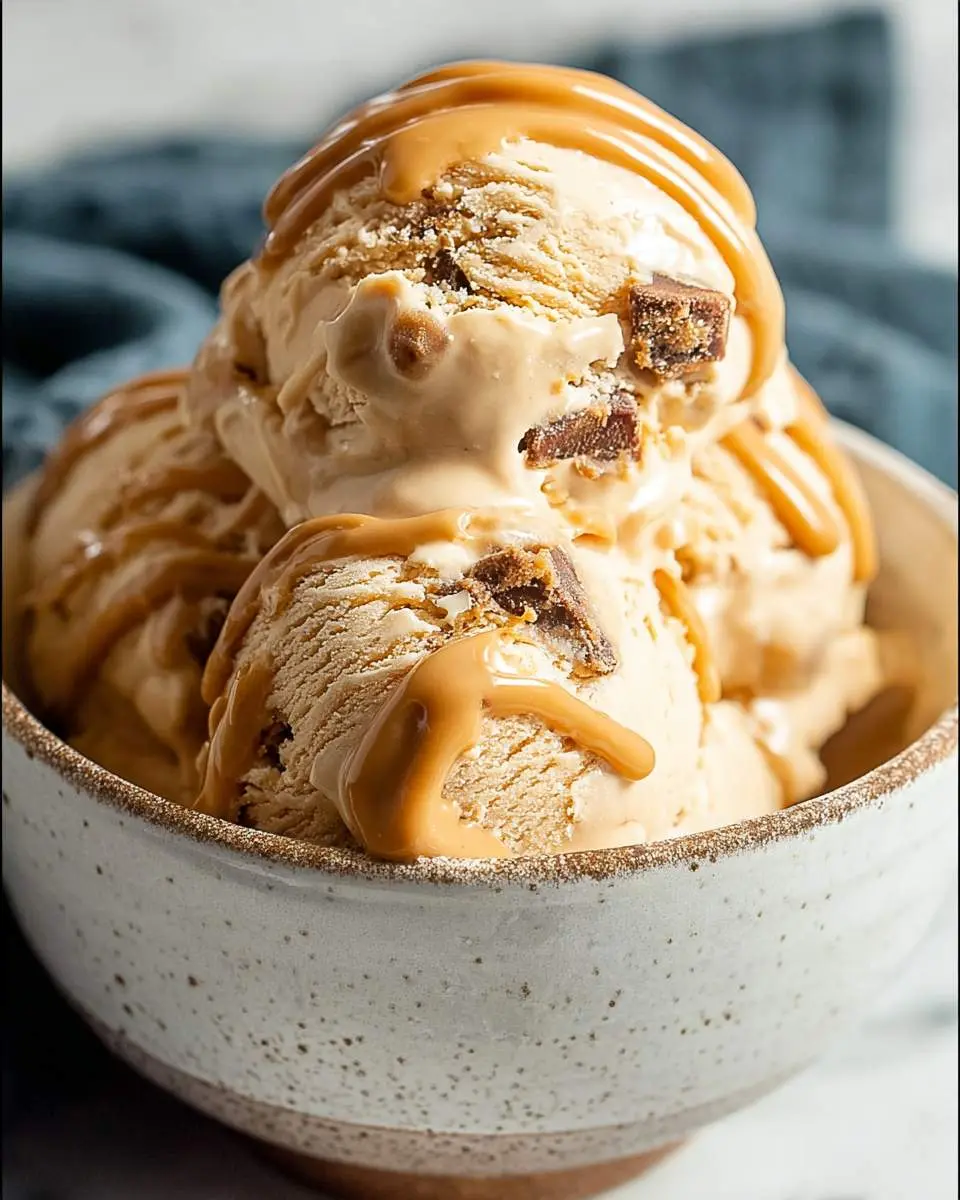
How to Store peanut butter ice cream
- Once churned, transfer your fresh peanut butter ice cream to an airtight, freezer-safe container. I love using shallow, rectangular containers that allow for even freezing.
- Press a piece of plastic wrap directly onto the surface of the ice cream before securing the lid. This prevents ice crystals from forming and keeps it wonderfully creamy.
- Store in the coldest part of your freezer for up to 2-3 weeks for the best quality. After that, it might start to lose some of its vibrant flavor and texture.
- For serving, let it sit out on the counter for 5-10 minutes to soften slightly, making it easier to scoop and enjoy.
Nutritional Benefits
While we’re mostly here for the sheer joy of flavor, there are some pleasant benefits to indulging in this peanut butter ice cream. The star ingredient, peanut butter, provides a good source of protein and healthy fats, which help keep you feeling satisfied. Plus, it’s a decent source of niacin and magnesium, contributing to overall well-being in a surprisingly delicious package.
FAQs
Can I make this recipe without an ice cream maker?
While an ice cream maker gives the best, creamiest texture, you can try a no-churn method. Freeze the base for 30 minutes, then whisk vigorously. Repeat this every 30 minutes for about 3-4 hours until firm. It requires patience but works!
What kind of peanut butter should I use?
I always recommend natural, unsweetened creamy peanut butter for this recipe. The kind with oil separation is ideal. Avoid heavily processed or sweetened varieties, as they can make it too sweet and impact texture. A good quality peanut butter ice cream shines with natural ingredients.
Can I add mix-ins to the ice cream?
Absolutely! This is where you get creative. I love adding mini chocolate chips, chopped roasted peanuts, or a swirl of fudge in the last few minutes of churning or when transferring to the freezer. Just don’t overdo it, or it can become too solid.
How long does it take for the ice cream to freeze solid?
After churning, the ice cream is soft-serve. It needs 4-6 hours in the freezer to firm up to scoopable texture. For optimal firmness, I usually let it freeze overnight. Patience is truly key for that perfect scoop.

Peanut Butter Ice Cream
Ingredients
Equipment
Method
- In a medium saucepan, whisk together the whole milk, granulated sugar, and salt over medium-low heat. Stir frequently until the sugar is completely dissolved, about 3-5 minutes. Don't let it boil, just get it warm enough to dissolve the sugar.
- Remove the saucepan from the heat. Add the creamy peanut butter to the warm milk mixture and whisk vigorously until it's completely smooth and no lumps of peanut butter remain. This might take a minute or two of dedicated whisking.
- Pour the heavy cream and vanilla extract into the peanut butter mixture. Whisk everything together until well combined and the mixture is uniform in color and texture.
- Transfer the ice cream base to a large mixing bowl or pitcher, cover it with plastic wrap, and refrigerate for at least 4 hours, or preferably overnight. Chilling the base thoroughly is key to achieving the best ice cream texture.
- Once the base is thoroughly chilled, pour it into the frozen bowl of your ice cream maker. Churn according to the manufacturer's instructions, usually for 20-30 minutes, until the ice cream has thickened to the consistency of soft-serve.
- Transfer the soft ice cream to an airtight freezer-safe container. Press a piece of parchment paper or plastic wrap directly onto the surface of the ice cream to prevent ice crystals from forming. Freeze for another 3-4 hours (or until firm) before scooping and serving.
Notes
This ice cream can be made ahead and stored in an airtight container in the freezer for up to 2 weeks. If it becomes too hard, let it sit at room temperature for 10-15 minutes before serving.
Serve this delightful ice cream on its own, or get fancy with a drizzle of chocolate sauce, a dollop of whipped cream, or even crumbled peanut butter cookies.
Conclusion
This peanut butter ice cream has become a true staple in our home, and I hope it finds a special place in yours too. There’s just something so comforting and deeply satisfying about that rich, creamy, nutty flavor. It’s a dessert that genuinely brings a smile to everyone’s face, and I’m so thrilled to share it with you. If you’re looking for more frozen delights, don’t forget to check out my recipe for banana ice cream.