
Ingredients
Equipment
Method
Make the Waffle Batter
- In a large bowl, whisk together the flour, cocoa powder, sugar, baking powder, and salt until no cocoa lumps remain. This base gives you that deep chocolate flavor without being too sweet.
- Make a well in the center and pour in the milk, melted butter, eggs, and vanilla. Whisk just until combined - a few small lumps are fine. Overmixing makes tough waffles. Let the batter rest for 10 minutes while you heat your waffle iron.
Cook the Waffles
- Preheat your waffle iron to medium-high. Lightly grease if your iron requires it. Pour in batter according to your iron's capacity - about 1/2 to 3/4 cup for a round Belgian iron. Cook until the waffles are crisp and release easily, 4 to 5 minutes. They should look matte, not shiny, on the surface. Transfer to a wire rack to cool completely - about 30 minutes. Warm waffles will melt the ice cream instantly.
Assemble the Sandwiches
- Once waffles are completely cool, use a sharp knife to trim them into even squares or rectangles if needed. Pair up similar-sized pieces - you'll need 12 total halves for 6 sandwiches.
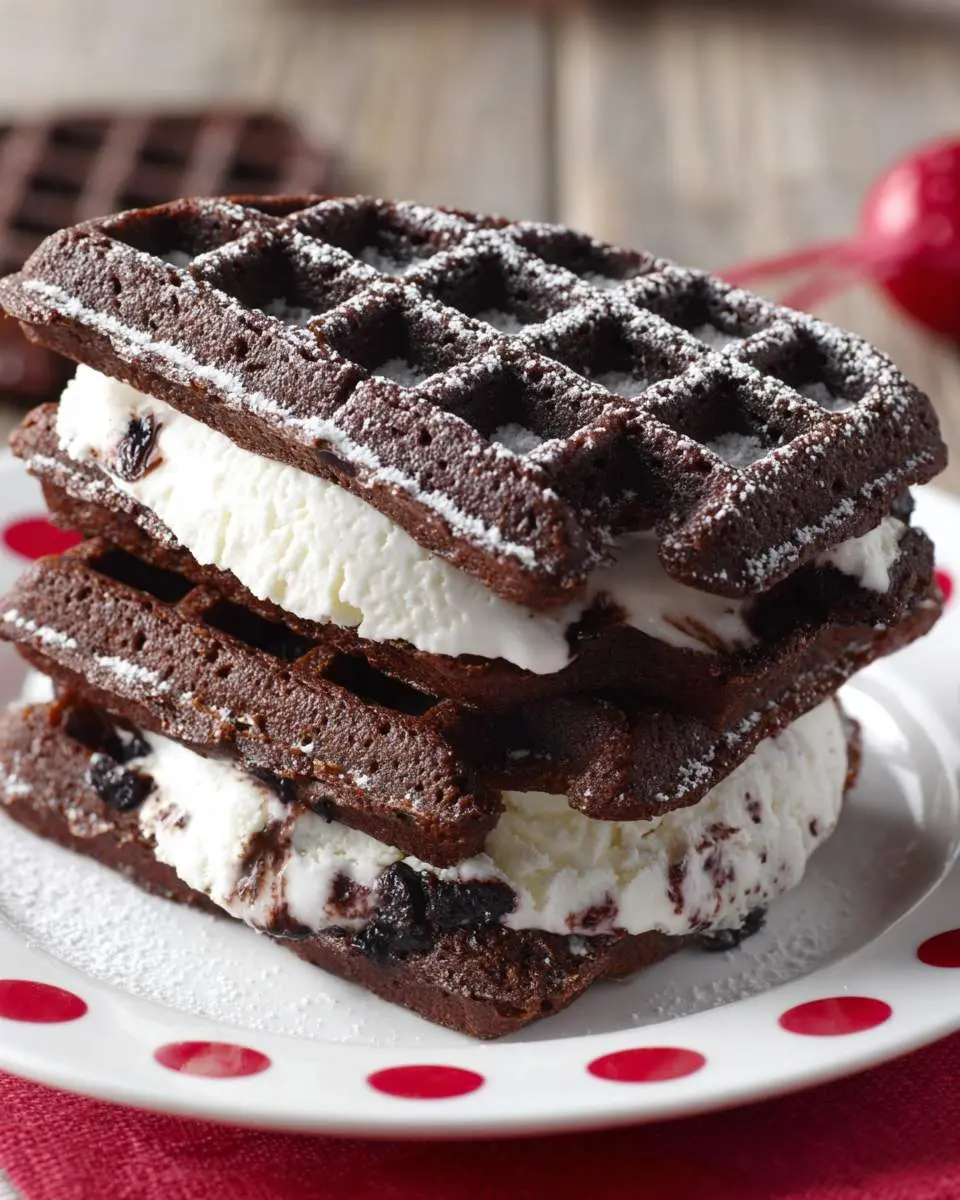
- Working quickly, scoop about 1/2 cup slightly softened ice cream onto one waffle half. Press the second half on top gently but firmly, squeezing the ice cream to the edges. If using sprinkles or mini chips, roll the exposed ice cream edges in them now. Wrap each sandwich tightly in plastic wrap and freeze for at least 1 hour, or until firm.
- Unwrap and serve frozen. The waffles stay surprisingly crisp even after freezing, giving you that perfect contrast of crunchy, fudgy, and creamy in every bite.
Notes
For extra-crisp waffles that hold up to freezing, cook them a full minute longer than your iron suggests - the darker color means less moisture. Coffee ice cream or mint chip are excellent flavor swaps that pair beautifully with the chocolate waffles. These keep wrapped in the freezer for up to 1 week; let sit at room temperature for 2 minutes before serving for the best texture.