chocolate chip scones
That comforting scent of butter and sugar, mingling with just a hint of vanilla, always pulls me into the kitchen. There’s something so incredibly appealing about a fresh bake, especially when it promises those irresistible pockets of melted chocolate. It’s exactly what I dreamt of when I first decided to tackle homemade chocolate chip scones.
My earliest attempts at scones were, let’s just say, more akin to rock cakes than tender pastries. But I was determined to get that perfect crumbly-yet-fluffy texture, reminiscent of my favorite bakery. This recipe is the culmination of quite a few weekend mornings spent perfecting my technique!
Getting the technique right transforms a simple treat into something truly special, a little bit of magic right in your own home. If you’ve enjoyed my approach to rhubarb muffins, you’ll love diving into the world of scones with me.
What You Need to Make This Recipe
For these truly special chocolate chip scones, the ingredients themselves are simple, but their quality and how you handle them make all the difference. I always stress using really cold, unsalted butter, because those tiny pockets of fat are what give you that incredible flakiness when they melt in the oven. Good quality all-purpose flour provides the structure, and of course, your favorite chocolate chips are non-negotiable for those melty bursts of flavor – I often find myself reaching for dark chocolate. If you’re into delicious breakfast pastries like lemon ricotta pancakes, you already know how a few key ingredients can elevate everything.
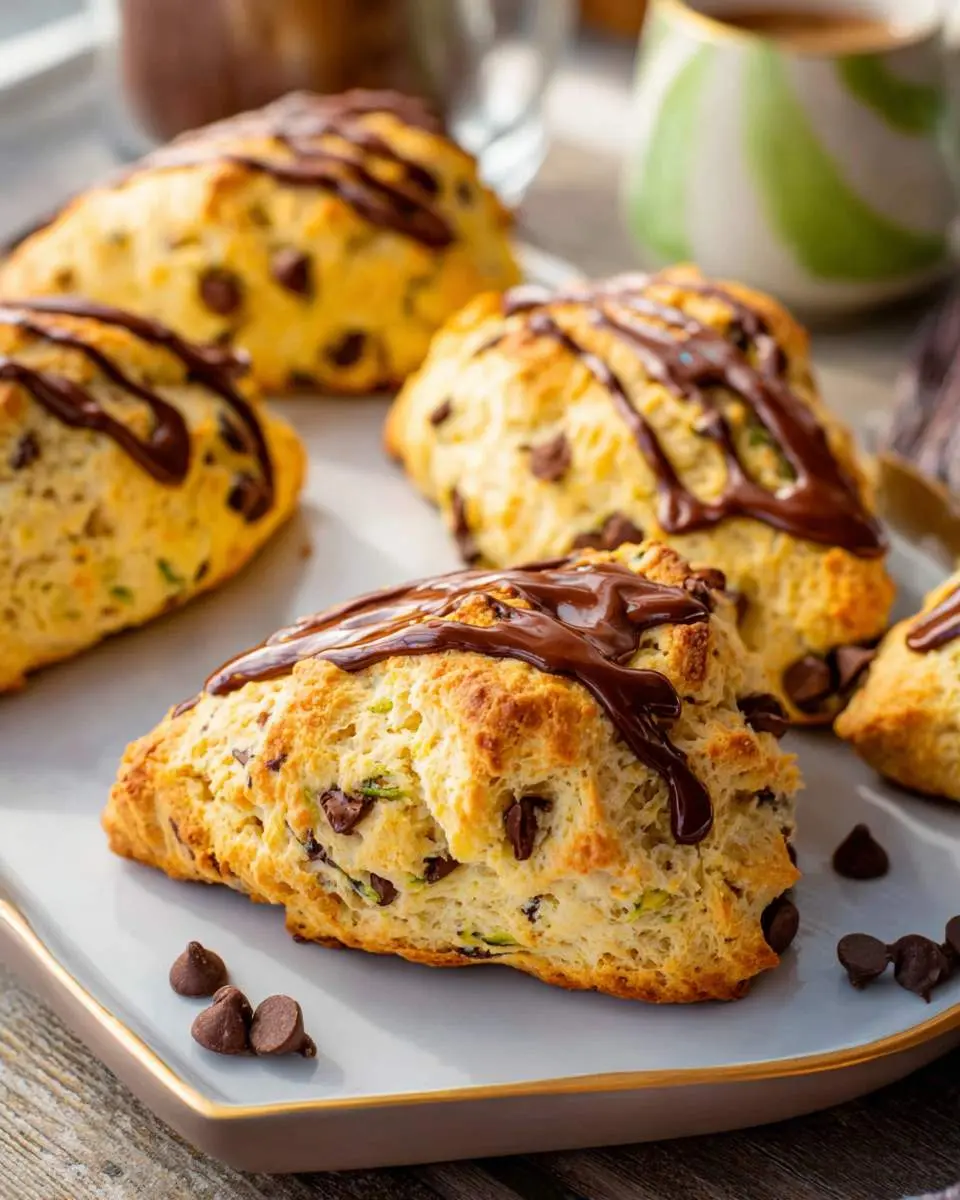
How to Make chocolate chip scones
The process of making these scones is a delightful journey, starting with whisking your dry ingredients together in a large bowl. Then comes the fun part: working in that cold butter. I love the feeling of rubbing it into the flour with my fingertips, aiming for a mix that looks like coarse sand with pea-sized bits of butter still visible – that’s the secret to flakiness.
Next, we introduce the wet ingredients, bringing everything together gently until just combined. The key here is not to overmix; too much handling develops the gluten, and we want tender, not tough, scones. Once the dough is formed, a quick pat into a disk, a cut into wedges, and they’re off to the oven.
Watching them puff up and turn golden, filling my kitchen with the most incredible aroma, is always so satisfying. This method ensures a beautiful rise and a tender crumb, a technique I’ve found so reliable that it even translates well to recipes like chocolate chip coffee scones.
Pro Tips
- Keep your ingredients cold: This is my absolute golden rule for perfectly flaky scones. Cold butter creates steam pockets in the oven, leading to those beautiful layers we all crave.
- Don’t overmix the dough: Once you add the wet ingredients, mix only until just combined. Overworking develops gluten, which makes for tough, dense scones instead of light, tender ones.
- Avoid twisting the cutter: When you cut out your scone wedges, press straight down and lift straight up. Twisting seals the edges, which can prevent the scones from rising properly and creating that lovely split.
My Secret Trick: I often grate my frozen butter directly into the dry ingredients. This distributes the butter super evenly and keeps it incredibly cold, making it even easier to achieve that perfect crumbly texture for your chocolate chip scones.

How to Store chocolate chip scones
- Store baked scones at room temperature in an airtight container for up to 2-3 days.
- For longer storage, freeze baked scones individually wrapped in plastic wrap, then placed in a freezer bag, for up to 1 month.
- To reheat, place frozen scones directly into a 300°F (150°C) oven for about 10-15 minutes, or until warmed through.
- You can also freeze unbaked scone wedges on a baking sheet, then transfer them to a freezer bag once solid. Bake from frozen, adding a few minutes to the baking time.
Nutritional Benefits
While these are definitely a treat, these chocolate chip scones offer a lovely burst of energy to start your day or conquer an afternoon slump. The flour provides carbohydrates for fuel, and if you opt for dark chocolate, you’re even getting a small dose of antioxidants. It’s a delightful way to enjoy a comforting snack while knowing it brings a little something extra.

FAQs
How can I make my scones extra flaky?
The secret lies in extremely cold butter and minimizing handling. Small, cold pieces of butter create steam pockets as they bake, resulting in those beautiful, flaky layers.
Can I use milk instead of heavy cream?
While milk can work, heavy cream is preferred because its higher fat content contributes to a richer flavor and a more tender, moister crumb. It truly elevates the texture.
My scones didn’t rise much. What went wrong?
This is often due to overworking the dough, which develops gluten and makes them tough. Ensure your baking powder is fresh, and don’t twist the cutter when shaping, as this can seal the edges.
Can I add other mix-ins besides chocolate chips?
Absolutely! Feel free to experiment with dried fruit, nuts, or citrus zest. Just be sure not to overfill, as too many additions can make the dough difficult to handle.


Chocolate Chip Scones
Ingredients
Equipment
Method
- Preheat your oven to 400°F (200°C). Line a baking sheet with parchment paper. In a large mixing bowl, whisk together the flour, granulated sugar, baking powder, and salt until well combined.
- Add the cold, cubed butter to the dry ingredients. Using a pastry blender or two forks, cut the butter into the flour mixture until it resembles coarse crumbs with some pea-sized pieces of butter remaining. This is key for tender scones!
- Stir in the semi-sweet chocolate chips. Pour in 1/2 cup of cold heavy cream. Mix gently with a fork or your hands until the dough just comes together. Be careful not to overmix; a shaggy dough is what you're aiming for.
- Turn the dough out onto a lightly floured surface. Gently pat it into an 8-inch round disc, about 1-inch thick. Don't knead it much. Using a sharp knife or a bench scraper, cut the disc into 8 wedges, like a pizza.
- Carefully transfer the wedges to your prepared baking sheet, leaving a little space between them. Brush the tops of the scones with the remaining 1 tablespoon of heavy cream. Bake for 18-20 minutes, or until the tops are golden brown and a wooden skewer inserted into the center comes out clean.
- Let the scones cool on the baking sheet for about 5 minutes before transferring them to a wire rack to cool completely. These are best enjoyed warm on the day they're baked!
Notes
Conclusion
There’s nothing quite like pulling a fresh batch of these warm, tender chocolate chip scones from the oven. The smell, the crisp exterior giving way to a soft, buttery inside, and those gooey chocolate pockets – it’s pure bliss. I truly hope you give them a try and experience that same joy in your own kitchen. If you’re looking for other delightful treats, you might also love my cherry chocolate chip scones!