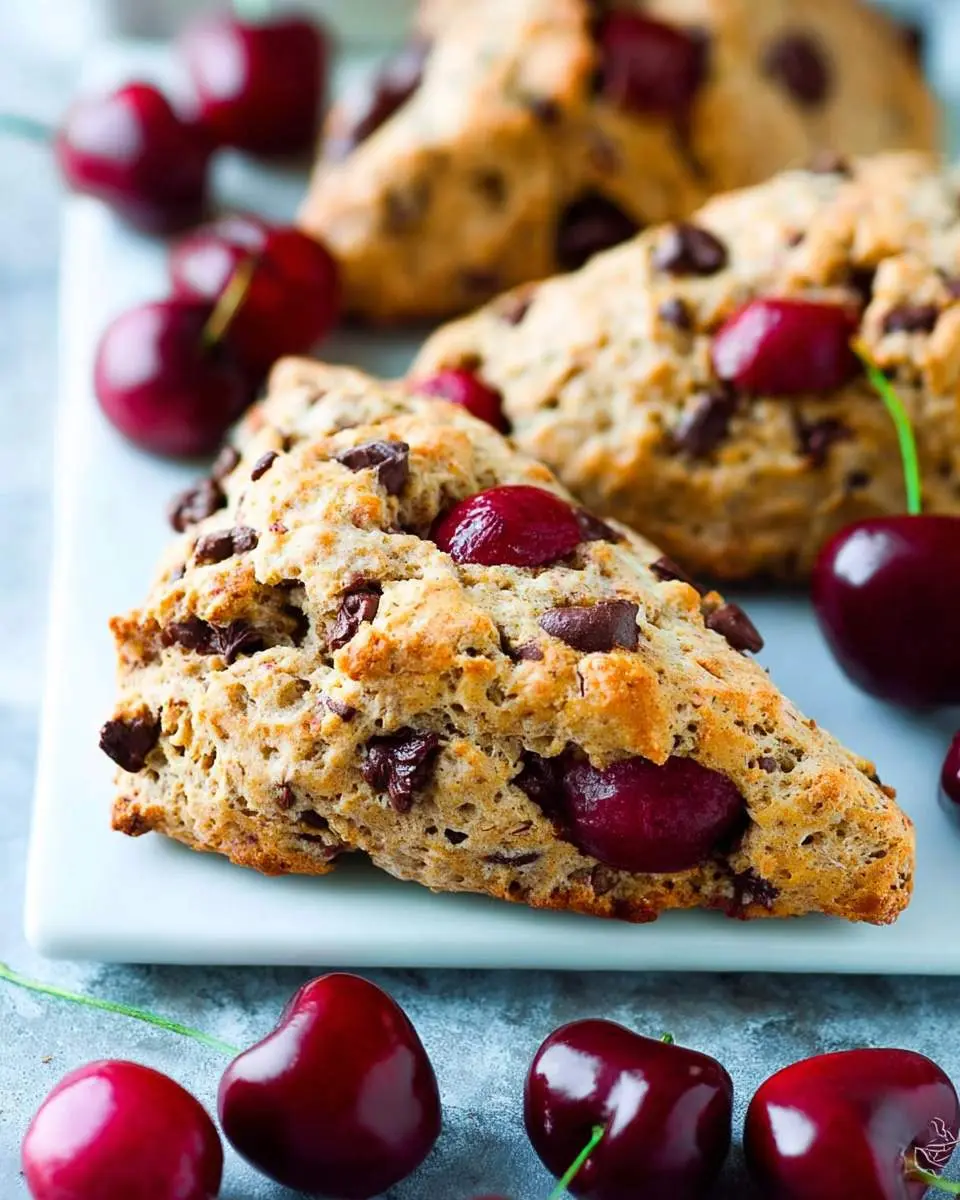
cherry chocolate chip scones
There’s nothing quite like the aroma of freshly baked cherry chocolate chip scones filling my kitchen on a quiet morning. These delightful treats, with their tender, flaky crumb and bursts of sweet-tart cherries and melting chocolate, are pure comfort. Just like finding joy in a warm cup of chocolate chip coffee scones, these scones bring a special kind of simple happiness to any breakfast or brunch.\n\nI remember learning to bake scones with my grandmother, her hands guiding mine as we mixed and kneaded. It’s a memory I now share with my daughter, teaching her the magic of creating something so delicious from scratch, much like those cherished family traditions.\n\nThese cherry chocolate chip scones are truly a low-stress indulgence, offering a hearty and comforting start to any day. My best advice for baking them is to ensure your butter is very cold; it’s the secret to that perfectly flaky texture!\n\n## What You Need to Make This Recipe\n\nTo create these irresistible cherry chocolate chip scones, you’ll gather simple pantry staples like all-purpose flour, rich unsalted butter, and a touch of heavy cream that work together to form a tender dough, much like the wholesome goodness you find in coconut chia pudding. The star, of course, is the dried cherries, complemented beautifully by semi-sweet chocolate chips. You’ll find the full list of ingredients and precise measurements in the recipe card below.\n\n\n \n
\n \n
\n \n
\n\n\n## How to Store cherry chocolate chip scones\n\nTo keep your homemade cherry chocolate chip scones fresh and delicious, proper storage is key! Once completely cooled, store them in an airtight container at room temperature for up to 2-3 days. If you want to enjoy them longer, they freeze beautifully for up to 3 months. I always wrap individual scones tightly in plastic wrap, then place them in a freezer-safe bag. To reheat, thaw at room temperature and warm gently in a toaster oven or microwave for that just-baked taste. Reheating slowly really brings back their tender texture!\n\n## Nutritional Benefits\n\nThese cherry chocolate chip scones offer a delightful start to your day, with the dried cherries providing natural antioxidants and a touch of fiber. While they are an indulgent treat, homemade means knowing exactly what goes into them, making them a more wholesome option for your family’s breakfast table.\n\n## FAQs\n\n### Can I use fresh cherries instead of dried cherries?\nWhile you technically can, fresh cherries have a higher moisture content, which can alter the dough’s consistency and make the scones less firm. If using fresh, make sure to pat them very dry after washing and consider tossing them lightly in flour to prevent sinking. Dried cherries are generally preferred for the best texture in these cherry chocolate chip scones.\n\n### How do I ensure my scones are light and fluffy?\nThe key to light and fluffy scones lies in using very cold butter and not overworking the dough. Cold butter creates pockets of steam, resulting in flakiness, while a gently mixed dough prevents gluten from over-developing, which can make scones tough. Handle the dough as little as possible to maintain that tender crumb in your cherry chocolate chip scones.\n\n### Can I make the dough for cherry chocolate chip scones ahead of time?\nAbsolutely! You can prepare the dough, shape the scones, and then refrigerate them for up to 24 hours or freeze them unbaked for up to a month. If baking from frozen, you might need to add a few extra minutes to the baking time, but this is a fantastic way to enjoy fresh cherry chocolate chip scones on demand.\n\n### What’s the best way to serve these scones?\nThese cherry chocolate chip scones are wonderfully delicious on their own, but for a truly special treat, I love serving them with a dollop of clotted cream or a smear of homemade jam. A simple dusting of powdered sugar or a light vanilla glaze also adds a beautiful finish, making them perfect with your morning coffee or tea.\n\n


Classic Irish Soda Bread
Ingredients
Equipment
Method
- Preheat your oven to 400°F (200°C). Line a baking sheet with parchment paper or lightly grease it.
- In a large mixing bowl, whisk together the all-purpose flour, granulated sugar, baking soda, and salt until well combined.
- If using butter, add the cold, cubed unsalted butter to the dry ingredients. Use your fingertips or a pastry blender to cut the butter into the flour mixture until it resembles coarse crumbs.
- Stir in the optional raisins and caraway seeds, if you are using them, ensuring they are evenly distributed.
- Make a well in the center of the dry ingredients. Pour in the buttermilk.
- Using a wooden spoon or your hands, gently mix until the flour is just moistened and a shaggy dough forms. Be careful not to overmix; a slightly lumpy dough is fine.
- Lightly flour a clean work surface. Turn the dough out onto the floured surface and gently knead for about 1 minute, just enough to bring the dough together into a round, cohesive ball. Avoid excessive kneading, as this will develop the gluten and make the bread tough.
- Transfer the dough ball to the prepared baking sheet. Using a sharp knife, score a deep 'X' into the top of the loaf, about 1/2 to 3/4 inch deep. This allows the heat to penetrate the center and helps the bread cook evenly.
- Bake for 35-45 minutes, or until the crust is golden brown and the loaf sounds hollow when tapped on the bottom. If the top is browning too quickly, you can loosely tent it with foil during the last 10-15 minutes.
- Remove the bread from the oven and transfer it to a wire rack to cool. For a softer crust, you can cover the bread with a clean tea towel while it cools.
- Allow the bread to cool for at least 15-20 minutes before slicing and serving. It's best served warm with butter, jam, or alongside a hearty stew.