Nut and Seed Granola
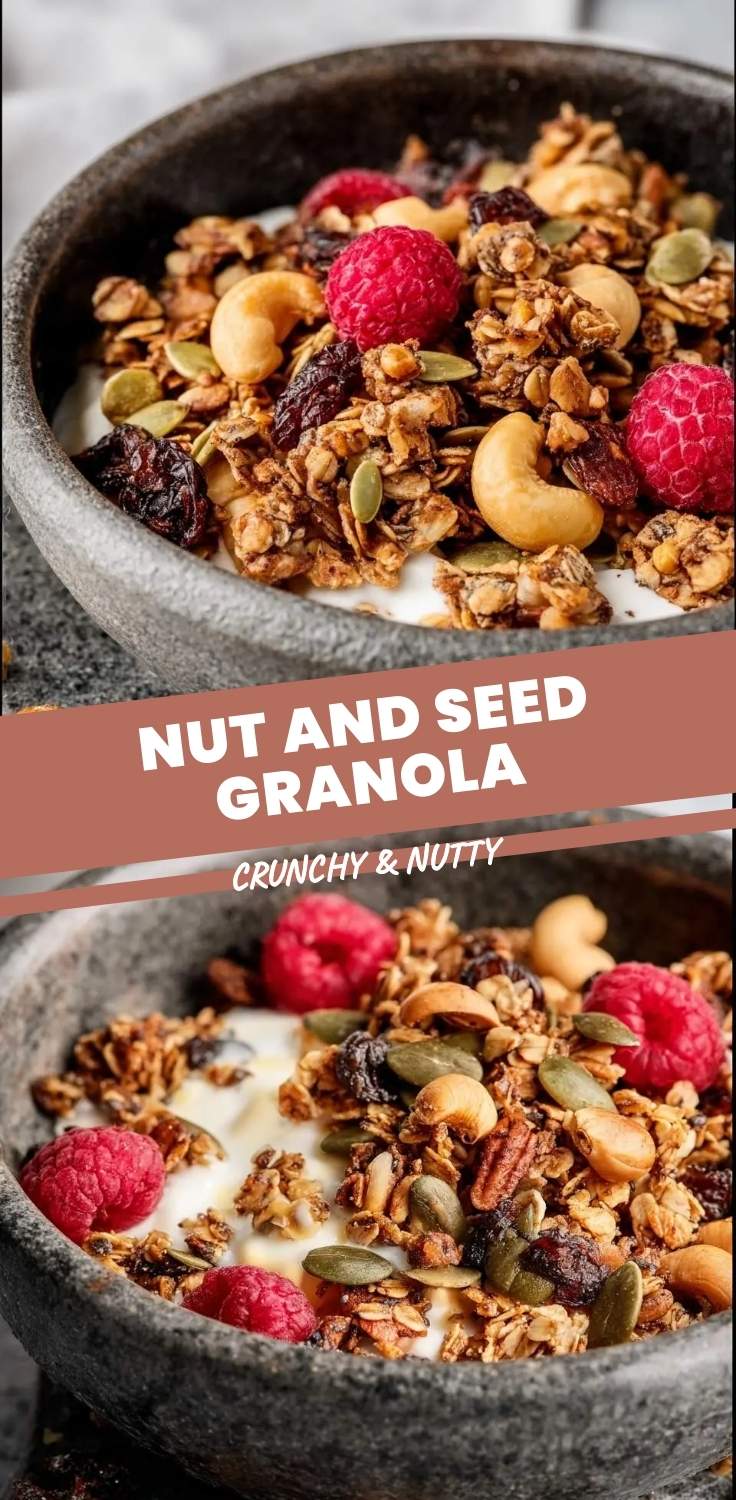
The first time I pulled a batch of homemade granola from the oven, my kitchen smelled like a cozy cabin in the woods , all toasty almonds, warm cinnamon, and something almost caramelized that made me stand there with the oven door open, just breathing it in. That was the moment I knew store-bought would never cut it again. My nut and seed granola has become that Sunday ritual I genuinely look forward to, the one that makes my whole house feel like a hug.
My grandmother kept a mason jar of granola on her counter at all times, and I used to sneak handfuls before school, the clusters breaking apart in my pockets by lunchtime. I never asked for her recipe, and now I wish I had. So I built my own version from memory and craving, tweaking it until it tasted like those mornings , but better, because I made it with my own hands.
This recipe is forgiving, flexible, and honestly hard to mess up. If you are into cozy breakfast projects, you might also love my fluffy pumpkin pancakes , they have that same weekend-morning energy.
What You Need to Make This Recipe
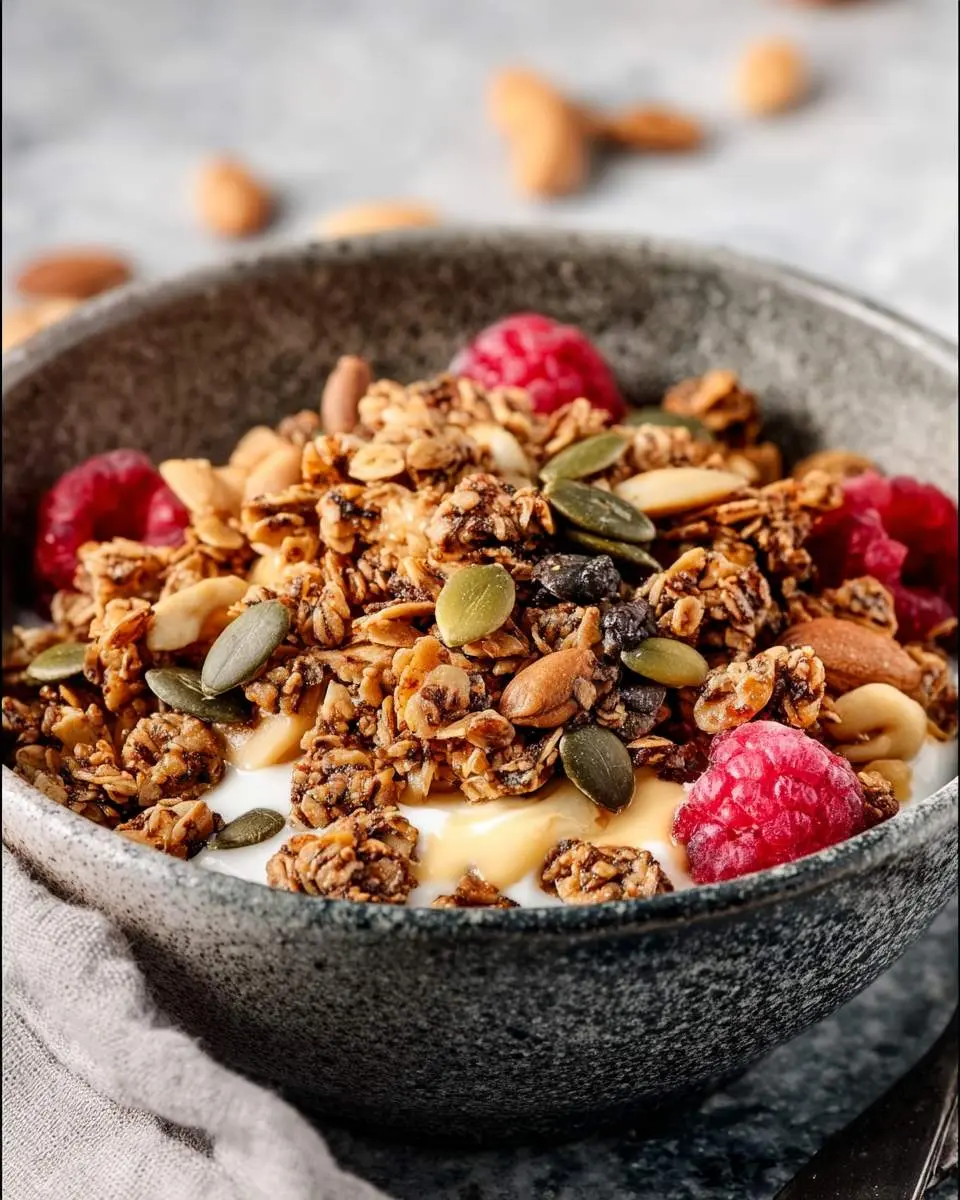
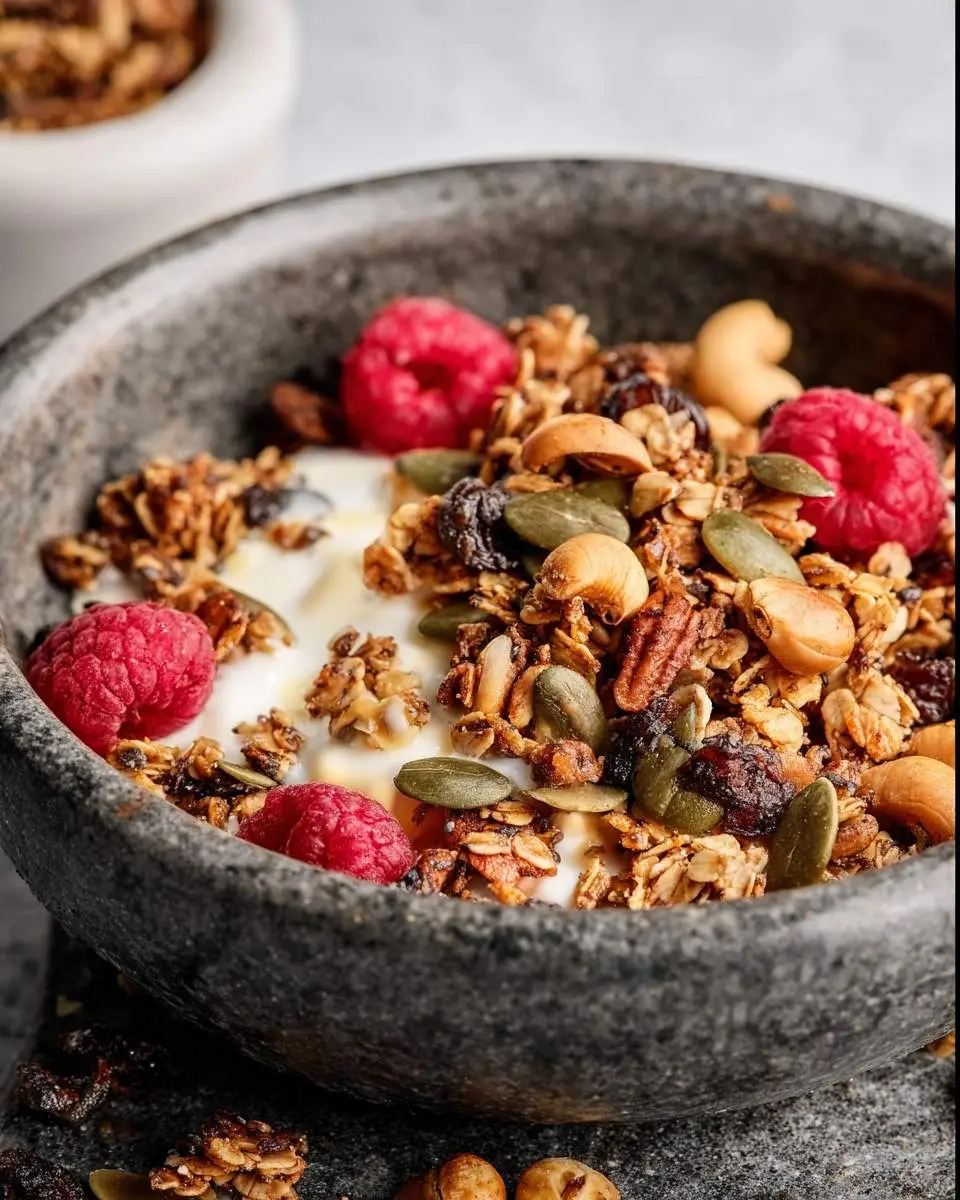
The beauty of this recipe is how the ingredients work together, not just pile on top of each other. I use raw almonds and walnuts for that deep, buttery base , they roast into something almost sweet and way more complex than anything from a bag. Pumpkin seeds and sunflower seeds bring this satisfying crunch that holds up in milk without going soggy in thirty seconds. The real magic maker is a combination of maple syrup and a touch of coconut oil; they coat everything just enough to help clusters form without turning the whole thing into candy. My nut and seed granola stays loose enough to sprinkle but clumpy enough to eat by the handful, which is honestly the dream. If you are in a muffin mood, my pumpkin streusel muffins use a similar warm spice blend that pairs beautifully with this.
How to Make Nut and Seed Granola
I start by mixing all the dry ingredients in my biggest bowl , nuts, seeds, oats, a pinch of salt, and whatever spices I am feeling that day, usually cinnamon and a whisper of cardamom. Then I warm the maple syrup and coconut oil together until they just barely shimmer, not bubble, and pour that liquid gold over everything while stirring with my hands. The mixture should look evenly damp, not swimming in syrup; that is your clue the clusters will form properly.
Spread it all on a parchment-lined baking sheet, and here is where patience matters. I bake low and slow, stirring once about halfway through when the edges start turning that deep amber color. Your kitchen will fill with this toasty, almost popcorn-like aroma , that is when I know it is getting close. The granola stays soft when it first comes out, so I resist the urge to poke it too much. It crisps as it cools, and those last twenty minutes of resting on the counter are honestly the hardest part. For another make-ahead breakfast, my pistachio overnight oats have that same set-it-and-forget-it appeal.
Pro Tips
Press the mixture down firmly before baking , I use the back of a spatula to create a flat, even layer. This creates those coveted clusters because the oats and nuts have more surface contact to stick together as the syrup caramelizes.
Let it cool completely on the pan without stirring , I mean completely, at least forty-five minutes. The granola continues to crisp and harden as it sits, and premature stirring breaks apart all the clumps you just worked to create.
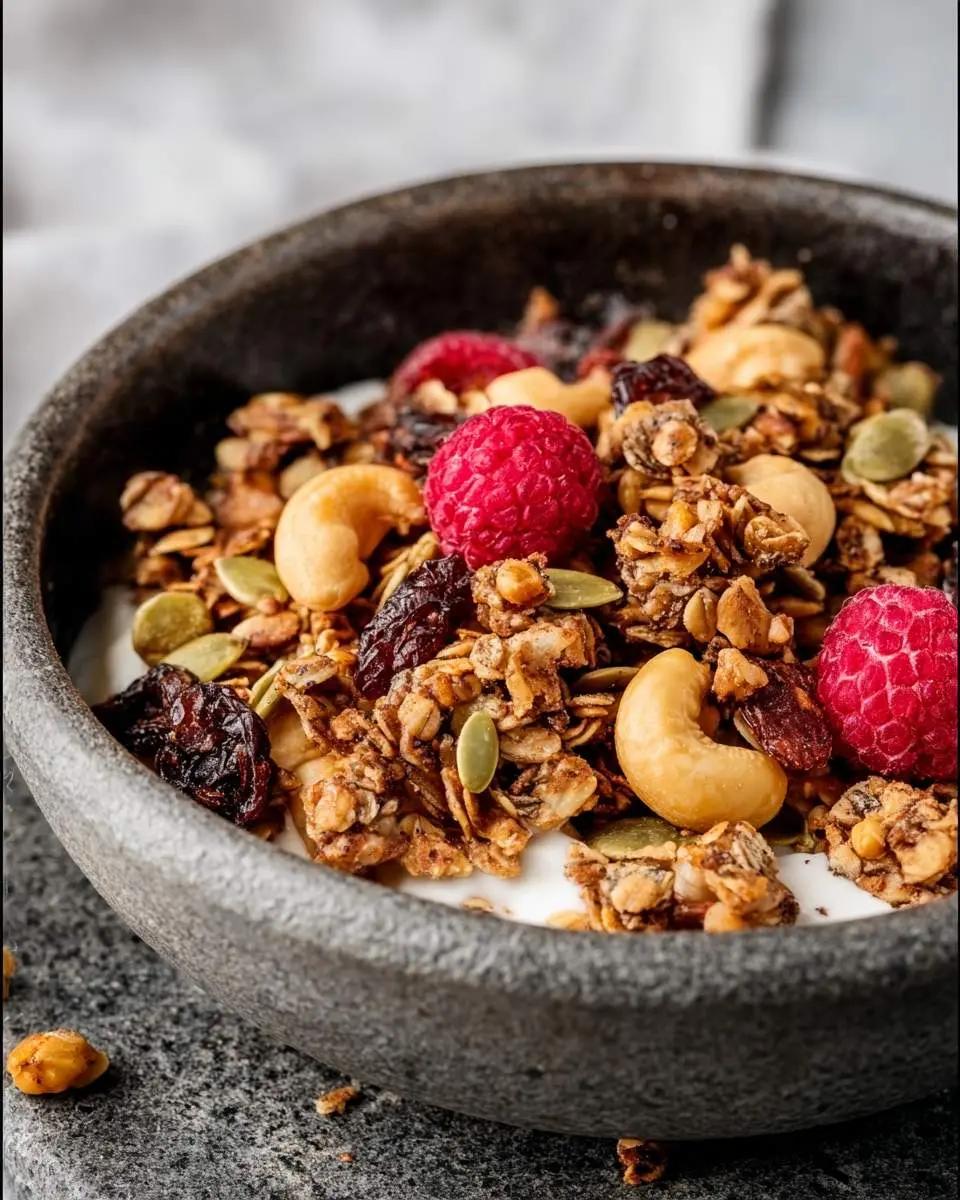
Add dried fruit after baking, never before , raisins or cranberries go in once everything is cool. The oven turns dried fruit into hard, burnt little pebbles, and I learned that the sad way with a batch of cherry-studded granola that tasted like regret.
My Secret Trick: I stir in one beaten egg white with the wet ingredients , it sounds weird, I know, but it creates this invisible binding layer that makes the clusters extra sturdy without adding any eggy flavor. My nut and seed granola went from good to genuinely impressive once I started doing this.
How to Store Nut and Seed Granola
- Cool completely before storing , any warmth trapped in the container creates condensation and soggy granola within two days
- Store in an airtight glass jar or container at room temperature for up to three weeks; I keep mine in a quart mason jar on the counter
- For longer storage, freeze in a freezer-safe bag with as much air pressed out as possible , it stays fresh up to three months
- Thaw frozen granola at room temperature for about thirty minutes; no reheating needed, it crisps right back up
- Avoid the refrigerator , the humidity actually shortens shelf life compared to a cool, dry pantry
Nutritional Benefits
My nut and seed granola delivers real staying power from ingredients that actually do something for your body. The almonds and walnuts bring healthy fats and a solid dose of vitamin E, while the pumpkin seeds are one of my favorite sneaky sources of magnesium and zinc , minerals I know I do not get enough of otherwise. It is the kind of breakfast that keeps me full through a busy morning without the crash I used to get from sweeter cereals.
FAQs
Why is my granola not forming clusters?
You probably need more binding agent or did not press it firmly enough before baking. Try adding an extra tablespoon of maple syrup or my egg white trick, and really pack it down with a spatula so the pieces touch.
Can I make this granola without nuts for allergies?
Absolutely , I have made it with just seeds and extra oats for a friend with tree nut allergies. Increase the pumpkin and sunflower seeds by half a cup each, and add coconut flakes for more texture and flavor.
How do I know when the granola is done baking?
Trust your nose and eyes more than the timer. The edges should look deeply golden, and your kitchen will smell toasty and warm. It will still feel slightly soft but firms up as it cools on the pan.
Can I use honey instead of maple syrup in nut and seed granola?
Yes, though honey browns faster and has a stronger flavor. I reduce the oven by twenty-five degrees and check five minutes early to prevent burning, since honey caramelizes more aggressively than maple.

Nut and Seed Granola
Ingredients
Equipment
Method
- Position a rack in the center of your oven and heat to 325°F. Line a large rimmed baking sheet with parchment paper.
- In a large bowl, toss together the oats, almonds, walnuts, pumpkin seeds, sunflower seeds, cinnamon, and salt until evenly mixed.
- In a small saucepan over low heat (or in the microwave), warm the olive oil and maple syrup until loose and pourable, about 1 minute. Stir in the vanilla. This helps the granola coat evenly and clump better.
- Pour the warm oil mixture over the oat mixture. Stir with a sturdy spoon or spatula until every piece looks glossy and well-coated. This takes a solid minute of stirring - don't rush it.
- Spread the mixture in an even layer on the prepared baking sheet. Use the back of your spoon to press it down firmly - this creates those desirable clusters. Bake for 20 minutes.
- Remove from the oven and stir gently, breaking up any large pieces that have stuck together. Press down again and return to the oven. Bake 10-15 minutes more, until the granola is deep golden and smells toasty. Watch closely - it goes from perfect to burnt quickly.
- Let the granola cool completely on the pan without stirring - at least 45 minutes. It crisps as it cools. Once cool, break into clusters and stir in dried fruit if using.
Notes
Conclusion
This nut and seed granola has earned its permanent spot in my kitchen, and I hope it finds one in yours too. There is something deeply satisfying about making your own, about that first crunchy handful still warm from the oven. For another simple make-ahead option, try my coconut chia pudding , it plays so nicely with a sprinkle of this on top.