shrimp fried rice
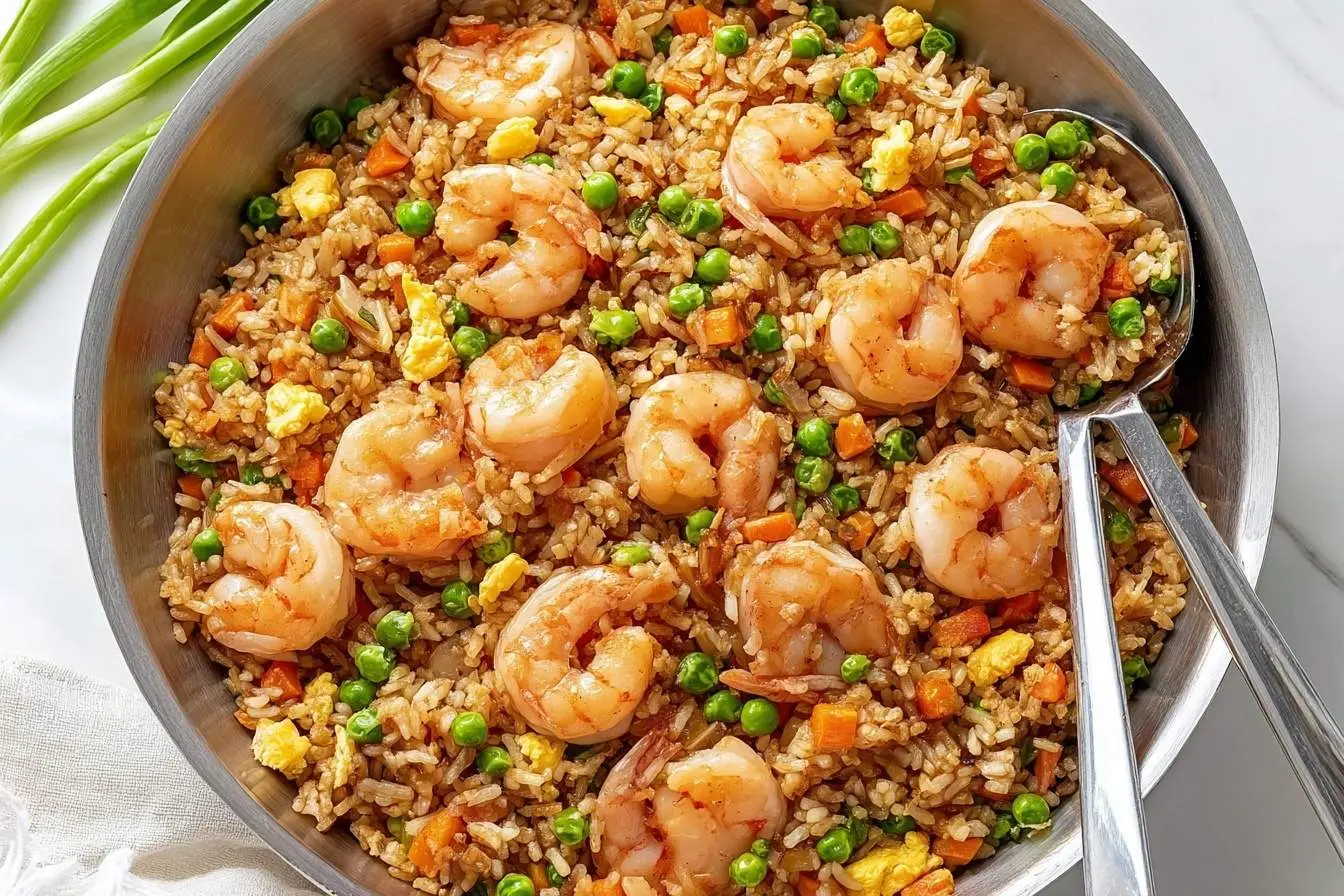
I remember so many Friday nights growing up, the excitement building as we waited for the takeout delivery car to pull up. The warm, savory aroma of fried rice was always the first thing to hit you when you opened the bag. For years, I was convinced that flavor was pure magic, impossible to replicate at home. But after much tinkering, I finally cracked the code to this better-than-takeout shrimp fried rice. It has that same incredible wok-fired taste, with fluffy rice, tender shrimp, and that perfect savory sauce. It’s a dish I make often, especially when I’m craving something cozy like my favorite Bang Bang Shrimp Bowl.
This dish is pure comfort in a bowl, and the aroma of garlic, onion, and toasted sesame oil filling my kitchen is one of my favorite things. It’s a complete meal that feels special but comes together so incredibly fast.
Why This Dish is a Go-To in My Kitchen
What I adore most about this recipe is how it delivers maximum flavor with minimal effort, making it a true weeknight hero in my dinner rotation. With a prep time of just 15 minutes and a cook time of another 15, I can have a wholesome, delicious meal on the table in half an hour. It’s all about using a few quality ingredients—like low-sodium soy sauce, a touch of oyster sauce, and fragrant toasted sesame oil—to create a sauce that rivals any restaurant. It’s my secret weapon for satisfying those takeout cravings instantly.
Ingredient Notes for Better Than Takeout Shrimp Fried Rice
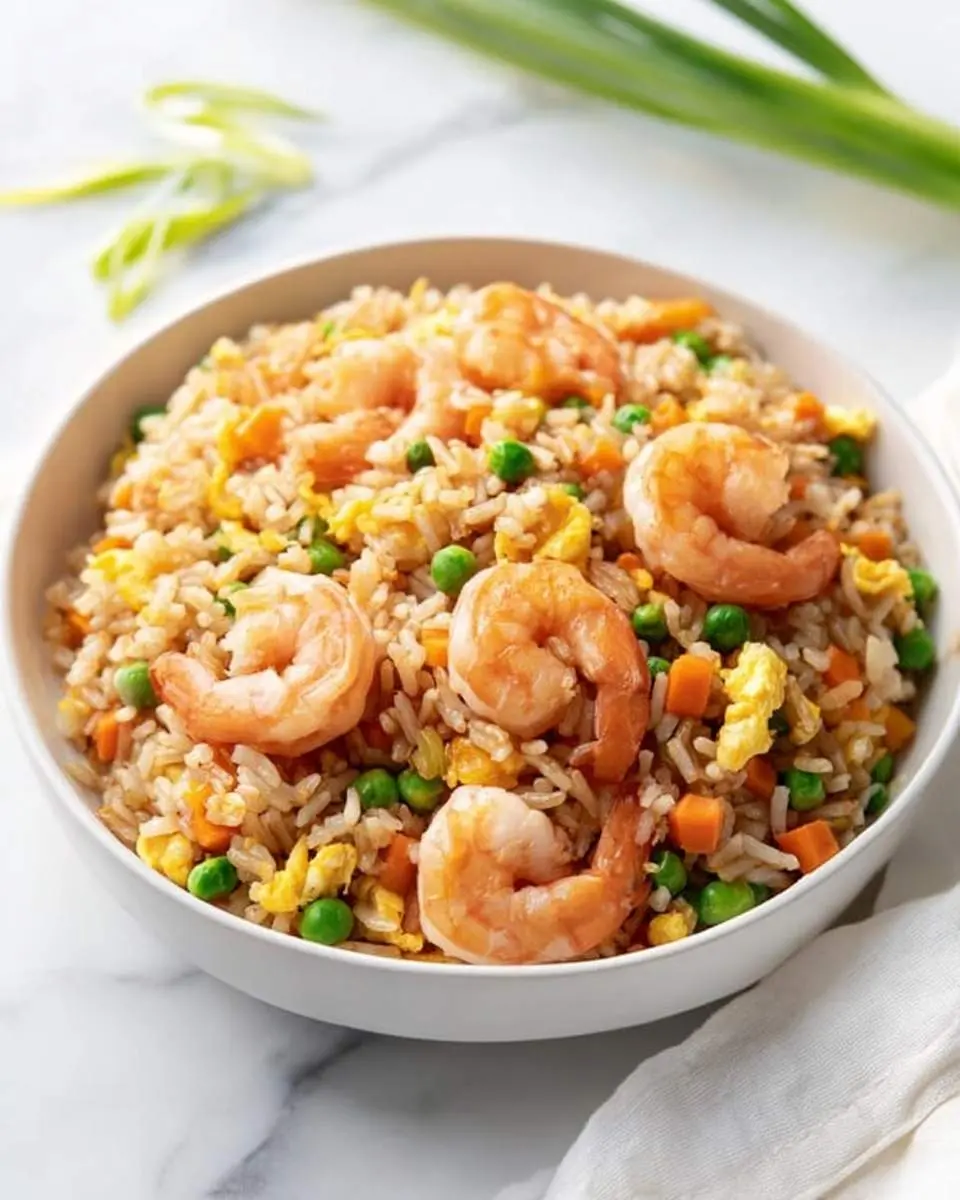
The real secret to incredible texture is using cooked and chilled long-grain white rice; it prevents the dish from becoming mushy. For flavor, the combination of oyster sauce and toasted sesame oil is a game-changer, providing a deep, savory umami that is absolutely essential, much like in my Chinese Beef and Broccoli.

Better Than Takeout Shrimp Fried Rice
Ingredients
Equipment
Method
- In a small bowl, whisk together all the sauce ingredients: soy sauce, oyster sauce, toasted sesame oil, and white pepper. Set aside.
- Ensure all your vegetables are chopped and ready to go. Lightly beat the eggs in another small bowl. Pat the shrimp dry with a paper towel.
- Heat 1 tablespoon of neutral oil in a large wok or skillet over medium-high heat. Add the shrimp in a single layer and cook for 1-2 minutes per side, until pink and opaque. Do not overcook. Remove the shrimp from the wok and set aside.
- Reduce the heat to medium. Add the beaten eggs to the same wok. Scramble gently, breaking them into small pieces. Once cooked, remove the eggs from the wok and set aside with the shrimp.
- Add the remaining 2 tablespoons of oil to the wok and increase heat to medium-high. Add the diced onion and carrots, and stir-fry for 2-3 minutes until the onion is translucent and the carrots are slightly tender. Add the minced garlic and cook for another 30 seconds until fragrant.
- Add the chilled rice to the wok. Use your spatula to break up any clumps. Spread the rice out in an even layer and let it cook for 2-3 minutes without stirring to get it slightly crispy. Then, begin stir-frying, tossing the rice with the vegetables for another 2 minutes until heated through.
- Pour the prepared sauce mixture over the rice and toss everything together until the rice is evenly coated.
- Return the cooked shrimp and scrambled eggs to the wok. Add the frozen peas and sliced green onions. Stir-fry for 1-2 minutes more, until the peas are heated through and everything is well combined.
- Taste and adjust seasoning if necessary. Serve immediately, garnished with extra green onions.
Notes
How I Make Better Than Takeout Shrimp Fried Rice Step-by-Step
My method for this recipe is all about a seamless workflow to keep things moving quickly. I always start by prepping every single component first—chopping the veggies, mixing the sauce, and having the rice ready to go. The cooking process happens in stages: I quickly cook the shrimp and eggs and set them aside. Then, I stir-fry the aromatics and vegetables before adding the rice and sauce. It’s a fast-paced, high-heat process that reminds me of making my other favorite, a quick Steak and Broccoli Stir-Fry. Bringing it all together at the end makes me feel like a pro every time.
My Tips for the Perfect Outcome
- Use Cold Rice: Day-old, refrigerated rice is non-negotiable for that perfect fried, not steamed, texture.
- High Heat is Key: Get your wok or skillet screaming hot before you add anything.
- Don’t Crowd the Pan: Cook in batches if needed to ensure everything stir-fries properly.
- Prep Everything First: Have all your ingredients chopped and ready before you start cooking.
How I Serve and Store This Dish
I love serving this shrimp fried rice fresh from the wok, piled high in bowls with a generous sprinkle of fresh green onions for a pop of color and flavor. It’s a complete meal on its own! For leftovers, I let it cool completely before storing it in an airtight container in the refrigerator for up to three days. It reheats beautifully in a hot skillet for a few minutes. It’s one of my favorite shrimp dishes, right alongside this amazing Honey Garlic Shrimp.
Frequently Asked Questions
Can I use freshly cooked rice?
I strongly recommend against it, as it will get mushy. Chilled, day-old rice is the secret to perfect texture. It allows the grains to separate and fry beautifully instead of steaming in the wok, which is key for authentic shrimp fried rice.
What if I don’t have a wok?
No problem at all! A large, heavy-bottomed skillet or sauté pan works wonderfully. The most important thing is to ensure the pan is very hot before you start cooking to get that classic stir-fry sizzle and flavor development on the ingredients.
Can I make this recipe gluten-free?
Absolutely. To make this shrimp fried rice gluten-free, simply substitute the low-sodium soy sauce with tamari. You will also need to check that your brand of oyster sauce is certified gluten-free, as many traditional varieties contain wheat products.
How do I keep the shrimp from getting tough?
The trick is to cook them quickly over high heat just until they turn pink and opaque, which usually only takes a minute or two. I always remove them from the pan immediately and set them aside, then add them back in at the very end.
Conclusion
This recipe holds a special place in my heart, and I truly hope it brings as much joy to your dinner table as it does to mine. It’s more than just a meal; it’s a way to create delicious memories right in your own kitchen. If you try it, I’d absolutely love to hear what you think!