Mongolian Beef
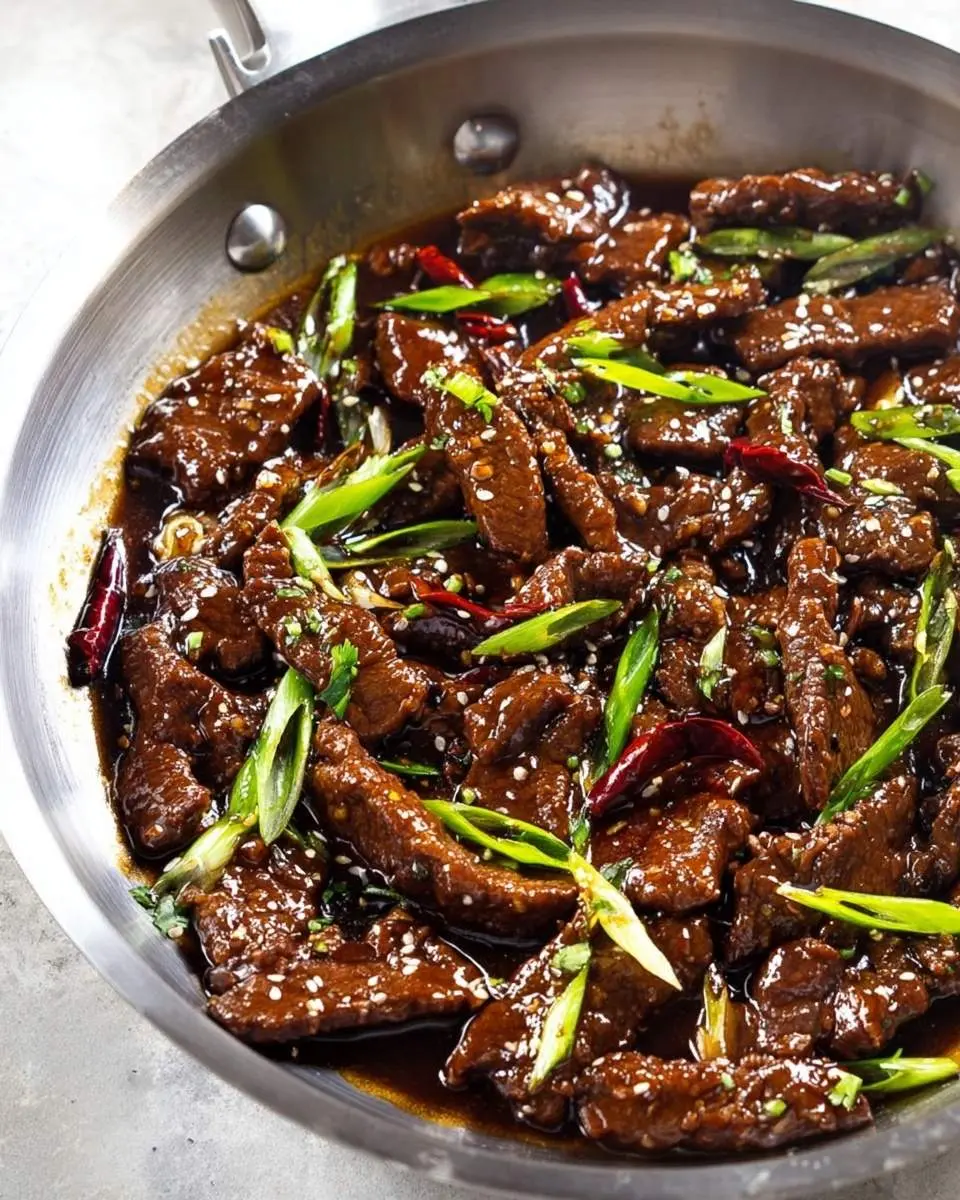
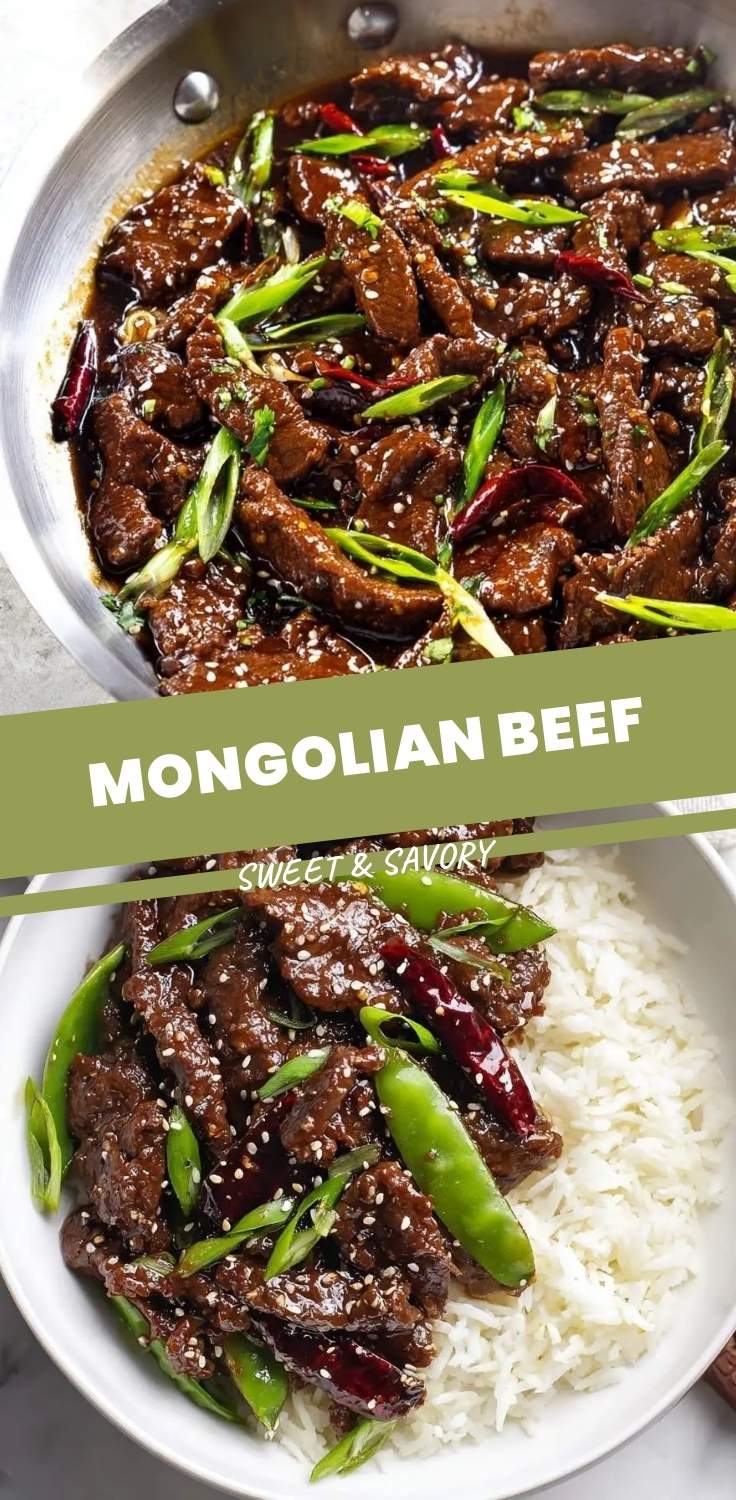
For years, Friday night in our house meant takeout boxes on the coffee table. My favorite was always Mongolian Beef, with its glossy, savory sauce and impossibly tender steak. I craved that specific flavor—rich, slightly sweet, with a gentle kick of ginger and garlic. But takeout was often a gamble, sometimes too sweet or with tough beef. I became determined to recreate that perfect restaurant experience in my own kitchen. This authentic Mongolian Beef recipe is the result of that mission. It captures everything I love, standing proudly alongside other favorites like my Chinese Beef and Broccoli. The aroma alone, as the sauce hits the pan, makes any evening feel special.
You’re Going to Love This Recipe, Here’s Why
What truly makes this dish a staple in my kitchen is how it delivers incredible flavor without a huge time commitment. With just 15 minutes of prep and a 10-minute cook time, I can have this stunning meal on the table faster than waiting for a delivery driver. It’s my secret weapon for busy weeknights when I want something deeply satisfying without the stress. The magic lies in its simplicity. I rely on a handful of powerhouse ingredients—flank steak, low-sodium soy sauce, and dark brown sugar—to create a sauce that tastes like it has been simmering for hours. The cornstarch coating on the beef is a non-negotiable step for me; it creates that signature crispy-yet-tender texture that makes every bite an absolute delight.
The Key Ingredients You’ll Need
For the most tender result, I always use flank steak sliced thinly against the grain. Dark brown sugar is my secret for that deep, molasses-rich sauce. While flank steak is my top choice here, we use different cuts in other family favorites like our Ground Beef and Broccoli.

Authentic Mongolian Beef (Better Than Takeout)
Ingredients
Equipment
Method
- Slice the flank steak very thinly (about 1/4-inch thick) against the grain. This is crucial for tenderness. For best results, freeze the steak for 20-30 minutes to firm it up before slicing.
- In a medium bowl, combine the sliced beef, 1/4 cup of cornstarch, and black pepper. Toss well until each piece of beef is lightly and evenly coated. Set aside.
- In a separate small bowl, whisk together the low-sodium soy sauce, water, dark brown sugar, minced ginger, and minced garlic. Continue whisking until the sugar is mostly dissolved. Set aside.
- Heat the 1/2 cup of vegetable oil in a large wok or heavy-bottomed skillet over medium-high heat. The oil is ready when it shimmers. To test, drop a small piece of coated beef in; it should sizzle immediately.
- Carefully add half of the coated beef to the hot oil in a single layer, ensuring not to overcrowd the pan. Fry for 1-2 minutes per side until golden brown and crispy.
- Using tongs or a slotted spoon, remove the cooked beef and place it on a wire rack or a plate lined with paper towels to drain excess oil. Repeat the process with the remaining beef.
- Carefully pour out all but 1 tablespoon of oil from the wok. Return the wok to medium heat.
- Pour the prepared sauce mixture into the wok and bring it to a simmer, stirring frequently. Let it bubble for 1-2 minutes to allow the flavors to meld.
- Add the crispy beef back into the wok with the sauce. Gently toss everything together for about 30-60 seconds, until the beef is fully coated in the glossy, thickened sauce.
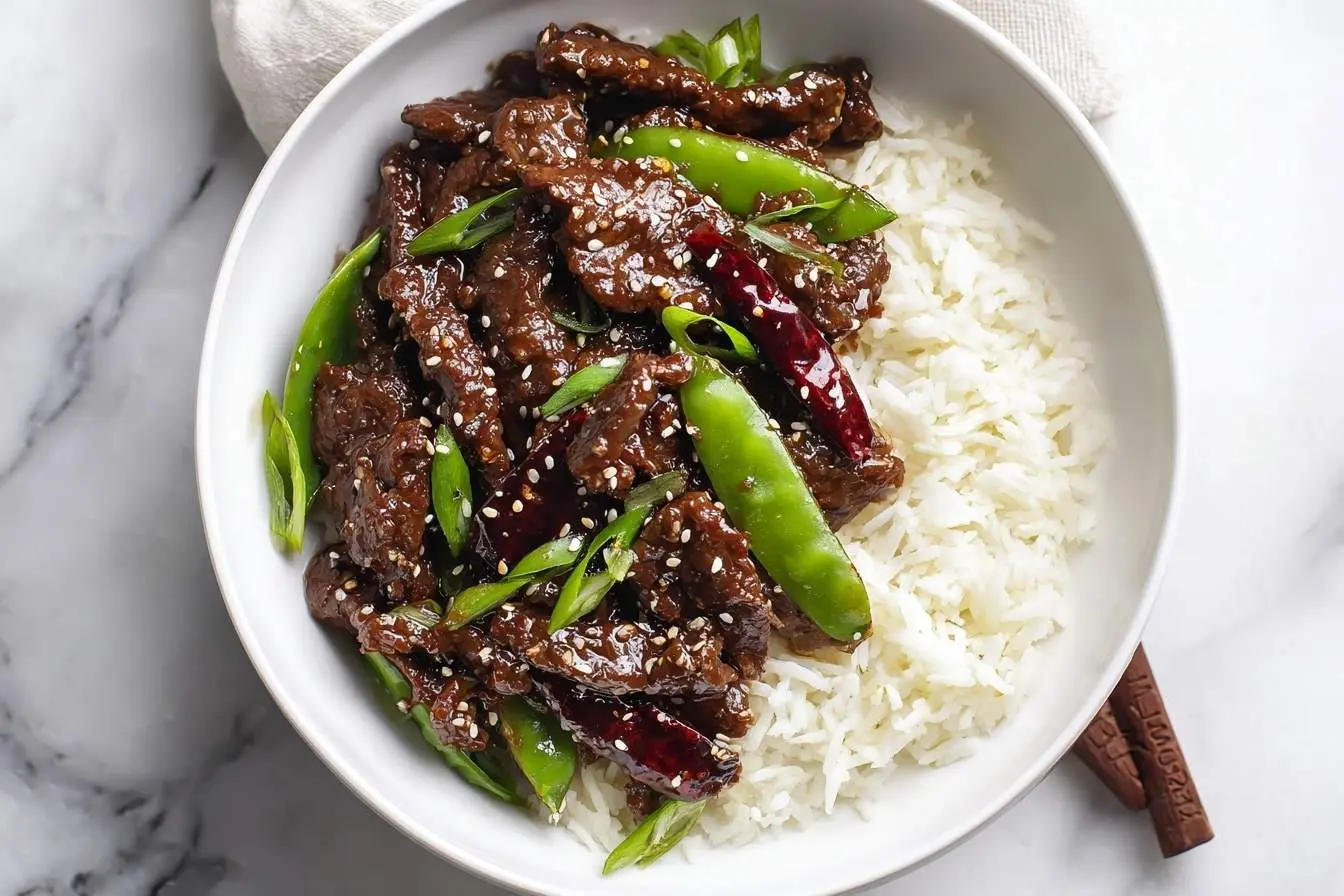
- Remove from heat immediately to prevent the beef from getting soft. Serve hot over a bed of steamed rice, garnished with fresh green onions and toasted sesame seeds.
Notes
• Don't Overcrowd: Frying the beef in batches is key to getting it crispy. Overcrowding the pan will steam the meat instead of frying it.
• Spice it Up: For a spicy kick, add 1/2 teaspoon of red pepper flakes or a tablespoon of sriracha to the sauce.
• Storage: Store leftovers in an airtight container in the refrigerator for up to 3 days. The beef will lose some of its crispiness upon reheating. Reheat gently in a skillet or microwave.
My Approach to Making Mongolian Beef
I love how this recipe comes together in simple stages. First, I prep the beef, tossing the thin slices in cornstarch and pepper until they’re lightly coated. This step is my secret to a crispy exterior. While it rests, I whisk together the mighty sauce: soy sauce, water, brown sugar, ginger, and garlic. The magic happens when the beef hits the hot oil; I love that sizzle! I fry it in batches so every piece gets beautifully crisp. Finally, I combine everything, pouring the sauce over the beef and watching it thicken into a perfect glaze. This simple method is one I use across many of my favorite stir-fry recipes.
My Tips for the Perfect Outcome
- Slice flank steak thinly against the grain for maximum tenderness.
- Get your oil shimmering hot before adding the beef to ensure a perfect, crispy sear.
- Don’t overcrowd the pan; fry in batches if necessary.
How I Serve and Store This Dish
My favorite way to serve this dish is piled high on a bed of fluffy steamed rice, finished with a generous sprinkle of sliced green onions and a few sesame seeds for texture. It’s a complete meal that feels special every time. For leftovers, I let it cool completely and store it in an airtight container in the fridge for up to three days. A quick reheat in a skillet brings it right back to life.
Frequently Asked Questions
Can I use a different cut of beef?
Sirloin or skirt steak are great alternatives. The most important technique is to slice the beef very thinly against the grain. This ensures it stays tender and cooks in an instant, absorbing all that delicious sauce.
Is this recipe spicy?
My recipe is crafted to be savory and sweet, perfect for the whole family. If you prefer a little heat, feel free to add a pinch of red pepper flakes or a swirl of sriracha into the sauce.
Can I add vegetables?
Absolutely! I love adding broccoli florets or sliced bell peppers. To keep everything crisp, I stir-fry the vegetables separately for a couple of minutes first, then combine them with the beef and sauce at the very end.
What makes the beef so tender and crispy?
The magic is in the cornstarch coating! It creates a light, protective crust that locks in the juices, keeping the beef incredibly tender inside while allowing the outside to get that signature crispy texture when it hits the hot oil.
This recipe is one of my all-time favorites, and I truly hope it brings as much joy to your dinner table as it does to mine. It holds its own against other classics, like my go-to Pepper Steak. If you try it, I’d love to hear about it in the comments below!