reverse sear steak
The first time I pulled a reverse sear steak from my oven, I honestly thought I’d ruined dinner. The meat looked almost gray, completely unappetizing, and I remember standing there wondering if I should just order pizza. Then I seared it, and that crust cracked open like something out of a cooking show, revealing pink, edge-to-edge perfection that made my husband actually stop talking mid-sentence.
That was three years ago, and I haven’t gone back to my old methods since. My dad always grilled steaks over charcoal, flipping them constantly, watching the flames flare up around the fat. I loved those steaks, but they were always a little more done near the edges than I wanted. This technique gives me the control he never had, and I think about him every time I set my oven to that low, patient temperature.
I’ve served this to friends who claim they only eat steak at restaurants, and they always ask for the method before they leave. If you’re building a full steak dinner, my steak and shrimp surf and turf pairs beautifully with this technique for special occasions.
What You Need to Make This Recipe
You’ll want a thick-cut ribeye or strip, at least one and a half inches—anything thinner and you lose the whole point of the slow start. I keep my kosher salt in a ramekin by the stove because I reach for it constantly; it draws moisture from the surface and builds that crust we crave. A heavy cast iron skillet is non-negotiable here, and I finish with butter, smashed garlic, and fresh thyme because the fat carries those aromatics into every bite. For another quick steak fix, my air fryer steak bites use similar principles in a fraction of the time.
How to Make reverse sear steak
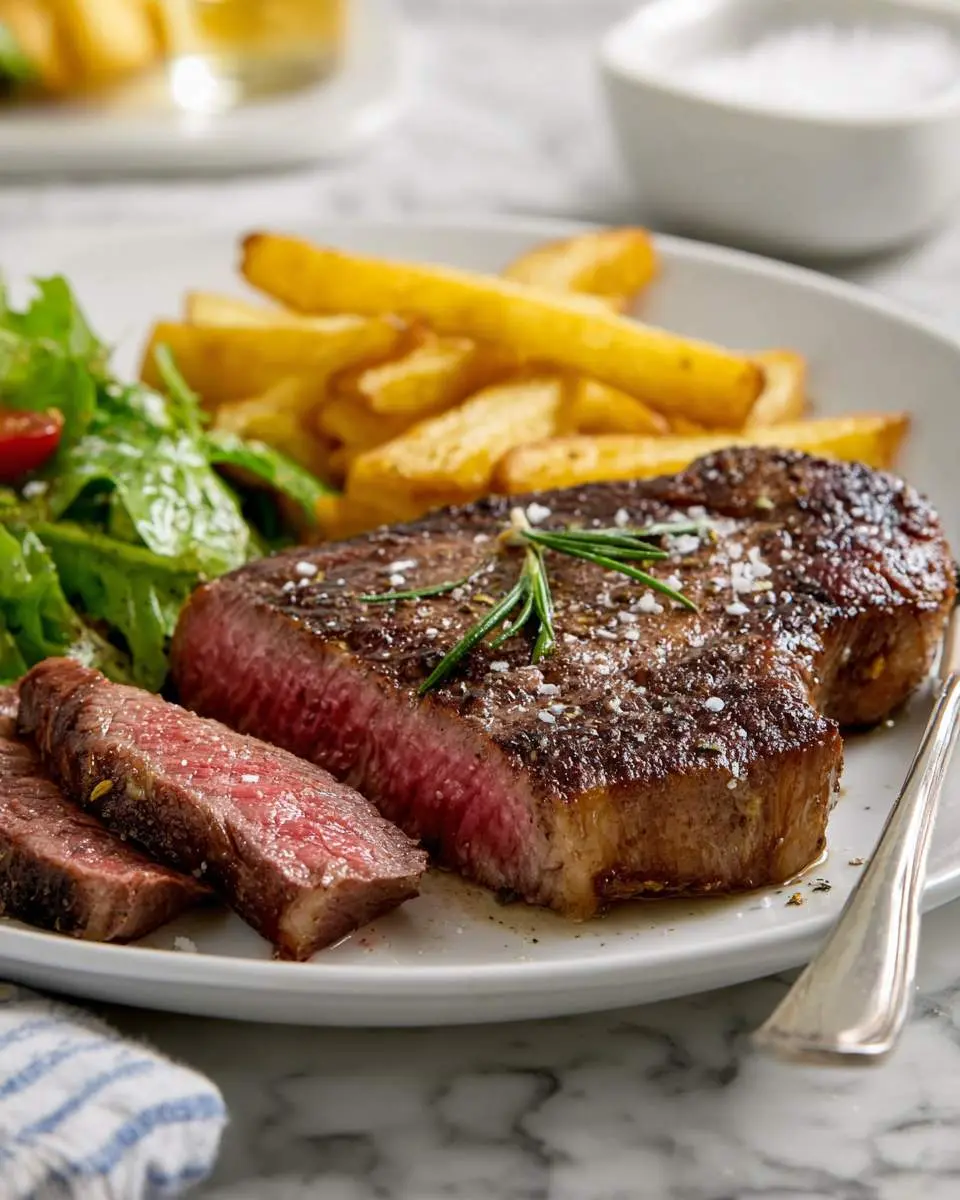
I start early, pulling the steak from the fridge a full hour before cooking so it loses that refrigerator chill. The oven goes to 275°F, low enough that I can walk away and fold laundry without panic. I season aggressively, more than feels right, because so much will fall off during the sear. The meat sits on a wire rack over a sheet pan, and I set a timer for twenty minutes before I even think about checking it.
The smell builds slowly, not the charred intensity of grilling but something subtler, almost nutty as the fat begins to render. I pull the steak when my thermometer reads 115°F for medium-rare, knowing it will climb another five degrees while it rests. That resting period is when I get my cast iron screaming hot, until a flick of water dances across the surface. The sear itself takes ninety seconds per side, maybe two, and the sound is violent and satisfying.
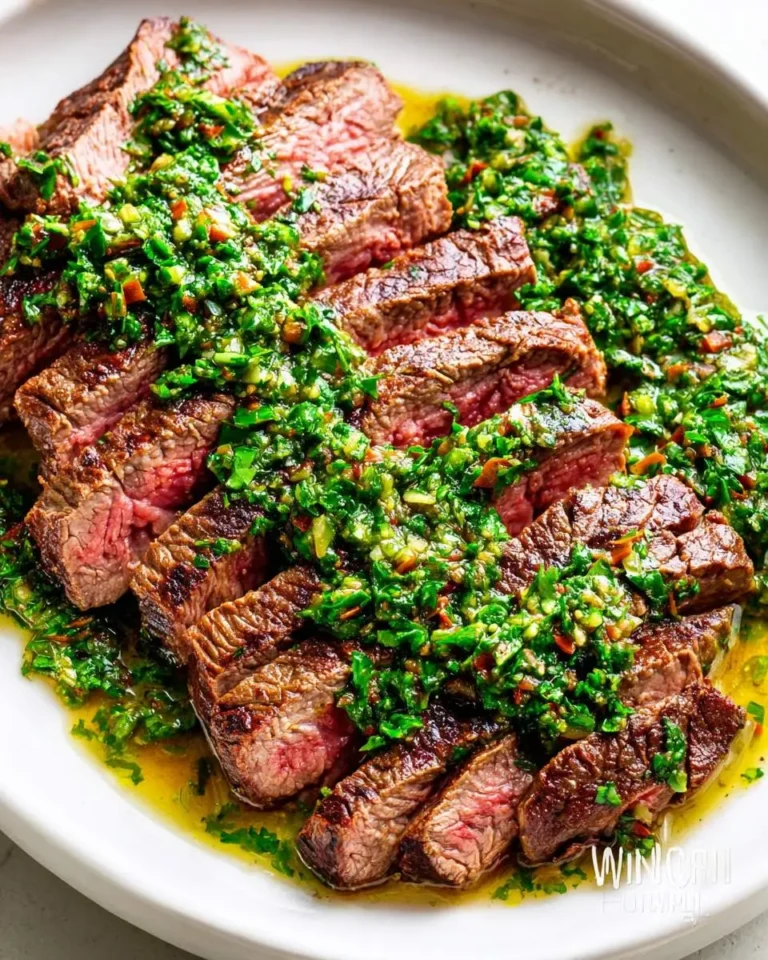
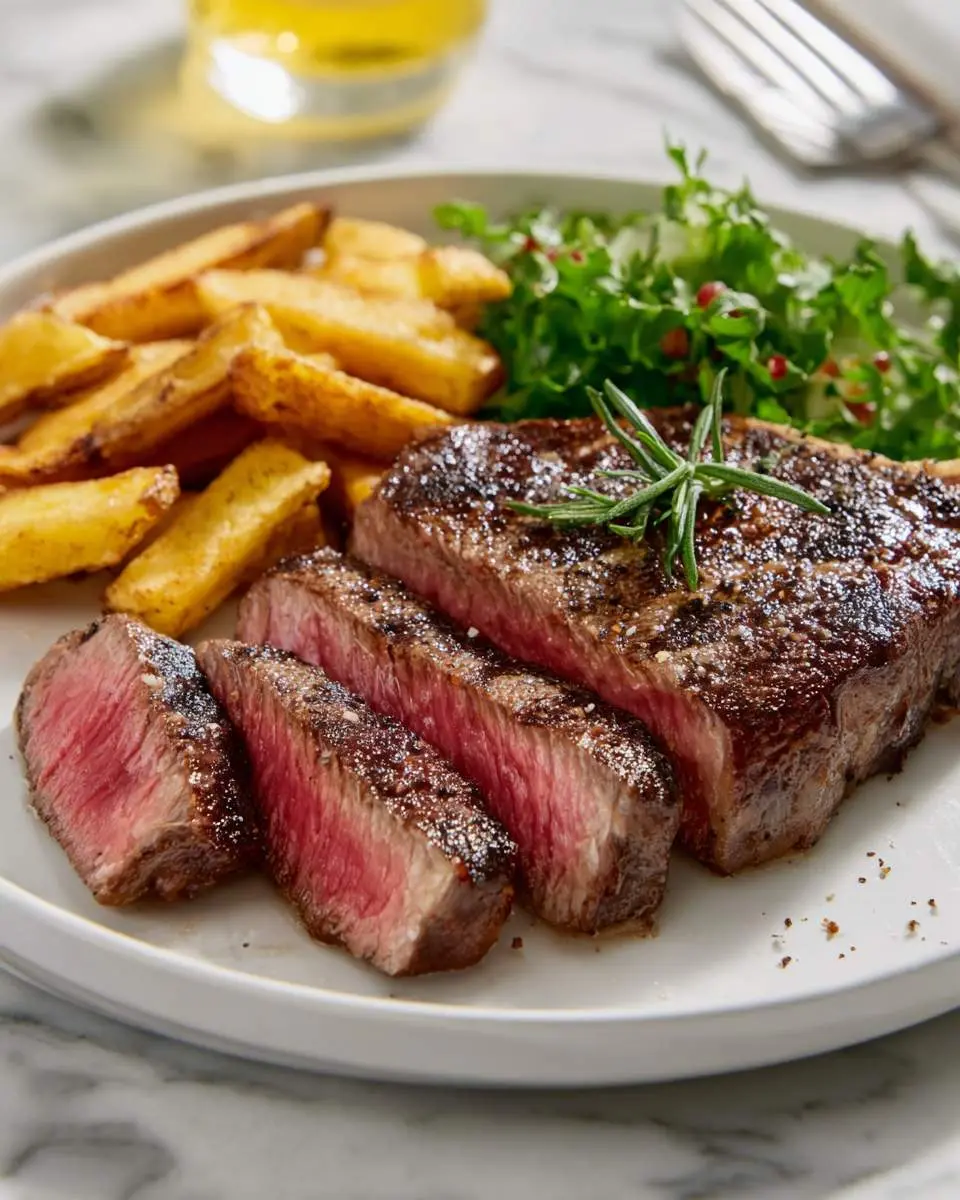
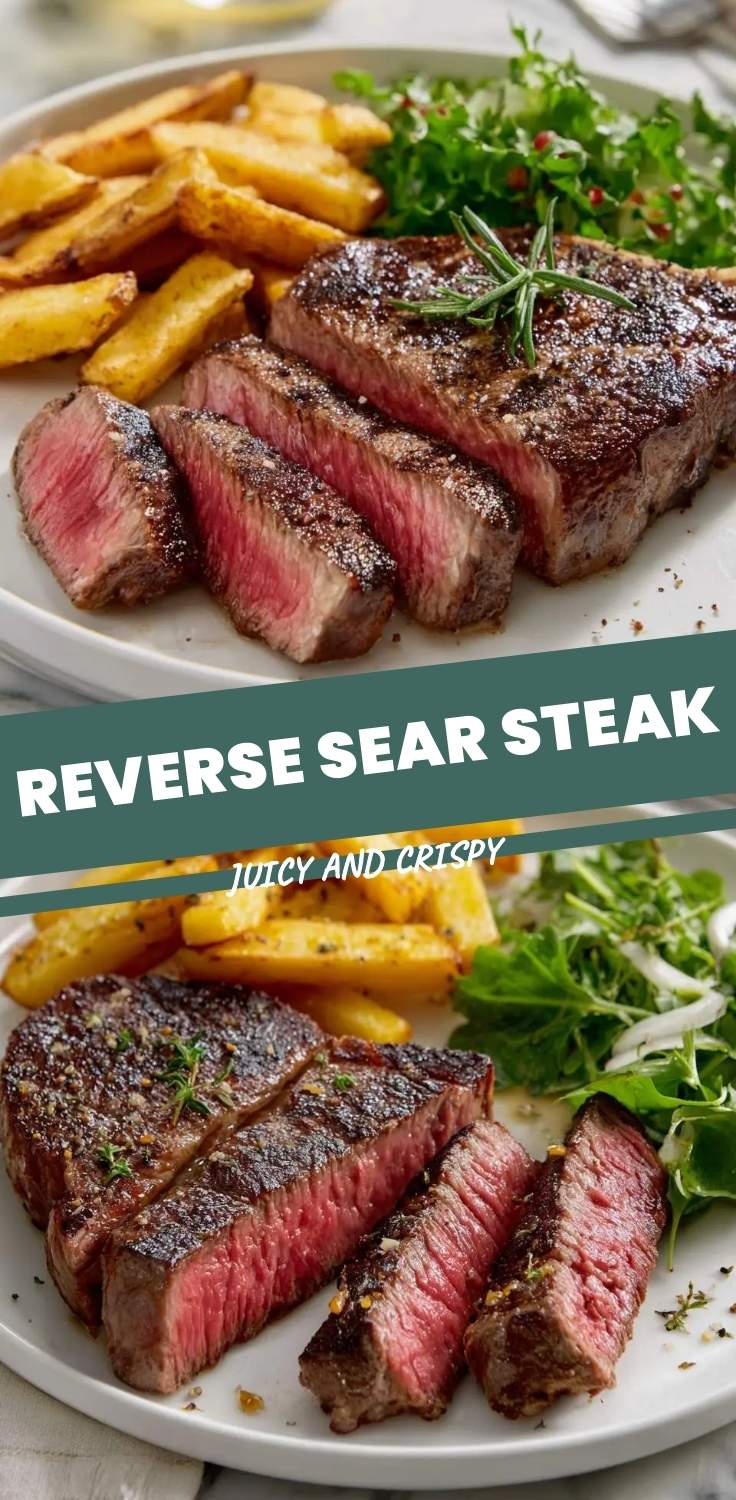
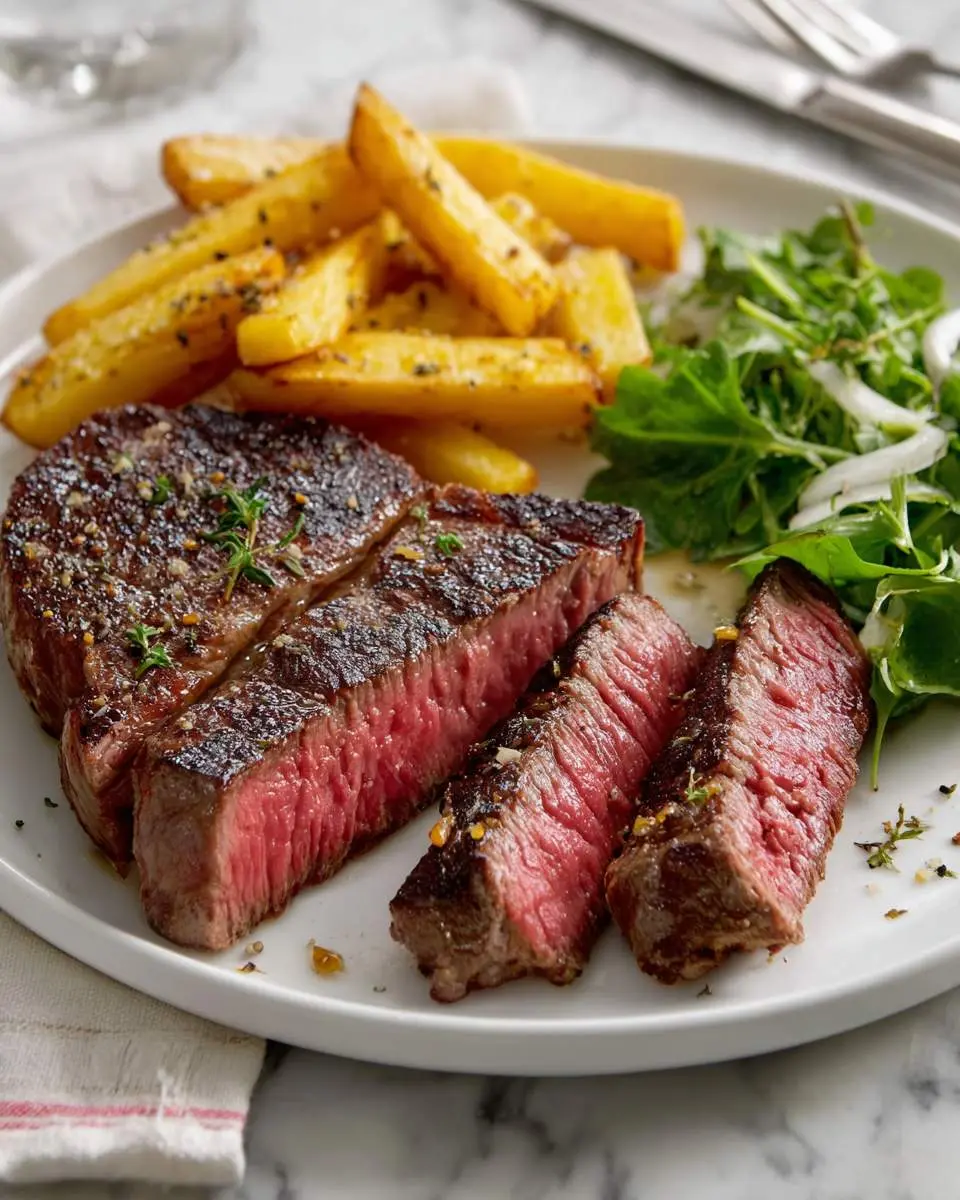
I add butter only in the final thirty seconds, tilting the pan and basting the steak with a spoon until it smells like a French bistro. The crust should be deep mahogany, almost burnt at the edges, while the center stays that rosy pink that makes you want to cut in immediately. I force myself to wait another five minutes, slicing against the grain with a sharp knife that doesn’t saw. For a richer finish, my garlic butter ribeye steak uses a similar basting technique with even more intensity.
Pro Tips
Use a wire rack, not a baking sheet. Air needs to circulate underneath the steak or the bottom steams instead of drying, and you’ll never get that crust you’re after. I learned this the hard way with a gray, sad underside that no amount of searing could fix.
Don’t trust touch—trust temperature. I used to poke my steaks like my grandmother taught me, but reverse sear steak cooks so gently that the texture changes are subtle. A cheap instant-read thermometer removes all guesswork and embarrassment.
Let your pan recover between batches. If you’re cooking for more than two people, that cast iron loses heat fast. I sear one steak, remove it, and wait a full two minutes before the next one hits the metal. Patience here means crust on every plate.
My Secret Trick: I freeze my steaks for exactly forty-five minutes before seasoning if they’re particularly thin. This firms the surface so the salt doesn’t draw out too much moisture too quickly, giving me more control over that initial slow cook.
How to Store reverse sear steak
- Refrigerate in an airtight container within two hours of cooking, keeping the steak whole rather than sliced to preserve moisture
- Store at 40°F or below for up to three days; I wrap mine in parchment before sealing to prevent condensation from softening the crust
- Freeze only if necessary: wrap tightly in plastic, then foil, and use within two months for best texture
- Reheat in a 250°F oven until the internal temperature reaches 110°F, about fifteen minutes, then sear quickly in hot butter for sixty seconds per side to restore the crust
- Never microwave—I’ve tried, and the texture becomes something no amount of sauce can save
Nutritional Benefits
Reverse sear steak preserves more of the B vitamins and zinc found in beef because the gentle cooking doesn’t expose the meat to the extreme temperatures that degrade heat-sensitive nutrients. The grass-fed ribeyes I prefer also contain higher levels of omega-3 fatty acids compared to conventional beef, and finishing with butter rather than vegetable oil means we’re absorbing those fat-soluble vitamins more effectively.
FAQs
Why is my reverse sear steak gray instead of pink inside?
You likely pulled it from the oven too late or let it rest too long before searing. The carryover cooking continues aggressively, so aim for 115°F internal temperature and move quickly to your hot pan.
Can I use this method with frozen steak?
Not successfully. The exterior would overcook before the center thaws and reaches temperature. Always start with fully thawed meat, preferably brought to room temperature first.
What if I don’t have a cast iron skillet?
Any heavy, oven-safe pan with good heat retention works, though cast iron remains my favorite. Avoid nonstick—the coating degrades at the temperatures needed for proper searing.
How do I know when the pan is hot enough for the final sear?
Flick a few drops of water onto the surface; they should evaporate within two seconds while dancing across the metal. If they sit and boil, wait longer. If they vanish instantly, reduce heat slightly to prevent burning the butter.

Reverse Sear Steak
Ingredients
Equipment
Method
- Pat steaks completely dry with paper towels. Season all over with kosher salt and pepper. Let sit at room temperature for 30 minutes, or refrigerate uncovered up to 24 hours for deeper seasoning.
- Preheat oven to 250F. Place steaks on a wire rack set inside a rimmed baking sheet. Roast until internal temperature reaches 110F for medium-rare, about 20 to 30 minutes depending on thickness. Start checking at 15 minutes.
- When steaks hit 105F, heat oil in a cast iron skillet over high heat until just smoking, about 3 minutes. You want the pan ripping hot for a proper crust.
- Sear steaks 1 minute per side until deep golden brown. Add butter, garlic, and herbs. Tilt pan and spoon foaming butter over steaks for 30 seconds per side. Remove when internal temp hits 120F for medium-rare carryover cooking.
- Transfer steaks to a cutting board and rest 5 to 10 minutes. The temperature will rise to about 125F. Slice against the grain and spoon any pan butter over top.
Notes
Conclusion
Reverse sear steak changed how I think about cooking meat at home—it’s forgiving enough for weeknights but impressive enough for the people I want to show off for. The technique asks for patience, not skill, and the reward is that perfect pink center every single time. For summer evenings when you want that same perfection with smoke and char, my grilled ribeye steak carries these lessons outdoors.