Artisan Pumpkin Sourdough Bread
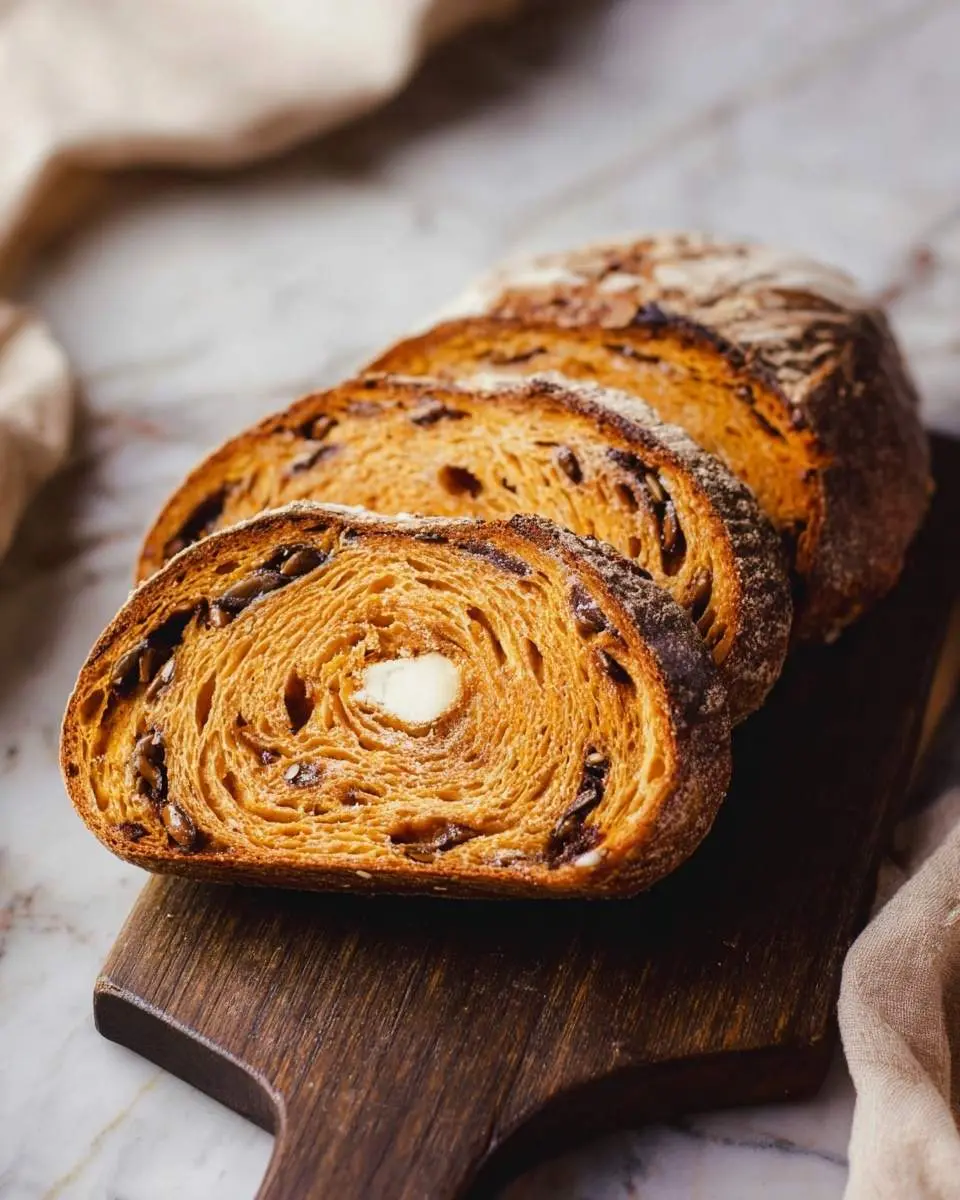
There’s nothing quite like the warmth and comforting aroma of a freshly baked loaf, and my Artisan Pumpkin Sourdough Bread truly captures that feeling. I adore the subtle sweetness of pumpkin combined with the tangy chew of sourdough—it’s a match made in bread heaven! This particular loaf reminds me of cozy autumn afternoons spent in the kitchen, a tradition I started when I first explored the world of baking. It brings back memories of my grandmother’s kitchen, where every dish was made with love and patience, teaching me that the best things often take a little time.
This recipe delivers a hearty and comforting bread, perfect for chilly evenings or a special brunch. My secret for a stress-free baking experience is to break down the process; it makes even complex recipes feel approachable.
What You Need to Make This Recipe
Crafting this delightful Artisan Pumpkin Sourdough Bread requires a few simple yet essential ingredients. I love how the active sourdough starter, combined with rich pumpkin puree and aromatic pumpkin pie spice, transforms into something truly magical. Just like my favorite sourdough focaccia bread, the full list of ingredients and precise measurements are waiting for you in the recipe card below!
How to Make Artisan Pumpkin Sourdough Bread
Making this Artisan Pumpkin Sourdough Bread is a journey, starting the night before with a bubbly levain. We then move through an autolyse, gentle mixing, and a bulk fermentation with stretch and folds that builds incredible strength. After a preshape, a final shaping, and a cold proof, it’s ready for baking. It’s a process I find incredibly rewarding, much like when I bake a delicious pumpkin chocolate chip bread from scratch.
Pro Tips for Making This Artisan Pumpkin Sourdough Bread
Baking sourdough can feel intimidating, but trust me, with a few tips, you’ll be making beautiful loaves of Artisan Pumpkin Sourdough Bread in no time!
Starter Strength is Key
I always ensure my sourdough starter is active and robust before beginning. A happy, bubbly starter is the foundation of a successful loaf. If it’s not quite ready, give it another feed!
Don’t Rush the Bulk Fermentation
This is where the magic happens! I watch the dough, not just the clock. It should be visibly gassy, jiggly, and have increased in volume significantly. Over-proofing is a common pitfall.
My Secret Trick: The Ice Cube Method
For an incredibly crisp crust, I always place an ice cube in a small oven-safe dish on the bottom of my Dutch oven during the initial covered baking phase. The steam created helps the crust develop beautifully on my Artisan Pumpkin Sourdough Bread.
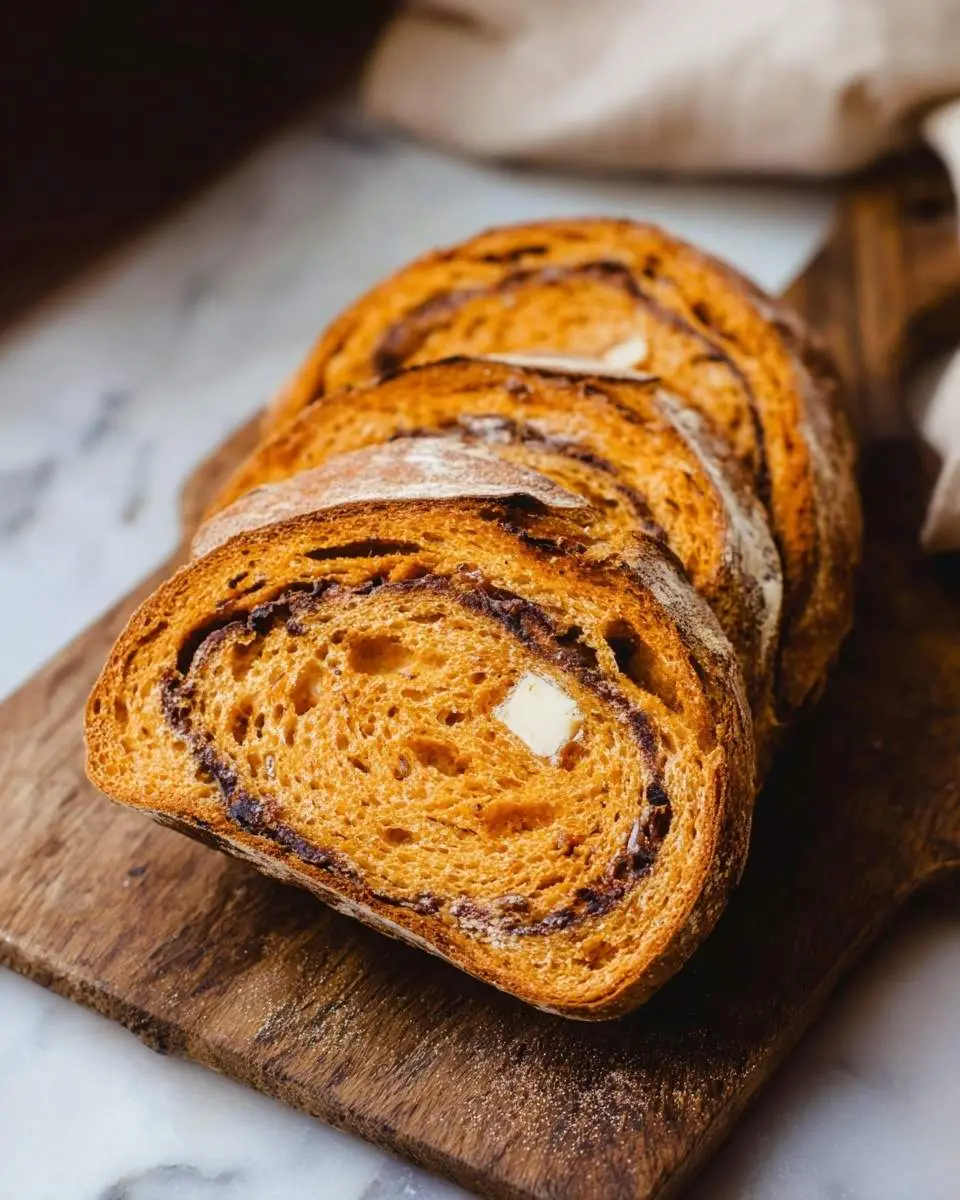
How to Store Artisan Pumpkin Sourdough Bread
Once you’ve enjoyed your amazing Artisan Pumpkin Sourdough Bread, you’ll want to keep any leftovers fresh. I usually store my cooled loaf at room temperature, wrapped in a linen bag or a tea towel, for up to 2-3 days. For longer storage, I slice the bread and freeze it in an airtight container for up to a month. To reheat, I simply toast individual slices from frozen, or warm a whole loaf gently in the oven at 350°F (175°C) until revived. My personal tip: a quick spritz of water before reheating helps bring back that lovely crust!
Nutritional Benefits
This wholesome Artisan Pumpkin Sourdough Bread isn’t just delicious; it also offers great nutritional value. With whole wheat flour, it provides a good source of fiber, aiding digestion. Plus, the pumpkin puree adds a boost of vitamins and antioxidants, making this a truly nourishing bread for my family.
FAQs
Can I use canned pumpkin puree for this recipe?
Yes, absolutely! I always use unsweetened canned pumpkin puree for my Artisan Pumpkin Sourdough Bread. Just make sure it’s 100% pumpkin and not pumpkin pie filling, as the latter contains added sugars and spices that will alter the flavor profile of your loaf.
What if my sourdough starter isn’t very active?
An inactive starter can lead to a dense loaf. If your starter seems sluggish, I recommend feeding it a few times over 1-2 days until it consistently doubles in size after feeding before you begin making this Artisan Pumpkin Sourdough Bread. Patience is key!
How do I get a good oven spring for my bread?
A good oven spring for Artisan Pumpkin Sourdough Bread relies on a few factors: a strong, active starter, proper dough development during bulk fermentation, and baking in a preheated Dutch oven or with steam. Scoring the dough correctly also helps direct the expansion.
Can I make this bread without a Dutch oven?
While a Dutch oven is ideal for creating steam and achieving a crisp crust, you can still make Artisan Pumpkin Sourdough Bread without one. I suggest placing a pan of hot water on the bottom rack of your oven to create steam during the first 20 minutes of baking for similar results.
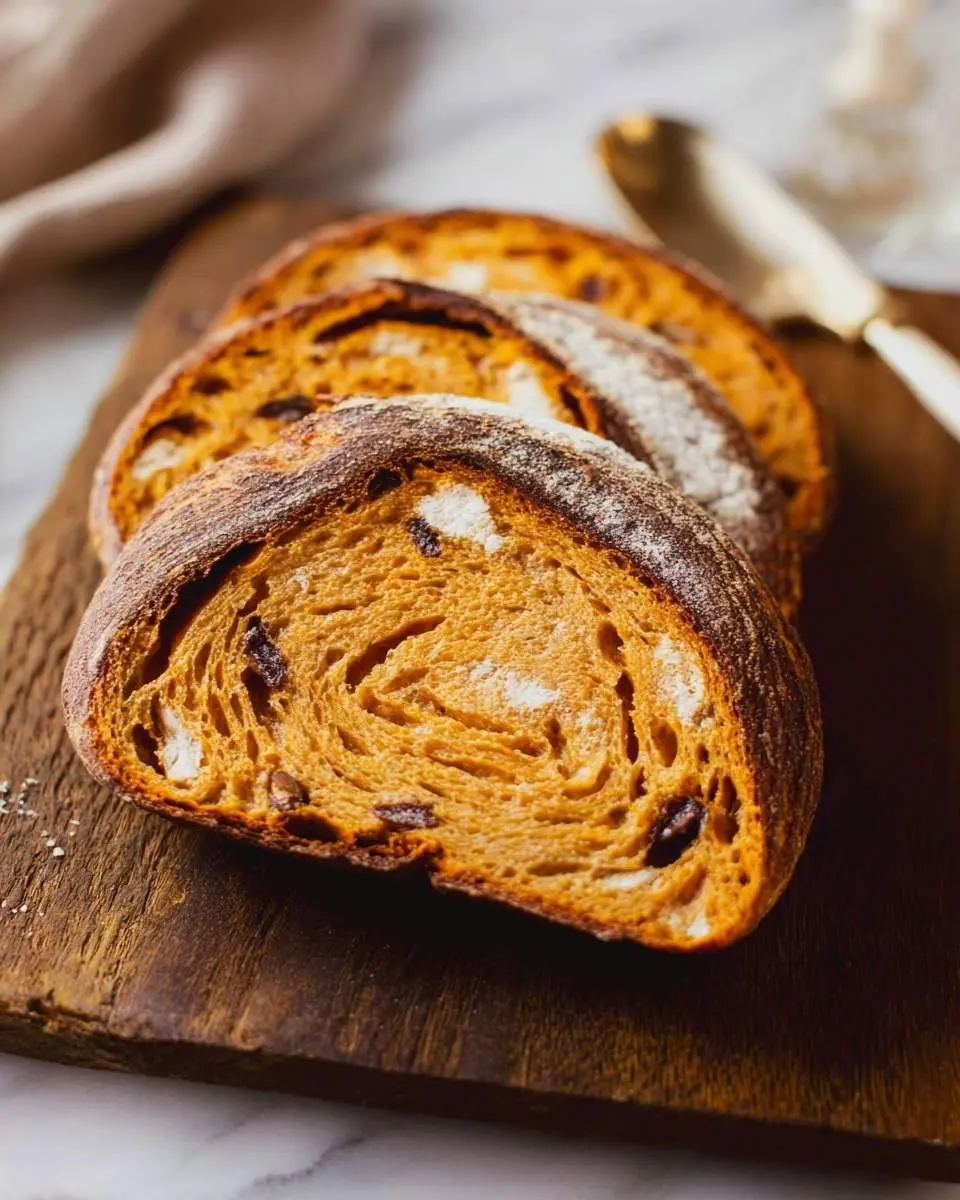

Artisan Pumpkin Sourdough Bread
Ingredients
Equipment
Method
- Combine the active sourdough starter, bread flour, whole wheat flour, and warm water in a small jar or container. Mix until well combined. Cover loosely and let it sit at room temperature (70-75°F / 21-24°C) for 8-12 hours, or until it has doubled in size, is very bubbly, and passes the float test (a small spoonful floats in water).
- In a large mixing bowl, combine the bread flour, whole wheat flour, water, and pumpkin puree. Mix with a dough scraper or your hands until no dry spots of flour remain and a shaggy dough forms. Cover the bowl with a damp cloth or plastic wrap and let it rest for 30 minutes to 1 hour. This step allows the flour to fully hydrate.
- Add the active levain, salt, pumpkin pie spice, and optional maple syrup/brown sugar to the autolysed dough. Mix thoroughly by hand, squeezing and folding the dough until all ingredients are fully incorporated. The dough will be sticky at first. Mix for about 5-7 minutes until the salt and levain are evenly distributed. If using, fold in pumpkin seeds.
- Cover the bowl and let the dough rest for 30 minutes. Begin the first set of stretch and folds. With wet hands, grab a portion of the dough from one side, stretch it up, and fold it over the center. Rotate the bowl 90 degrees and repeat this action 3-4 times until you've worked your way around the dough. Repeat this process for a total of 4 sets, spaced 30 minutes apart.
- After the 4 sets of stretch and folds, let the dough rest, covered, at room temperature for an additional 2-3 hours (total bulk fermentation time will be 4-5 hours, depending on your room temperature and levain strength). The dough should have increased in volume by about 20-30% and show signs of activity (small bubbles).
- Lightly flour your work surface. Gently turn the dough out onto the surface. Using a dough scraper, gently shape the dough into a loose round. Allow the dough to rest, uncovered, for 20-30 minutes. This helps the gluten relax.
- Lightly flour the top of the preshaped dough. Flip the dough over. Gently stretch out the dough into a rough rectangle. Fold the bottom third of the dough up to the center, then fold the top third down over the center. Turn the dough 90 degrees and repeat the folding process, creating tension on the surface. Pinch the seam closed. Carefully transfer the shaped dough, seam-side up, into a well-floured banneton basket (or a bowl lined with a floured kitchen towel).
- Cover the banneton with plastic wrap or a shower cap and place it in the refrigerator for 12-18 hours (or up to 24 hours). This slow, cold proof develops flavor and makes the dough easier to handle and score.
- Preheat your oven to 500°F (260°C) with the Dutch oven inside for at least 30-45 minutes. Carefully remove the hot Dutch oven from the oven. Gently invert the dough from the banneton directly into the hot Dutch oven. If desired, sprinkle with extra pumpkin seeds.
- Using a lame or a sharp razor blade, score the top of the dough. You can do a simple cross, a square, or a more intricate pattern. Immediately place the lid back on the Dutch oven and bake for 20 minutes.
- After 20 minutes, carefully remove the lid from the Dutch oven. Reduce the oven temperature to 450°F (232°C) and continue to bake for another 25-30 minutes, or until the crust is deeply golden brown and the internal temperature reaches 200-210°F (93-99°C).
- Carefully remove the bread from the Dutch oven and transfer it to a wire rack to cool completely for at least 2-3 hours before slicing. Slicing too early can result in a gummy texture.
Notes
Conclusion
There’s nothing quite like the satisfaction of pulling a warm, fragrant loaf of Artisan Pumpkin Sourdough Bread from your oven. It’s more than just a recipe; it’s an experience that fills your home with comforting aromas and your heart with joy. I truly hope you’ll try your hand at this wonderful bread and discover the pleasure of baking something so beautiful and delicious for your loved ones. If you enjoy wholesome, homemade bread, you might also love my recipe for molasses brown bread!