basketball cookies
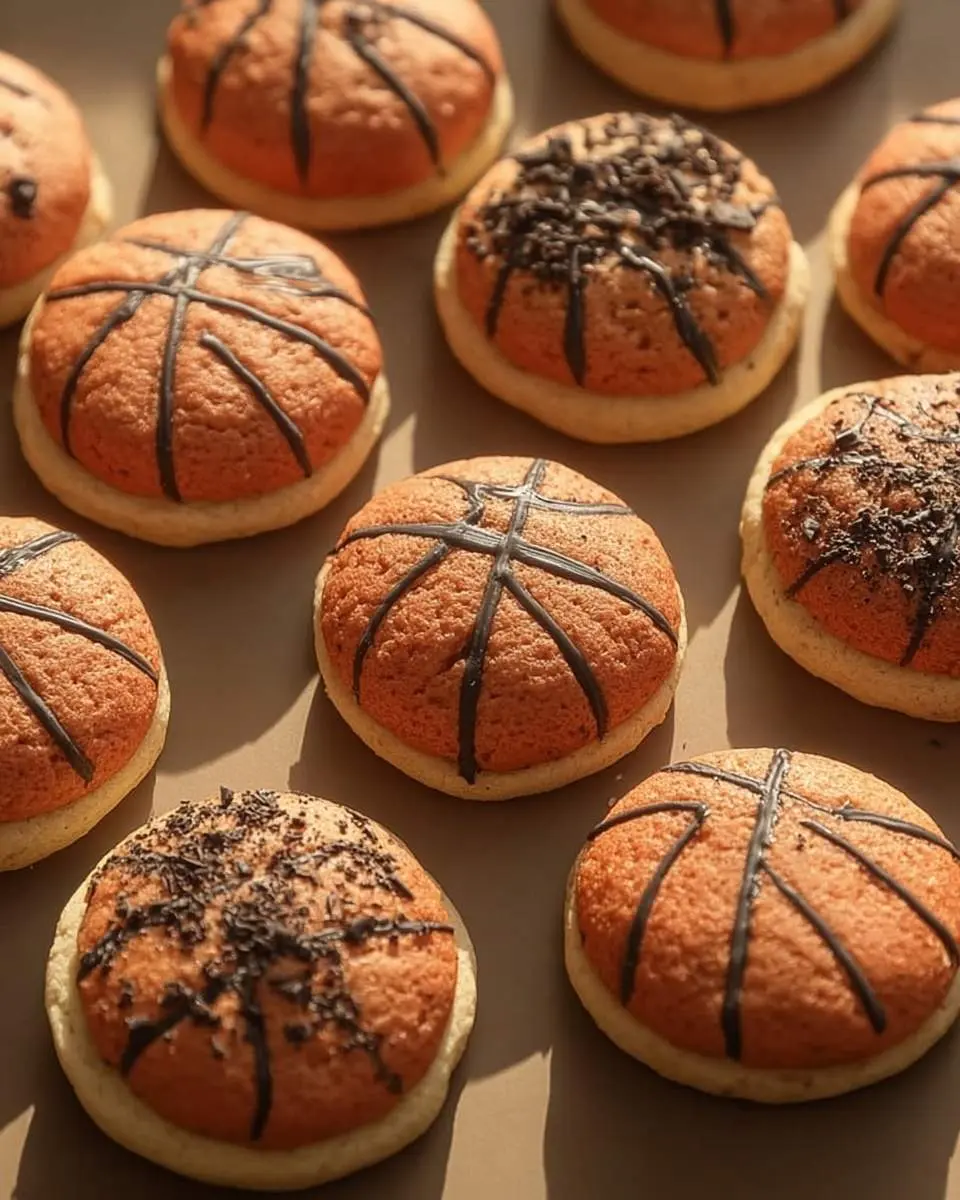
There’s nothing quite like a batch of homemade soft, chewy sugar cookies, especially when they’re shaped into festive basketball cookies! These delightful treats bring such joy, their vibrant colors and perfect sweetness making any game day feel like a championship celebration.
I remember countless Saturday mornings in my grandmother’s kitchen, the scent of vanilla and baking sugar filling the air. We’d gather around the worn wooden table, decorating cookies with such care, each one a tiny masterpiece. It was a tradition that always brought us closer.
This recipe is truly low-stress to prepare, making it perfect for busy families, and the vibrant designs are sure to impress without too much fuss. My secret for beautifully decorated cookies? Always let the icing fully set before adding details!
What You Need to Make This Recipe
My favorite part about whipping up a batch of these basketball cookies is seeing how simple ingredients like unsalted butter, granulated sugar, and all-purpose flour transform into something so special. The rich vanilla extract always adds that comforting aroma to my kitchen, and for a bit of extra sweetness, these even pair wonderfully with chocolate-covered strawberries on a dessert platter. You’ll find the full list of ingredients and precise measurements in the recipe card below.
How to Make basketball cookies
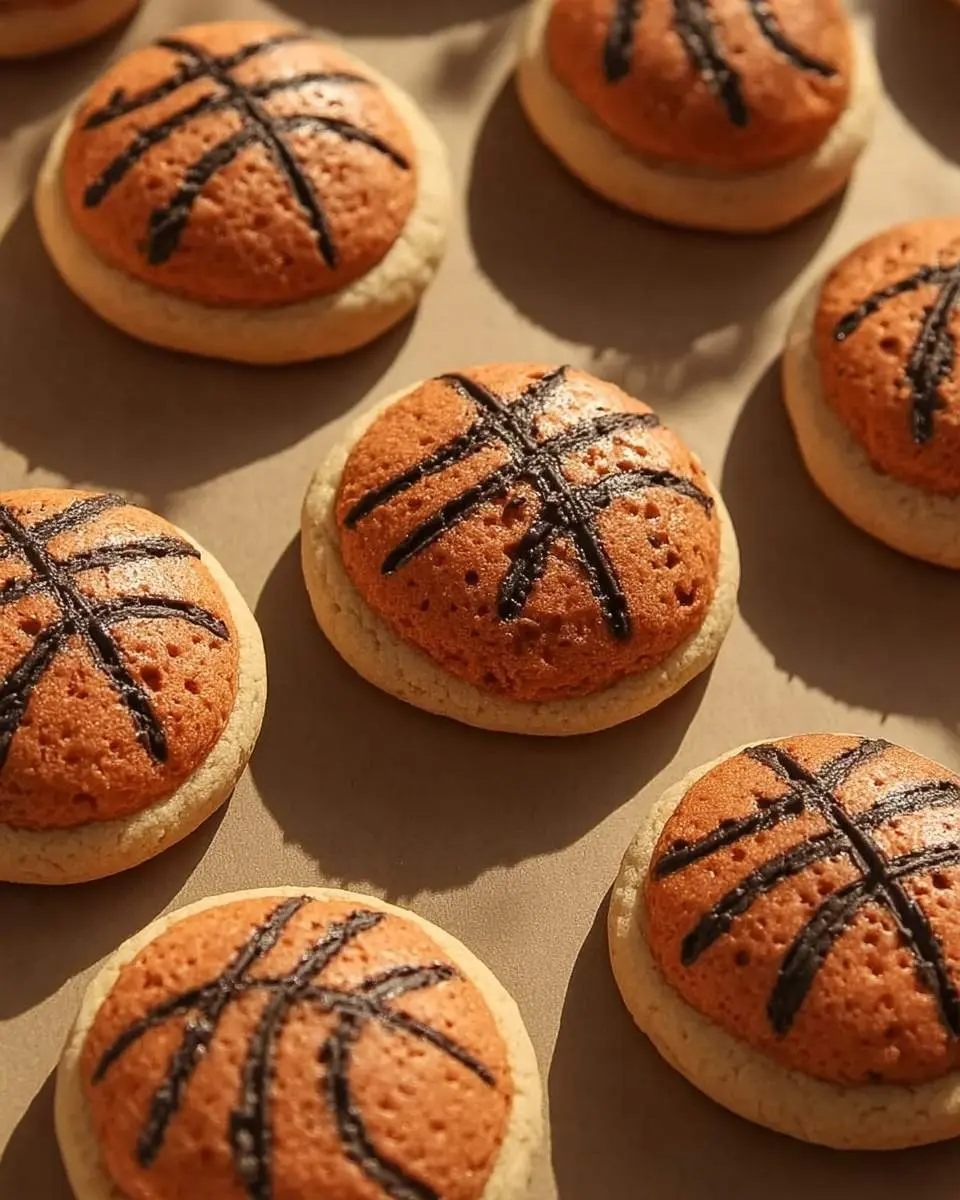
Making these cheerful sugar cookies is a process I truly enjoy! It starts with creaming together the butter and sugar until light and fluffy, then incorporating the egg and vanilla for that perfect base. After combining the dry ingredients—flour, baking powder, and salt—you gently mix them into the wet mixture. Once the dough is ready, a little chilling makes it easier to roll out and cut into those fun shapes. Baking until just golden ensures they stay soft and tender, much like my favorite chocolate chip cookies. Then comes the best part: decorating!
Pro Tips for Making This basketball cookies
Getting those perfectly shaped and decorated treats is easier than you think with a few of my go-to tricks!
For Perfect Dough
When I’m making my dough for these sugar cookies, I always make sure my butter is at room temperature. This helps it cream beautifully with the sugar, creating a smooth, even texture for your basketball cookies. Don’t overmix the flour, or they might turn out tough!
My Secret Trick: I always chill my dough for at least 30 minutes (or even an hour!) before rolling it out. This makes the dough much firmer and easier to work with, preventing it from sticking and helping your cookie shapes hold perfectly during baking.
Decorating Like a Pro
For vibrant icing, I use gel food coloring. It gives such a rich color without thinning your royal icing too much. When outlining and flooding your festive treats, I like to start with the orange base, letting it dry completely before adding the black lines. This prevents colors from bleeding into each other and gives a crisp, professional look to your desserts.
How to Store basketball cookies
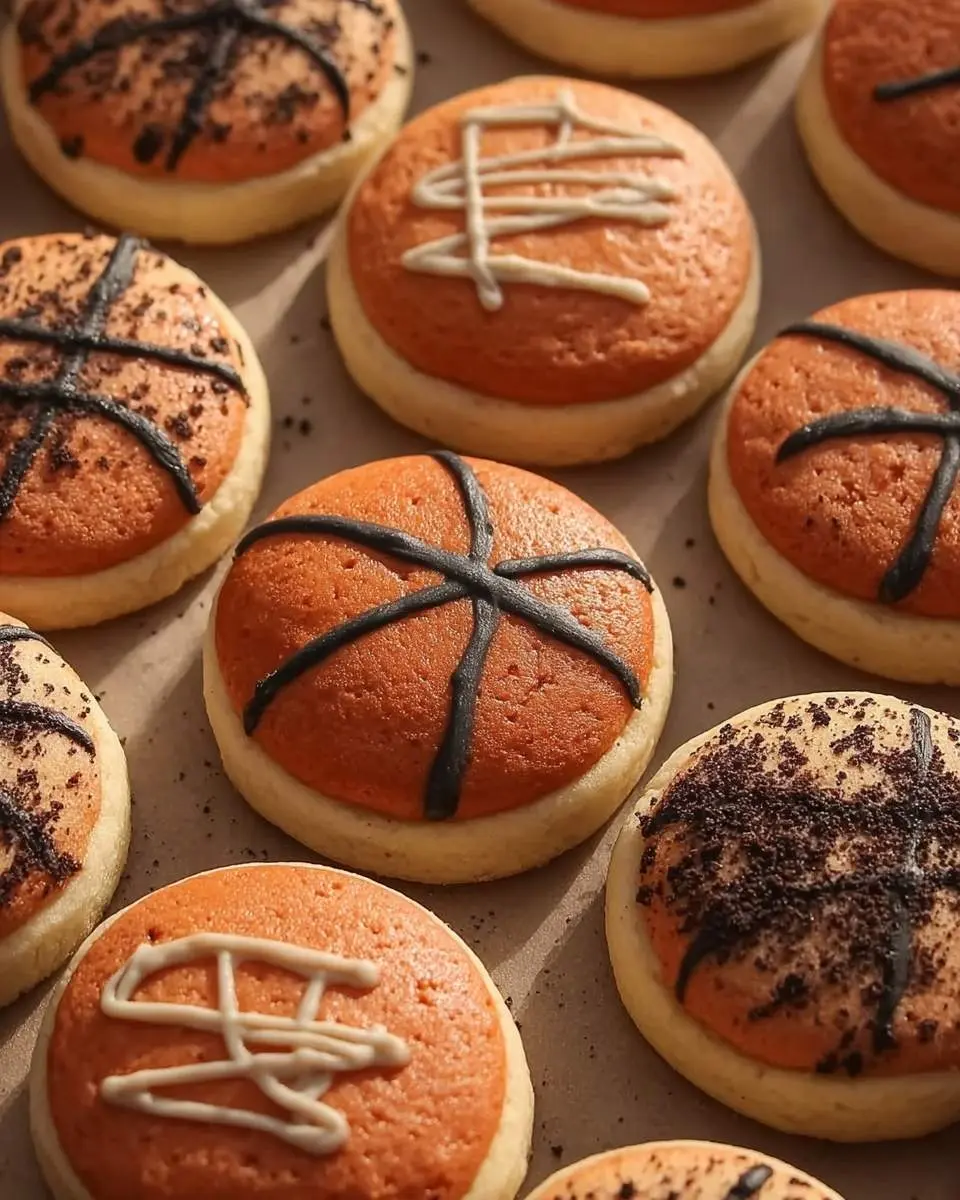
After all the fun of baking and decorating, you’ll want to make sure your beautiful basketball cookies stay fresh! Once the icing is completely dry, I like to store them in an airtight container at room temperature for up to a week. If you want to keep them longer, they freeze beautifully for up to three months. My personal tip is to place parchment paper between layers of cookies in the container to prevent them from sticking or smudging.
Nutritional Benefits
While these treats are definitely a delightful indulgence, they offer a wonderful way to enjoy a homemade dessert with quality ingredients. Baking from scratch allows me to control what goes in, ensuring a wholesome option for my family’s sweet tooth, and a joyful way to celebrate special occasions.

FAQs
Can I make the dough for these cookies ahead of time?
Absolutely! I often prepare the dough a day or two in advance. Wrap it tightly in plastic wrap and store it in the refrigerator. This actually helps the flavors meld and makes the dough easier to handle when you’re ready to roll out and cut your basketball cookies.
What’s the best way to get smooth royal icing?
My trick for super smooth royal icing for these festive cookies is to sift your powdered sugar before mixing. Also, make sure to mix on a low speed to avoid too many air bubbles. A little bit of meringue powder helps achieve that perfect consistency and shine for your basketball cookies.
How can I prevent my cookies from spreading too much in the oven?
To keep your sugar cookies from spreading, ensure your butter isn’t too soft when you cream it. Also, chilling the cut-out dough on the baking sheet for about 10-15 minutes before baking helps them maintain their shape beautifully. Don’t overcrowd the baking sheet either!
Can I use different food colorings for these cookies?
Of course! While I love the classic orange and black for basketball cookies, you can absolutely get creative with other team colors. Just make sure to use gel food coloring for the best, most vibrant results without affecting the icing consistency.

Slam Dunk Basketball Sugar Cookies
Ingredients
Equipment
Method
- In a large mixing bowl, cream together softened unsalted butter and granulated sugar with an electric mixer until light and fluffy (about 2-3 minutes).
- Beat in the large egg and vanilla extract until well combined. Scrape down the sides of the bowl.
- In a separate medium bowl, whisk together the all-purpose flour, baking powder, and salt.
- Gradually add the dry ingredients to the wet ingredients, mixing on low speed until just combined and a soft dough forms. Do not overmix.
- Divide the dough in half, flatten each half into a disk, wrap tightly in plastic wrap, and refrigerate for at least 30 minutes (or up to 2 hours). This helps prevent spreading.
- Preheat oven to 375°F (190°C). Line two baking sheets with parchment paper.
- On a lightly floured surface, roll out one disk of chilled dough to about 1/4 inch thickness. Use a 2.5-3 inch round cookie cutter to cut out circles. Reroll scraps as needed.
- Carefully transfer the cut-out cookies to the prepared baking sheets, leaving about 1 inch between them. Bake for 10-12 minutes, or until the edges are lightly golden. You may need to bake in batches, depending on your oven and sheet size.
- Let the cookies cool on the baking sheets for 5 minutes before transferring them to a wire rack to cool completely. Repeat with the remaining dough.
- In a large bowl, combine the sifted powdered sugar and meringue powder. Gradually add 1/2 cup warm water, mixing on low speed with an electric mixer until combined. Increase speed to medium-high and beat for 5-7 minutes, or until the icing is thick, glossy, and holds stiff peaks. If icing is too thick, add water 1 teaspoon at a time; if too thin, add more sifted powdered sugar.
- Divide about 2/3 of the royal icing into a separate bowl. Tint this portion with orange gel food coloring until you achieve a vibrant basketball orange. Keep a small portion of the remaining white icing aside (about 2 tablespoons) for thinning if needed. Tint the remaining small portion (about 1/4 cup) of white icing with black gel food coloring.
- Take about half of the orange icing and thin it with a few drops of water at a time until it reaches a "flooding" consistency (when you drizzle a spoonful back into the bowl, the line disappears within 10-15 seconds). This will be your orange flood icing. Do not thin the black icing as much; keep it at an outline consistency for piping details.
- Fill a piping bag fitted with a small round tip (e.g., PME #2 or #3) with the thicker orange icing (outline consistency). Outline the edge of each cooled cookie.
- Immediately fill another piping bag (or use a squeeze bottle) with the thinned orange flooding icing. Flood the outlined cookies, filling in the orange base. Use a scribe tool or toothpick to gently spread the icing to the edges and pop any air bubbles. Let the orange base dry completely (at least 1-2 hours, or ideally overnight) before adding black details. Drying time may vary based on humidity.
- Once the orange icing is completely dry, fill a piping bag fitted with a very small round tip (e.g., PME #1 or #1.5) with the black icing (outline consistency). Pipe the classic basketball lines: one line across the middle, and two curved lines on either side, resembling a basketball seam.
- Allow the black icing lines to dry completely, which usually takes another 1-2 hours, before stacking or storing the basketball cookies.
Notes
Conclusion
I truly hope you’ll give these delightful basketball cookies a try for your next game day or celebration! They are such a fun and flavorful way to bring smiles to everyone’s faces. The process is so rewarding, creating both wonderful memories and a delicious treat. If you love homemade desserts, you might also enjoy my salted brownie cookies for another delightful sweet experience. Happy baking!