Chocolate Croissants
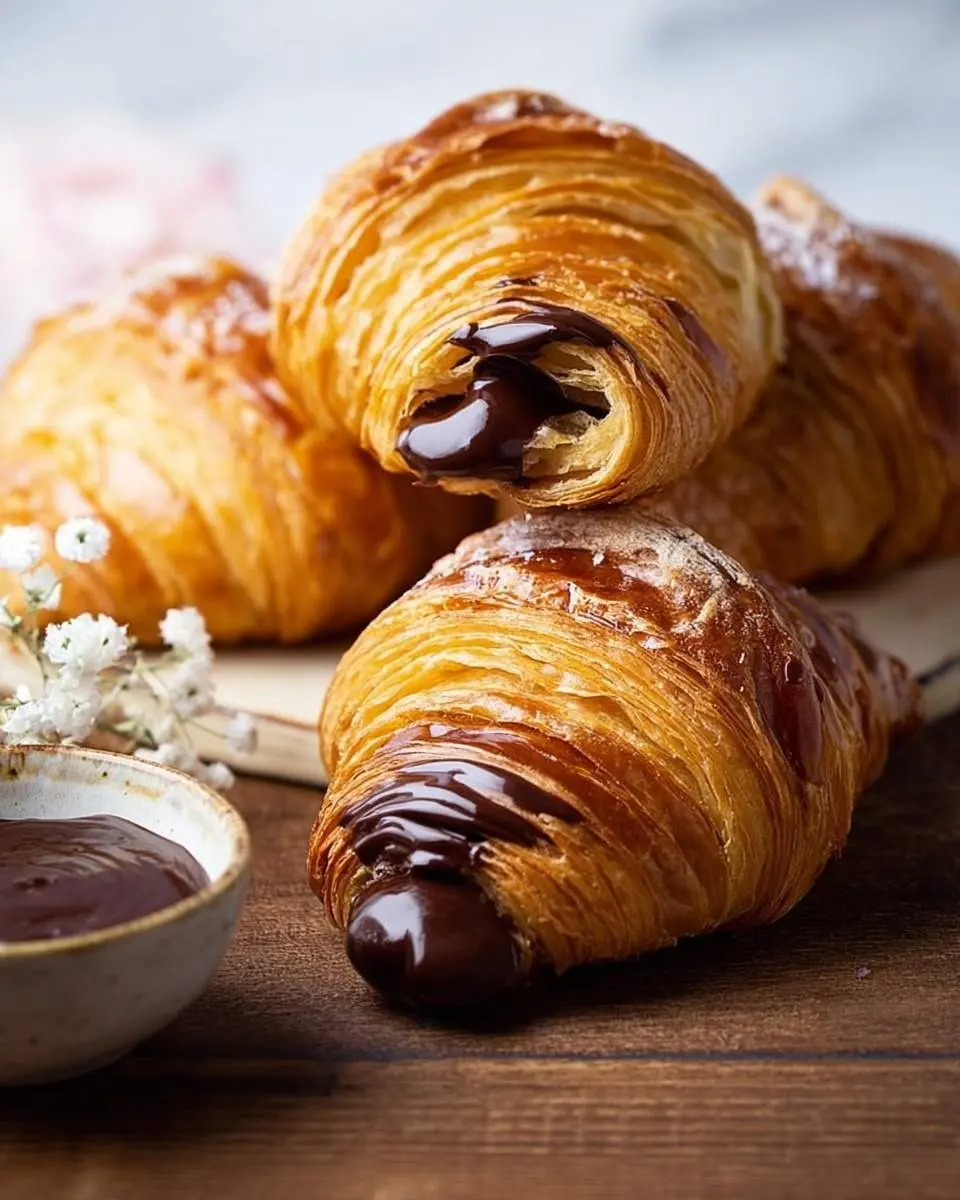
There’s something truly magical about waking up to the aroma of freshly baked Chocolate Croissants. That first bite—the crisp, flaky layers giving way to a rich, warm chocolate center—is pure bliss. It’s a moment of simple indulgence that instantly brightens my morning.
I remember Sunday mornings as a little girl, my grandmother’s kitchen filled with the scent of yeast and butter. She’d always say, “Good things take time, Lucia,” and that wisdom really shaped my approach to baking.
This recipe, while a labor of love, is incredibly rewarding and brings such comfort to your breakfast table. My practical tip for success? Embrace the process; don’t rush the chilling steps.
What You Need to Make This Recipe
Crafting delicious Chocolate Croissants starts with key players like good quality all-purpose flour and unsalted butter for that signature richness. You’ll find the full list of ingredients and precise measurements in the recipe card below, much like my favorite Zucchini Bagels recipe.
How to Make Chocolate Croissants
Crafting these Chocolate Croissants is a rewarding two-day process. We prepare the dough and butter block on day one. Day two brings the magical lamination for those flaky layers, followed by shaping with dark chocolate batons, a final proof, and baking until golden. It’s an effort that truly pays off for an unforgettable breakfast, much like my popular Chocolate Croissant Breakfast Bake.
Pro Tips for Making This Chocolate Croissants
Making perfect Chocolate Croissants can feel like a challenge, but I’ve learned a few tricks over the years that make all the difference.
- Keep Everything Cold: This is my number one rule. Cold butter and cold dough are essential for achieving those beautiful, distinct layers during lamination. If your kitchen is warm, don’t hesitate to pop the dough back into the fridge for 10-15 minutes between folds. I always say, a little extra chilling time means a much flakier croissant!
- Don’t Rush Lamination: Patience is your best friend here. Each fold needs time to relax in the fridge. Rushing this step will make the dough resistant and tear, ruining your layers. My goal is always perfectly distinct layers in my Chocolate Croissants.
- My Secret Trick: When shaping, I always ensure the dark chocolate batons are snuggly rolled into the dough. To prevent them from oozing out, I make sure the seam is tightly sealed underneath. This keeps the chocolate perfectly contained and melty inside.
- Proofing is Key: Don’t under-proof or over-proof. Under-proofed croissants will be dense, and over-proofed ones will lose their shape. Look for a slight jiggle and an increase in size without looking puffy.
How to Store Chocolate Croissants
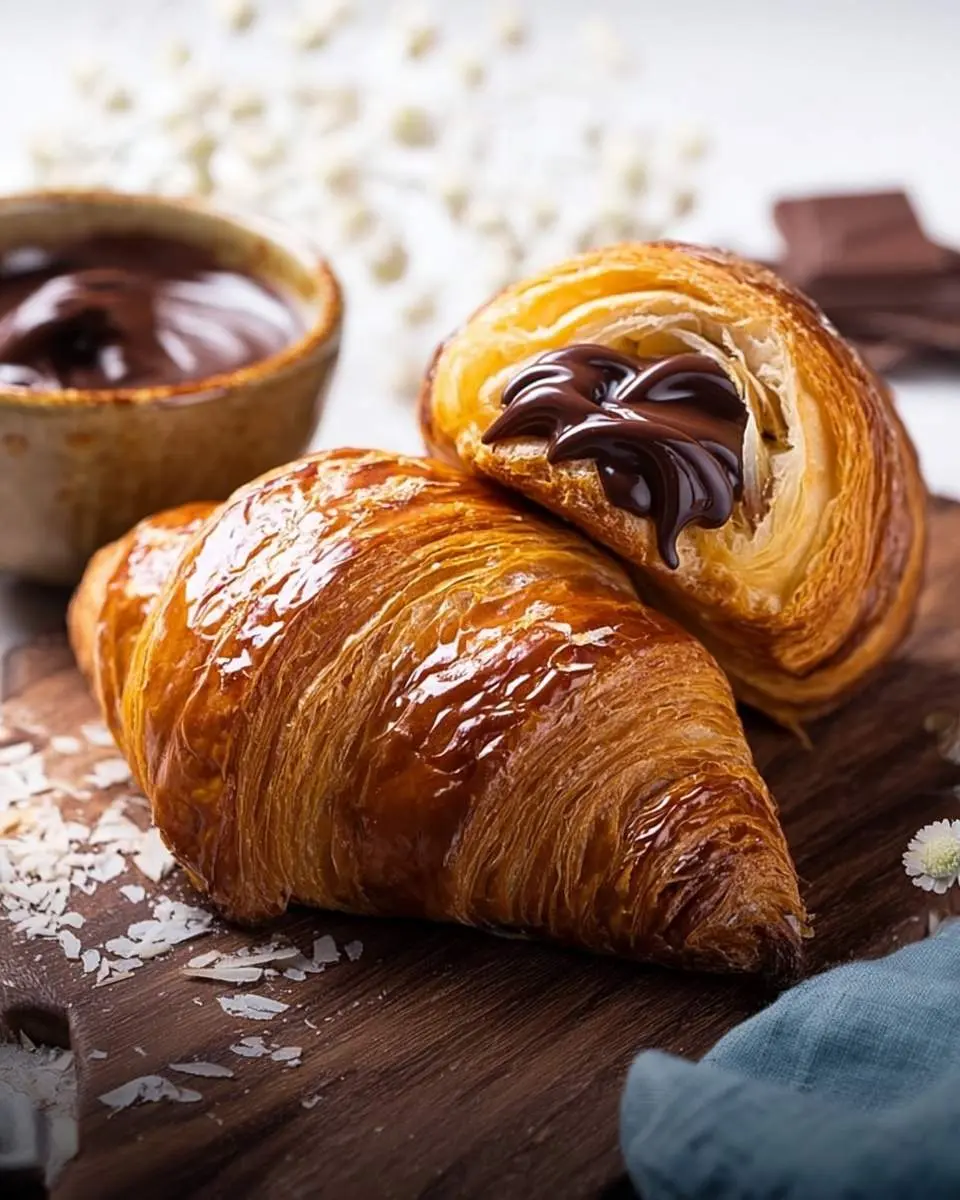
I always get asked about the best way to keep these delicious Chocolate Croissants fresh. For immediate enjoyment, any leftovers can be stored in an airtight container at room temperature for up to 2 days. For longer storage, cooled croissants freeze beautifully for up to 1 month in an airtight container.
My personal tip for reheating: To bring them back to life, I gently warm frozen croissants in a preheated oven at 300°F (150°C) for 10-15 minutes, or until the chocolate is melty and the pastry is crisp again. This gentle reheating preserves their flakiness and butter aroma.
Nutritional Benefits
While Chocolate Croissants are an indulgence, they do offer a comforting start to the day. With whole milk and butter, they provide some energy and a satisfying feeling, perfect for my family’s busy mornings. Everything in moderation, of course!

FAQs
Can I prepare the dough ahead of time?
Yes! The beauty of these Chocolate Croissants is the two-day dough prep, including butter block and initial folds. This develops flavor and makes lamination manageable. You can even freeze shaped, unbaked croissants for later—a fantastic time-saver for busy mornings.
What kind of chocolate should I use for Pain au Chocolat?
For the best Chocolate Croissants, I highly recommend dark chocolate batons. They’re designed for baking and melt beautifully without excessive oozing. If batons aren’t available, a good quality dark chocolate bar, chopped into similar-sized pieces, will still create that rich, melty center.
What if my croissants aren’t flaky?
Achieving flaky Chocolate Croissants hinges on keeping dough and butter cold during lamination. If your kitchen is warm, chill the dough adequately between folds. Avoid overworking it; too much gluten prevents those distinct, airy layers from forming beautifully.
Can I make these croissants savory?
While this recipe focuses on classic Chocolate Croissants, the basic dough can be adapted for savory variations! Omit the chocolate and fill them with cheese, herbs, or pesto after lamination. Get creative and make them your own for a delightful, personalized twist.


Classic Homemade Pain au Chocolat (Chocolate Croissants)
Ingredients
Equipment
Method
- In a large mixing bowl (or stand mixer bowl), combine flour, sugar, salt, and yeast. Whisk to combine. Add lukewarm milk and cold water. If using a stand mixer, mix with a dough hook on low speed for 2-3 minutes until a shaggy dough forms. If mixing by hand, stir with a wooden spoon.
- Add the softened butter and continue mixing on low speed (or kneading by hand) for 8-10 minutes, until the dough is smooth, elastic, and pulls away from the sides of the bowl. It should be slightly sticky.
- Transfer the dough to a lightly oiled bowl, cover tightly with plastic wrap, and let it rise in a warm place for 1.5-2 hours, or until doubled in size.
- Punch down the dough gently, reform into a ball, and wrap tightly in plastic wrap. Refrigerate for at least 4 hours, or preferably overnight (up to 12-18 hours). This cold fermentation helps with flavor and makes the dough easier to handle for lamination.
- While the dough is chilling, prepare the butter block. Cut the very cold 250g unsalted butter into 1/2-inch thick slices. Arrange them closely together on a piece of parchment paper to form an approximately 6x6 inch (15x15 cm) square.
- Cover with another piece of parchment paper and use a rolling pin to gently pound and roll the butter until it forms an even 8x8 inch (20x20 cm) square, about 1/4 inch (6mm) thick. Ensure there are no gaps. Place the butter block, still wrapped in parchment, in the refrigerator for at least 30 minutes, or until ready to use.
- Lightly flour your work surface. Roll the chilled dough into a 16x8 inch (40x20 cm) rectangle. The dough should be twice as long as the butter block is wide. Place the chilled butter block in the center of the dough. Fold the exposed dough over the butter, completely encasing it. Pinch the seams closed to seal the butter inside.
- Gently roll the dough into a long rectangle, approximately 24x8 inches (60x20 cm). Be firm but careful not to tear the dough and expose the butter. Dust with flour as needed to prevent sticking, but not too much.
- Perform the first 'single fold': Fold one-third of the dough over the middle section, then fold the remaining one-third over that, like folding a letter. This creates three layers of dough and two layers of butter. Rotate the dough 90 degrees (so the open seam is on your right).
- Wrap the folded dough in plastic wrap and refrigerate for 30 minutes.
- Repeat the rolling and folding process ('single fold') two more times, chilling the dough for 30 minutes between each fold. Each time, rotate the dough 90 degrees before rolling to ensure even lamination. After the third fold, wrap tightly and refrigerate for at least 1 hour, or up to 2 hours, before shaping.
- On a lightly floured surface, roll the chilled dough into a large rectangle, approximately 16x20 inches (40x50 cm) and about 1/8 inch (3mm) thick. Trim the edges to create clean lines.
- Using a ruler and a sharp knife or pizza cutter, cut the dough in half lengthwise (to make two 8x20 inch strips). Then, cut each strip into 6 rectangles, each measuring approximately 3.3x8 inches (8.5x20 cm). You should have 12 rectangles in total.
- Place two chocolate batons (or an equivalent amount of chopped chocolate) along one short edge of a dough rectangle. Roll the dough up tightly towards the opposite short edge, ensuring the chocolate is fully enclosed. Place another chocolate baton near the end of the roll and continue rolling to fully enclose it, finishing with the seam on the bottom.
- Repeat with the remaining dough rectangles and chocolate. Place the shaped croissants on baking sheets lined with parchment paper, leaving plenty of space between them as they will expand significantly.
- For the egg wash, whisk together the large egg and 1 tbsp whole milk.
- Loosely cover the baking sheets with plastic wrap or a large, inverted container to create a humid environment. Let the croissants proof in a warm, draft-free place for 2-3 hours, or until they have nearly doubled in size, are visibly puffy, and jiggle slightly when gently shaken. This is a crucial step for flaky croissants.
- Preheat your oven to 400°F (200°C) with a rack in the middle position. Once proofed, gently brush the tops of the croissants with the egg wash.
- Bake for 10 minutes at 400°F (200°C), then reduce the oven temperature to 375°F (190°C) and continue baking for another 8-10 minutes, or until the croissants are deep golden brown and the layers are clearly visible.
- Transfer the baked croissants to a wire rack to cool slightly. Serve warm and enjoy!
Notes
Conclusion
There’s nothing quite like the satisfaction of pulling warm, golden Chocolate Croissants from the oven. This recipe is a labor of love, but the flaky layers and molten chocolate make every moment in the kitchen utterly worth it. I truly hope you’ll embrace the process and bring this Parisian bakery magic into your home. It’s a wonderful way to create cozy, comforting breakfasts for your family, perhaps alongside my Chocolate Pancakes. Happy baking!