coconut cream pie bars
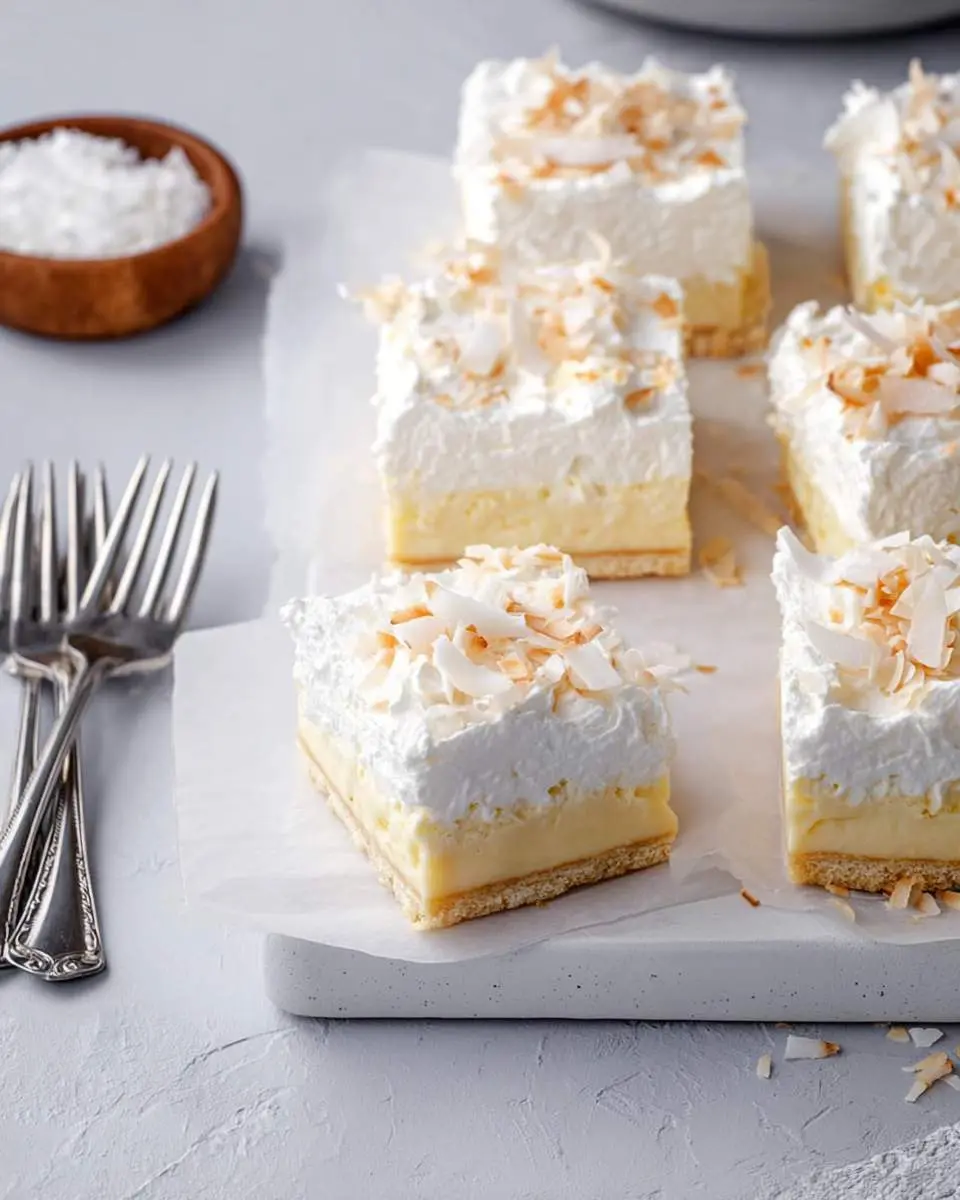
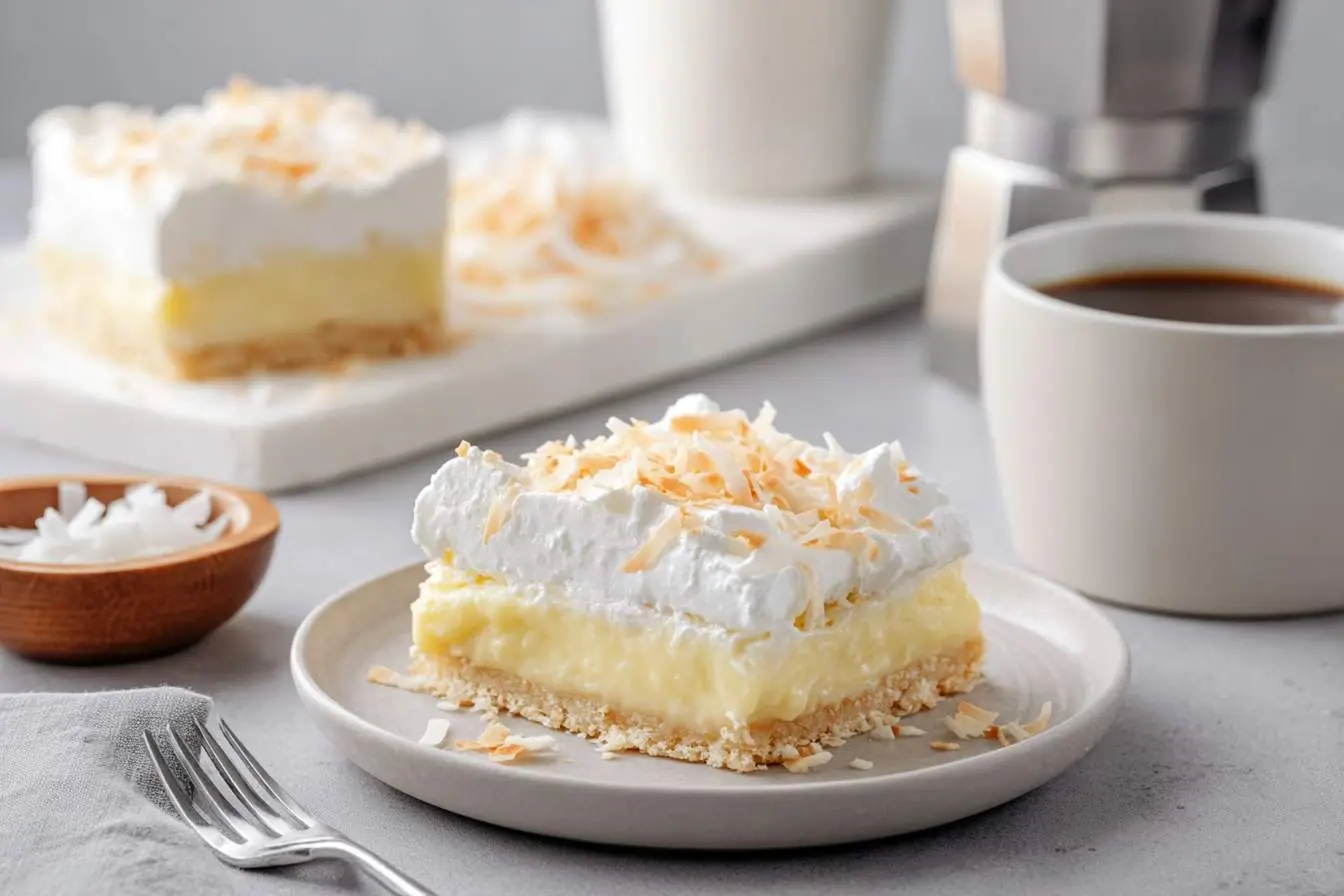
When it comes to dessert, I’m all about finding that perfect balance between “wow, this is incredible” and “wow, I actually had time to make this.” These coconut cream pie bars are the answer. They deliver all the luscious, tropical flavor of a classic coconut cream pie but in a simple, sliceable format that’s perfect for busy families and casual get-togethers. They are pure, creamy bliss on a buttery crust.
I still remember the first time I tried to make a traditional pie from scratch. It was… a learning experience. The crust shrunk, the filling was a bit runny, and I spent more time cleaning up flour than anything else. Now that I’m cooking for two little ones, I don’t have time for fussy recipes. That’s why I love turning classic desserts into easy-to-handle bars.
This recipe is a game-changer because it’s both incredibly simple and impressive enough for guests. The press-in crust means no rolling pin required, and the filling comes together right on the stovetop. My best tip? Get the kids involved in pressing the crust into the pan—they love having a job to do!
What You Need to Make This Recipe
This recipe relies on a few key pantry staples to create its magic. Full-fat coconut milk is non-negotiable for that rich, creamy texture, while a mix of shredded and toasted coconut drives the flavor home. These simple ingredients are the secret to the best coconut cream pie bars. The full ingredient list and measurements are in the recipe card below.
How to Make coconut cream pie bars
Making these bars is a straightforward process that’s easier than a traditional pie. You’ll start by creating a simple press-in crust and baking it until golden. While it cools, you’ll cook the rich coconut custard on the stovetop until it’s thick and luscious. Pour the filling over the crust, chill until firm, and finish with a fluffy whipped cream topping and a sprinkle of toasted coconut before serving.

Creamy Dreamy Coconut Cream Pie Bars
Ingredients
Equipment
Method
- Preheat your oven to 350°F (175°C). Line a 9×13 inch baking pan with parchment paper, leaving an overhang on the sides to easily lift the bars out later.
- In a medium bowl, whisk together the all-purpose flour, 1/2 cup shredded coconut, powdered sugar, and 1/4 tsp salt.
- Add the cold, cubed butter. Using a pastry blender or your fingers, cut the butter into the flour mixture until it resembles coarse crumbs.
- Press the mixture firmly and evenly into the bottom of the prepared pan. Bake for 18-22 minutes, or until the edges are lightly golden brown. Set aside to cool slightly while you make the filling.
- In a medium saucepan, whisk together the granulated sugar, cornstarch, and 1/2 tsp salt.
- Gradually whisk in the two cans of coconut milk until smooth. Place the saucepan over medium heat and bring to a simmer, whisking constantly. Continue to cook, whisking, for 1-2 minutes until the mixture has thickened considerably.
- In a separate small bowl, lightly beat the egg yolks. Slowly pour about 1 cup of the hot coconut mixture into the egg yolks while whisking constantly (this is called tempering and prevents the eggs from scrambling).
- Pour the tempered egg yolk mixture back into the saucepan with the remaining coconut mixture. Return to medium heat and cook for 2 more minutes, whisking constantly, until the filling is very thick and bubbly.
- Remove from the heat. Stir in the 3 tbsp of room temperature butter, 1 1/2 tsp vanilla extract, and coconut extract (if using) until the butter is fully melted and incorporated. Fold in the 1 cup of shredded coconut.
- Pour the hot filling evenly over the warm crust and spread it into an even layer.
- Press a piece of plastic wrap directly onto the surface of the filling to prevent a skin from forming. Refrigerate for at least 4 hours, or preferably overnight, until the filling is completely firm and chilled.
- Once the bars are fully chilled, prepare the whipped topping. In a large bowl using an electric mixer, beat the cold heavy whipping cream, powdered sugar, and 1 tsp vanilla extract on medium-high speed until stiff peaks form.
- Remove the plastic wrap from the chilled bars. Spread the whipped cream evenly over the coconut filling. Sprinkle generously with toasted coconut.
- Use the parchment paper overhang to lift the bars out of the pan. Slice into 16 bars and serve immediately.
Notes
Pro Tips for Making This coconut cream pie bars
Getting these bars just right is all about the details. Here are a few of my tried-and-true tips to guarantee perfect results every time.
- Don’t Rush the Chill Time: I know it’s tempting to slice into them right away, but letting the bars chill for at least 4 hours (or preferably overnight) is crucial. This allows the coconut filling to set completely, ensuring you get clean, beautiful slices instead of a runny mess. A fully set bar makes these coconut cream pie bars so much easier to serve.
- Temper the Eggs Slowly: When adding the hot coconut milk mixture to the egg yolks, do it one spoonful at a time while whisking constantly. This process, called tempering, gently raises the temperature of the eggs without scrambling them. Rushing this step is the fastest way to get a lumpy filling, so take your time!
- Whisk to Prevent a Skin: As the filling cools, it can form a skin on top. To prevent this, press a piece of plastic wrap directly onto the surface of the custard before you put it in the fridge. This keeps the texture silky smooth from top to bottom.
- My Secret Trick: For the best flavor, always toast your own coconut for the topping. It only takes a few minutes in a dry skillet over medium heat, but the nutty, fragrant aroma it releases is incredible. It adds a depth of flavor and a delightful crunch that pre-toasted coconut just can’t match.
Fun Variations for coconut cream pie bars
One of the best things about a solid recipe is how easily you can adapt it. While these coconut cream pie bars are fantastic as is, here are a few fun ways to put your own spin on them.
Chocolate-Coconut Dream
For all the chocolate lovers out there, swap the graham cracker crust for a chocolate-based one. Use crushed Oreo cookies (filling and all) mixed with melted butter for a rich, dark base that pairs beautifully with the creamy coconut.
A Touch of Citrus
Add the zest of one lime to the coconut filling along with the vanilla and coconut extracts. The bright, tangy citrus cuts through the richness of the coconut custard and adds a refreshing tropical twist. My friend Layla, who loves adding storytelling through seasonal flavors, would definitely approve of this variation.
Go for a Shortbread Crust
If you prefer a sturdier, buttery base, a shortbread crust is a fantastic alternative. It gives the bars a texture similar to my popular Pecan Pie Bars, creating a rich foundation for the creamy filling.
Tropical Toppings
Instead of just toasted coconut, top the whipped cream with finely diced fresh pineapple or mango. It adds a burst of fresh, fruity flavor that complements the coconut and makes the bars look even more inviting.
What to Serve With coconut cream pie bars
These bars are a complete dessert on their own, but a few simple additions can make them feel extra special. Here are a few of my go-to pairings that require minimal effort.
- A Drizzle of Sauce: A little bit of chocolate or caramel sauce drizzled over the top of each slice before serving looks beautiful and adds another layer of flavor. My kids love when I do this!
- Fresh Berries: A handful of fresh raspberries or sliced strawberries on the side adds a pop of color and a touch of tartness that balances the sweet, creamy flavor of the coconut cream pie bars perfectly.
- A Good Cup of Coffee: For the adults, a freshly brewed cup of coffee or a latte is the perfect companion. The slightly bitter notes of the coffee cut through the richness of the dessert in the most satisfying way. If you’re a fan of dessert and coffee pairings, you might also love my Strawberries and Cream Coffee Cake.
- A Scoop of Ice Cream: While the bars are plenty creamy, a small scoop of vanilla bean or even a high-quality rum raisin ice cream on the side can turn this simple dessert into a truly decadent treat.
How to Store coconut cream pie bars
Proper storage is key to keeping these bars fresh and delicious. Here’s how I handle leftovers in my house.
Refrigerator Storage
The best way to store leftover coconut cream pie bars is in the refrigerator. Place them in an airtight container or cover the baking pan tightly with plastic wrap. They will stay fresh and delicious for up to 4 days. The crust will soften slightly over time, but the flavor will still be fantastic.
Can You Freeze Them?
Yes, you can! For longer storage, you can freeze the bars without the whipped cream topping. Let the filling set completely, then wrap the entire slab (or individual bars) tightly in plastic wrap and then a layer of aluminum foil. They can be frozen for up to 2 months. To serve, thaw them in the refrigerator overnight, then add the fresh whipped cream topping just before serving.
Nutritional Benefits
While dessert is meant to be a treat, these homemade coconut cream pie bars offer a satisfying option made with real ingredients. Full-fat coconut milk provides healthy fats, and using eggs in the custard adds a bit of protein, making for a rich, wholesome indulgence.
FAQs
Can I use a different kind of crust for these bars?
Absolutely! While the recipe calls for a simple press-in crust made with flour and coconut, a classic graham cracker crust or a shortbread crust would also be delicious. You could even use a nut-based crust with almonds or pecans for a gluten-free alternative. For another no-bake dessert with a different crust, check out my Shamrock Shake Pie.
How can I make these coconut cream pie bars gluten-free?
Making a gluten-free version is easy. Simply swap the all-purpose flour in the crust for a good quality 1-to-1 gluten-free baking flour blend. The filling is naturally gluten-free, so no changes are needed there. Just ensure your extracts are certified gluten-free if you have a severe allergy.
Can I make these bars ahead of time?
Yes, these are a great make-ahead dessert! You can prepare the crust and filling and let them chill in the refrigerator a day or two in advance. I recommend waiting to add the whipped cream topping and toasted coconut until just before you plan to serve them to keep the topping fresh and fluffy.
Why is my filling runny?
A runny filling is usually due to one of two things. First, the custard may not have been cooked long enough on the stovetop to thicken properly. It should be thick enough to coat the back of a spoon. Second, the coconut cream pie bars may not have been chilled long enough. A minimum of 4 hours is essential for the filling to set completely.
Conclusion
In a world of complicated recipes, these coconut cream pie bars are a breath of fresh air. They prove that you don’t need to spend hours in the kitchen to create a dessert that’s comforting, delicious, and sure to bring a smile to your family’s faces. It’s the kind of simple, reliable recipe that fits perfectly into a busy life, just like my easy Mini Peach Cobbler. I hope you and your family love them as much as we do!