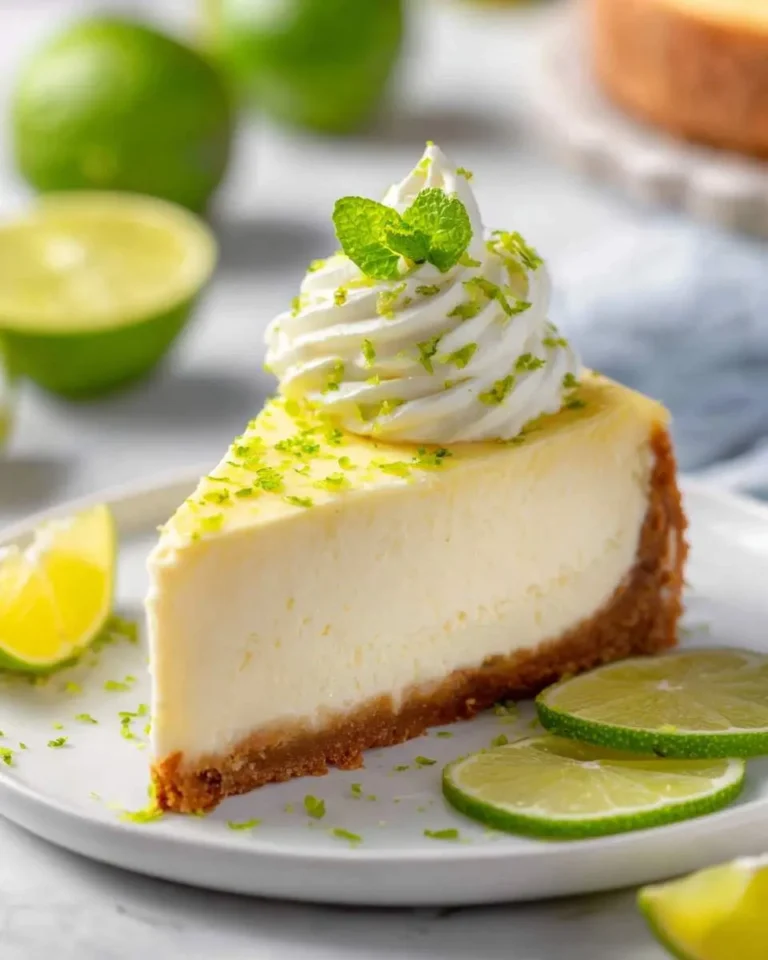
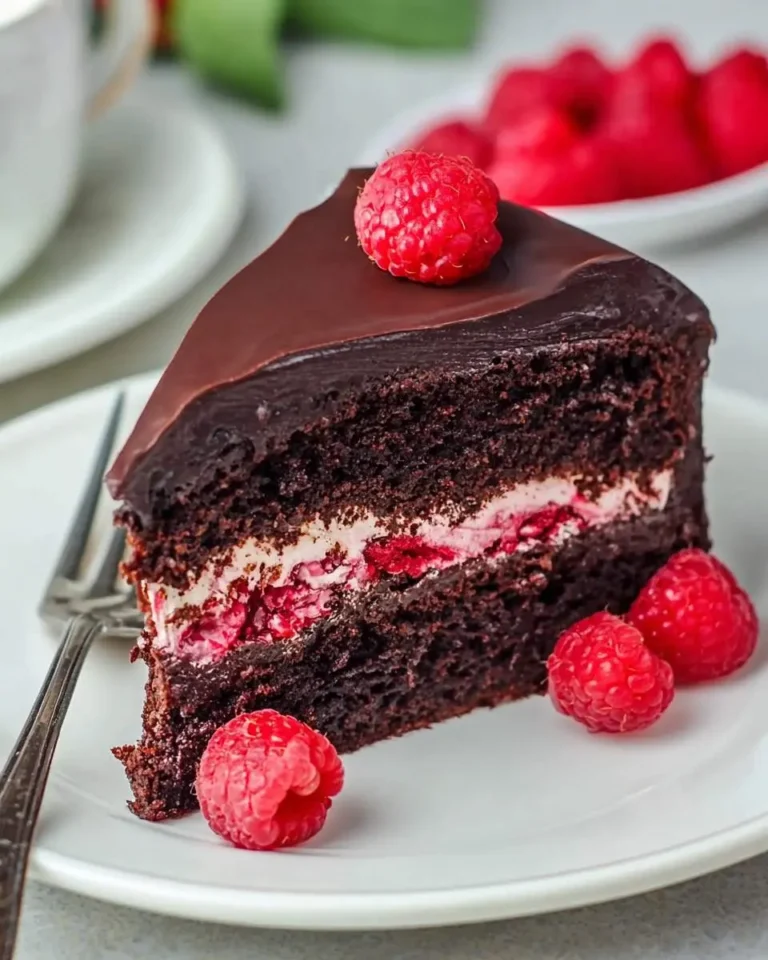
Mulberry Cheesecake
Introduction
When I sliced into my first Mulberry Cheesecake, the kitchen smelled like warm sugar and summer—those tiny purple jewels bleeding sweet juice into a silky, tangy filling. I remember pausing, fork halfway to my mouth, because the crust and berries were whispering “stay a little longer.”
This cake hooked me the way late afternoon sun hooks a porch swing; it’s comfort and sunshine in one bite, the kind of dessert I shove into Tupperware for neighbors and keep a secret slice for myself.
If you love simple desserts that feel fancy, this recipe is where I landed after years of tinkering; I even riffed on flavors from a retro favorite, pineapple poke cake while adapting the texture.
What You Need to Make This Recipe
A few ingredients really steer the whole thing: full-fat cream cheese for that dense, spoonable texture, fresh mulberries so their juice can swirl into the filling, and a buttery graham crust that holds everything without collapsing—these choices make the Mulberry Cheesecake feel both homey and festive; I also took inspiration from a sweet riff I tried over at banana poke cake.

How to Make Mulberry Cheesecake
I start by pulsing the crust until it smells like toasted butter and pressing it into the pan so each forkful gets a satisfying snap; while it chills, I beat room-temperature cream cheese until it’s feather-light and almost hums as the beaters lift. The mulberry swirl comes last—simmered briefly with a splash of lemon, the berries soften and perfume the kitchen, then I spoon ribbons of purée over the filling and use a knife to pull pretty veins through the top; the oven waits patiently while the cheesecake bakes low and slow, and when the edges barely jiggle it’s time to cool. strawberry cream cheese pound cake helped me tune timing for perfect set without cracking.
Pro Tips
Chill everything well: I pop the pan in the fridge for at least 30 minutes before baking so the crust firms and won’t soak up filling—this keeps a clean separation between buttery base and creamy top.
Simmer the mulberries briefly with a teaspoon of lemon juice until they soften but still hold some texture; overcooking flattens their brightness and I want those tiny seeds and tart notes to punctuate each bite.
Use a water bath if your oven has hot spots; wrapping the springform with foil and sitting it in a shallow tray of hot water reduces cracking and gives that mirror-smooth surface I love in my Mulberry Cheesecake.
My Secret Trick: After the cheesecake cools to room temp, I press a sheet of plastic wrap gently on the surface before refrigerating overnight—this prevents any skin from forming and keeps the mulberry ribbons glossy.

How to Store Mulberry Cheesecake
- Refrigerator: Tightly wrap the chilled cake (plastic pressed to the surface, then foil) and store at 36-40°F for up to 4 days.
- Freezer: Slice into portions, wrap each piece in plastic and foil, and freeze at 0°F for up to 2 months; thaw in the fridge overnight.
- Serving/Reheating: Bring slices to room temperature for 20-30 minutes before serving; avoid microwaving—if slightly firm, a gentle 3-5 minute warm-up in a 200°F oven covered with foil softens without melting.
Nutritional Benefits
Mulberries add more than color: they’re a good source of vitamin C and antioxidants, and the cream cheese provides calcium and protein that make each slice feel indulgent but a little substantial; this Mulberry Cheesecake balances bright berry nutrients with the richness that makes it comforting.

FAQs
Can I use frozen mulberries for this recipe?
I have used frozen mulberries when fresh weren’t available; thaw them, drain excess juice, and simmer briefly to concentrate the flavor. If very watery, they can thin the swirl, so simmer until slightly jammy before folding into the filling.
How do I prevent the cheesecake from cracking?
I let the oven cool for several minutes with the door slightly open after baking, and I avoid overmixing the batter; gentle folds and a low, steady bake give the cheesecake a stable structure and reduce cracks in the top.
How long should the cheesecake chill before slicing?
I always chill mine at least 8 hours, preferably overnight; this resting time lets the filling firm up so slices hold clean edges and the mulberry ribbons set without bleeding into the filling.
Can I make this ahead for a party?
Yes—this cheesecake actually tastes better after a day or two in the fridge when the flavors meld; I often make it two days ahead and wrap it tightly so it stays glossy and fresh.


One-Pan Lemon Garlic Chicken with Broccoli
Ingredients
Equipment
Method
- Pat the chicken thighs dry with paper towels, then season both sides with 1 tsp kosher salt and 0.5 tsp black pepper. Zest the lemon and juice it to measure about 2 tablespoons. Trim broccoli into uniform florets so they cook evenly.
- Heat a 10–12 inch skillet over medium-high heat until hot, then add 2 tbsp olive oil and swirl. Add the thighs in a single layer (work in two batches if needed) and sear without moving for 4–5 minutes until the undersides are deep golden. Flip and cook another 3–4 minutes until the second side is golden but not fully cooked through. Remove thighs to a plate (they will finish cooking in the sauce).
- Reduce heat to medium, add the minced garlic to the skillet with any rendered fat and cook, stirring, for 30 seconds until fragrant (don’t let it brown). Pour in 1/2 cup chicken broth and the lemon juice, using a wooden spoon to scrape up browned bits from the pan. Add the lemon zest and bring the liquid to a gentle simmer.
- Nestle the seared chicken thighs back into the skillet, spooning some sauce over them. Tuck the broccoli florets around the chicken. Cover the skillet and simmer gently for 6–8 minutes, until the broccoli is tender-crisp and the chicken reaches an internal temperature of 165°F (use an instant-read thermometer) or juices run clear.
- Remove the lid, turn heat up to medium-high for 1 minute to reduce the sauce slightly if it’s thin. Stir in the 2 tbsp cold butter one piece at a time, swirling the pan to create a glossy sauce. Taste and season with the remaining 0.5 tsp kosher salt and 0.25 tsp black pepper if needed. Sprinkle with red pepper flakes if using.
- Transfer chicken and broccoli to plates or serve family-style from the skillet. Spoon extra pan sauce over the top and scatter chopped parsley for freshness. Serve with rice, mashed potatoes, or crusty bread to soak up the sauce.
Notes
Conclusion
Sharing this mulberry cake always surprises me—friends expect simple sweetness and instead find bright fruit and creamy depth, the kind of dessert that sparks conversation and second helpings. I hope you tuck this Mulberry Cheesecake into your next gathering and maybe try a twist from strawberry pound cake for more berry ideas.