
The late summer sun always brings a certain warmth, but for me, it’s the intoxicating scent of ripe peaches that truly captures its essence. One afternoon, overwhelmed by a bounty from the farmer’s market, I knew exactly what I had to do: preserve that sunshine in a jar. That’s how I ended up with this incredible Peach Jam.
I remember standing at the stove, watching the peaches bubble gently, feeling a sense of deep satisfaction. It wasn’t just about cooking; it was about holding onto a moment, a flavor that reminds me of childhood summers spent running through orchards.
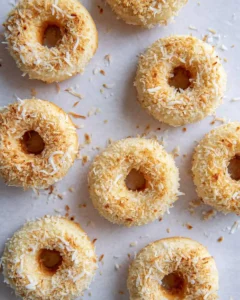
This recipe isn’t just for a spread; it’s for a feeling. It’s a taste of home, perfect slathered on anything from toast to these delightful peach cobbler muffins I’ve been making lately.
What You Need to Make This Recipe
You don’t need much to create this golden goodness, but a few things truly make all the difference. Fresh, ripe peaches are non-negotiable; their natural sweetness and fragrance are the soul of the jam. I also found that a touch of lemon juice isn’t just for preventing browning; it brightens every note of the fruit, giving this Peach Jam a vibrant tang that balances the sweetness. While you’re thinking about delicious fruit-filled treats, you might also like my recipe for cherry chocolate chip muffins.

How to Make Peach Jam
The process of making this jam is surprisingly meditative. I started by gently peeling the peaches, their soft flesh yielding easily, filling the air with a sweet, delicate perfume. Then, as they simmered with sugar and lemon, the kitchen transformed into a steamy, fragrant haven, the fruit softening into a beautiful, molten gold.
You’ll hear the gentle bubbling, a soft whisper as the peaches break down, and feel the mixture thicken beneath your spoon. It’s all about patience and watching for that perfect moment when it just clings to the back of a spoon, promising future mornings of pure delight. If you enjoy capturing fruit flavors, you should definitely check out my recipe for nectarine muffins too.
Pro Tips
Using fully ripe peaches, almost to the point of being soft, is crucial because they’ll offer the most flavor and natural pectin, helping your jam set beautifully. Don’t rush the simmering process; letting it gently cook down develops a richer, more concentrated peach flavor that truly shines.
Always sterilize your jars and lids thoroughly to ensure a safe, long-lasting preserve; this tiny step prevents spoilage and gives you peace of mind. For the best Peach Jam, trust your instincts on the “set” point – a cold plate test is your best friend here, showing you exactly how it will thicken once cooled.
My Secret Trick: I always add a tiny pinch of salt to the jam while it simmers; it doesn’t make it salty, but instead deepens and enhances the natural sweetness of the peaches, making the flavor absolutely pop.

How to Store Peach Jam
- Store freshly made Peach Jam in sterilized canning jars at room temperature for up to 1 year if properly sealed using a water bath canning method.
- Once opened, keep jars of jam in the refrigerator, where they will stay fresh for 3-4 weeks.
- For longer storage of opened jam, you can transfer it to freezer-safe containers and freeze for up to 6 months.
- Thaw frozen jam in the refrigerator overnight before using.
Nutritional Benefits
Beyond its delicious taste, this homemade Peach Jam offers a lovely way to enjoy the goodness of fresh peaches. Peaches themselves are packed with vitamins like C and A, as well as antioxidants, which are wonderful for your overall health. While it does contain sugar, a small spoonful adds a burst of natural fruit benefits to your breakfast.

FAQs
How do I know when my jam is set?
A good way to test for set is the cold plate method. Before you start cooking, place a small plate in the freezer. When you think the jam is ready, spoon a small amount onto the cold plate, wait 30 seconds, then push it with your finger. If it wrinkles, it’s done!
Can I use frozen peaches for this recipe?
Yes, you can absolutely use frozen peaches! Just make sure to thaw them completely and drain any excess liquid before you begin cooking. This ensures your jam won’t be too watery and will set properly.
Why did my jam not set properly?
There are a few reasons your Peach Jam might not set. It could be due to under-cooking, not enough pectin in your peaches (especially if they were under-ripe), or adding too much liquid. You can always re-boil it for longer or add commercial pectin if needed.
How long does homemade peach jam last?
Properly canned and sealed jars of homemade peach jam can last in a cool, dark pantry for up to one year. Once opened, always store your jam in the refrigerator, where it will maintain its quality for about three to four weeks.
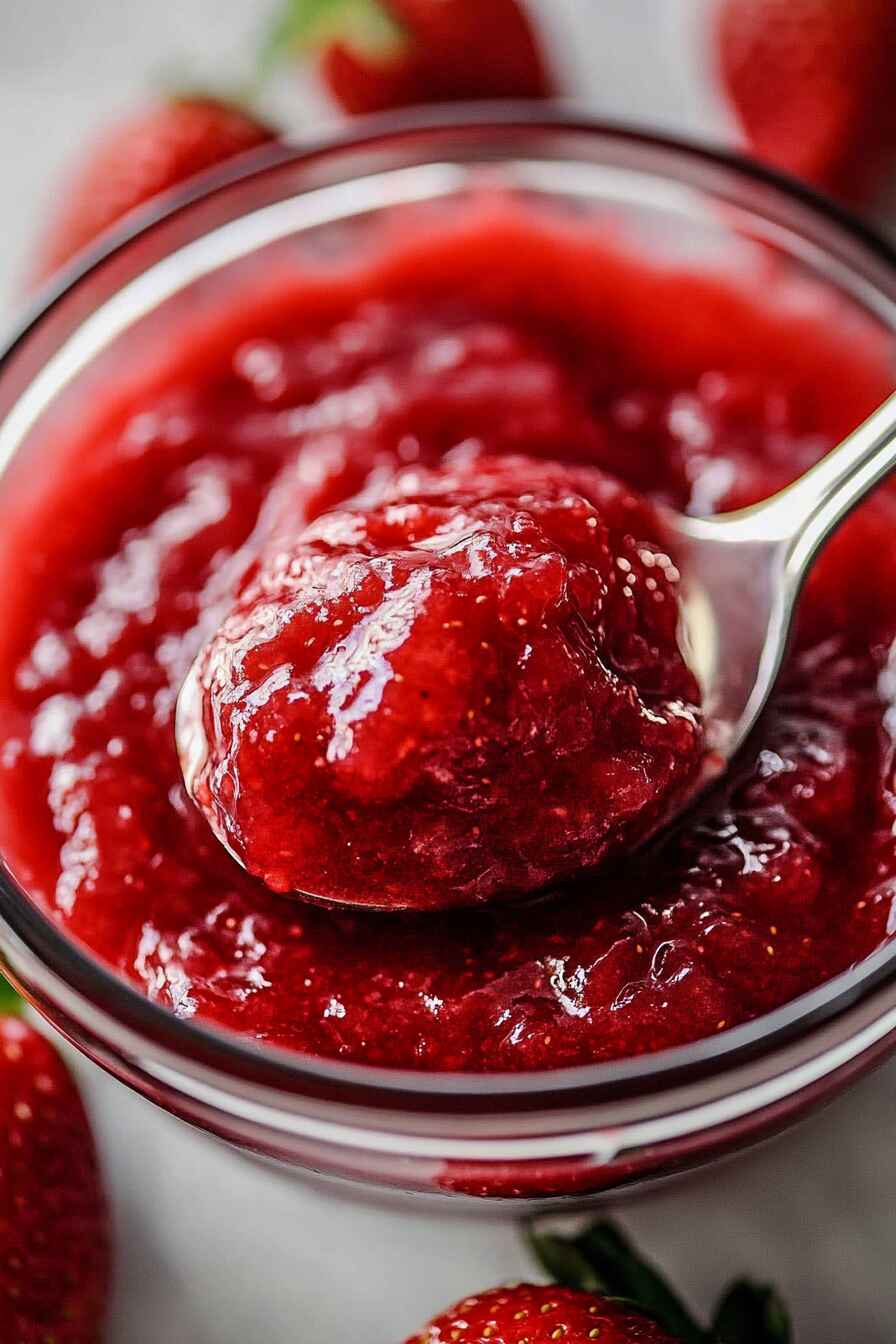
Strawberry Filling for Cake
Ingredients
Equipment
Method
- Wash and hull the strawberries. Chop them into small pieces for a smoother filling.
- In a saucepan over medium heat, combine strawberries, sugar, and lemon juice. Stir occasionally as the strawberries release their juices.
- Once the mixture begins to bubble, mash the strawberries slightly with a fork or potato masher for a chunky texture.
- Mix cornstarch with water to create a slurry, then stir it into the strawberry mixture.
- Continue cooking for 2-3 more minutes, stirring constantly, until the filling thickens.
- Remove from heat and stir in vanilla extract if using. Let the filling cool completely before using it in your cake.
Notes
Conclusion
Making this Peach Jam was an experience I genuinely cherished, a simple joy that filled my kitchen with the most wonderful aroma and my jars with liquid sunshine. I hope you give it a try and find as much delight in it as I did. It’s truly a little taste of summer, bottled up for any time you need a pick-me-up, perhaps even alongside some delicious almond cherry muffins.