peppermint bark
The first crisp, cold snap in the air always brings one specific memory to mind: standing on a stool in my grandmother’s kitchen, the air thick with the scent of melting chocolate and cool peppermint. We’d spend the afternoon making her classic peppermint bark, a cherished Christmas tradition that defined the holidays for me. The satisfying snap of the finished bark, the way the smooth chocolate melts on your tongue, followed by the bright crunch of candy cane it’s pure nostalgia. It’s a feeling I try to capture in all my holiday baking, from this bark to my favorite buttery spritz cookies.
You’re Going to Love This Recipe, Here’s Why
There are so many reasons this peppermint bark has a permanent spot on my holiday baking list. First, it’s incredibly simple and forgiving. With just 15 minutes of prep and 10 minutes of melting time, you get a spectacularly festive treat that looks like it came from a gourmet candy shop. The ingredient list is short and sweet, relying on the quality of rich semi-sweet chocolate and creamy white chocolate.
It’s also the perfect make-ahead dessert, just like my popular cranberry roll-ups. I love packing it into tins for neighbors and friends. It’s a recipe that delivers pure joy with minimal stress, which is exactly what I need during the busy holiday season. It’s a guaranteed crowd-pleaser, every single time.
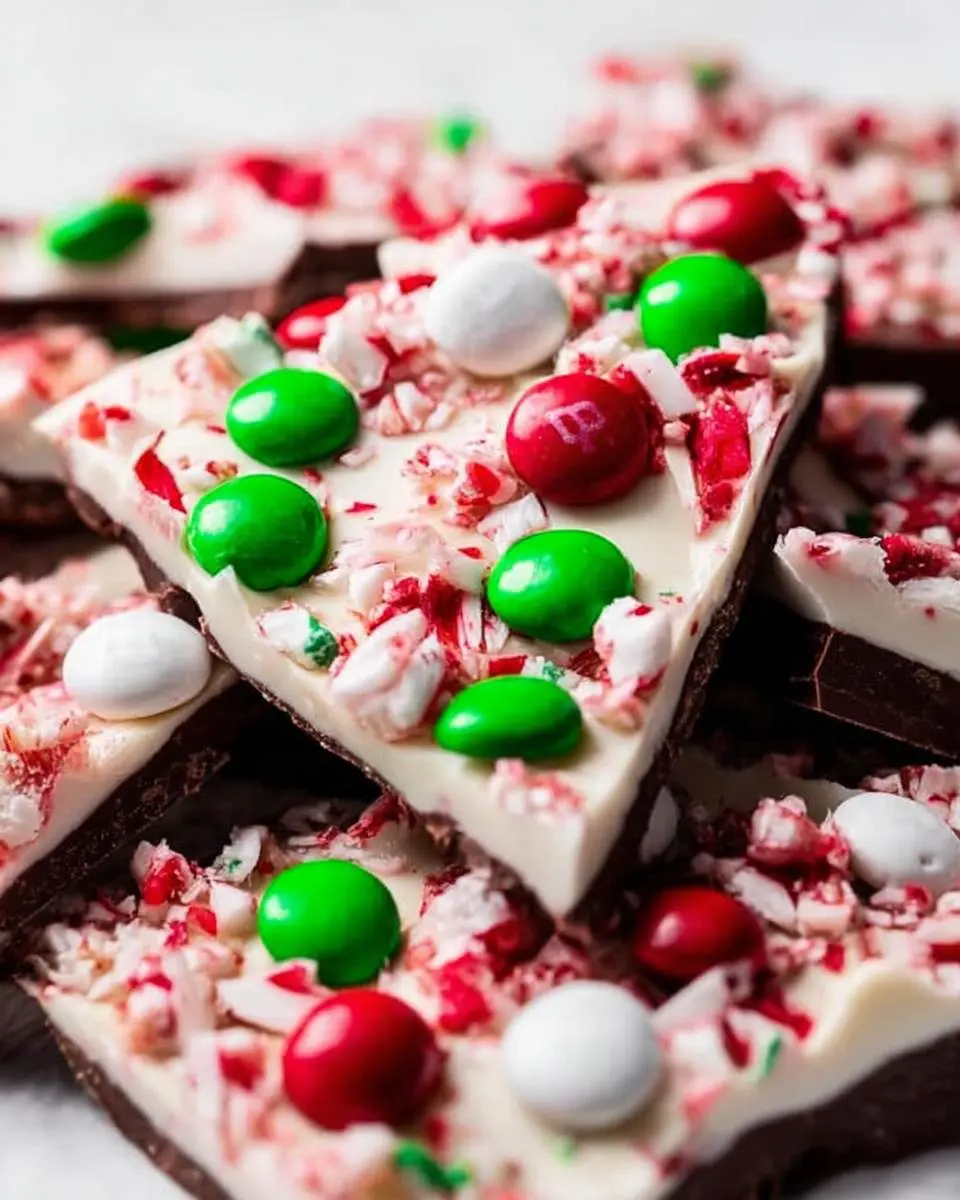
Let’s Talk About the Ingredients
Good chocolate is non-negotiable here; I use high-quality semi-sweet and white chocolate bars for the smoothest melt. A little coconut oil helps them become glossy and fluid. Be sure to use pure peppermint extract for that authentic cool flavor. Finally, crushing your own candy canes gives a much better texture than store-bought bits. It’s a simple lineup that creates holiday magic.
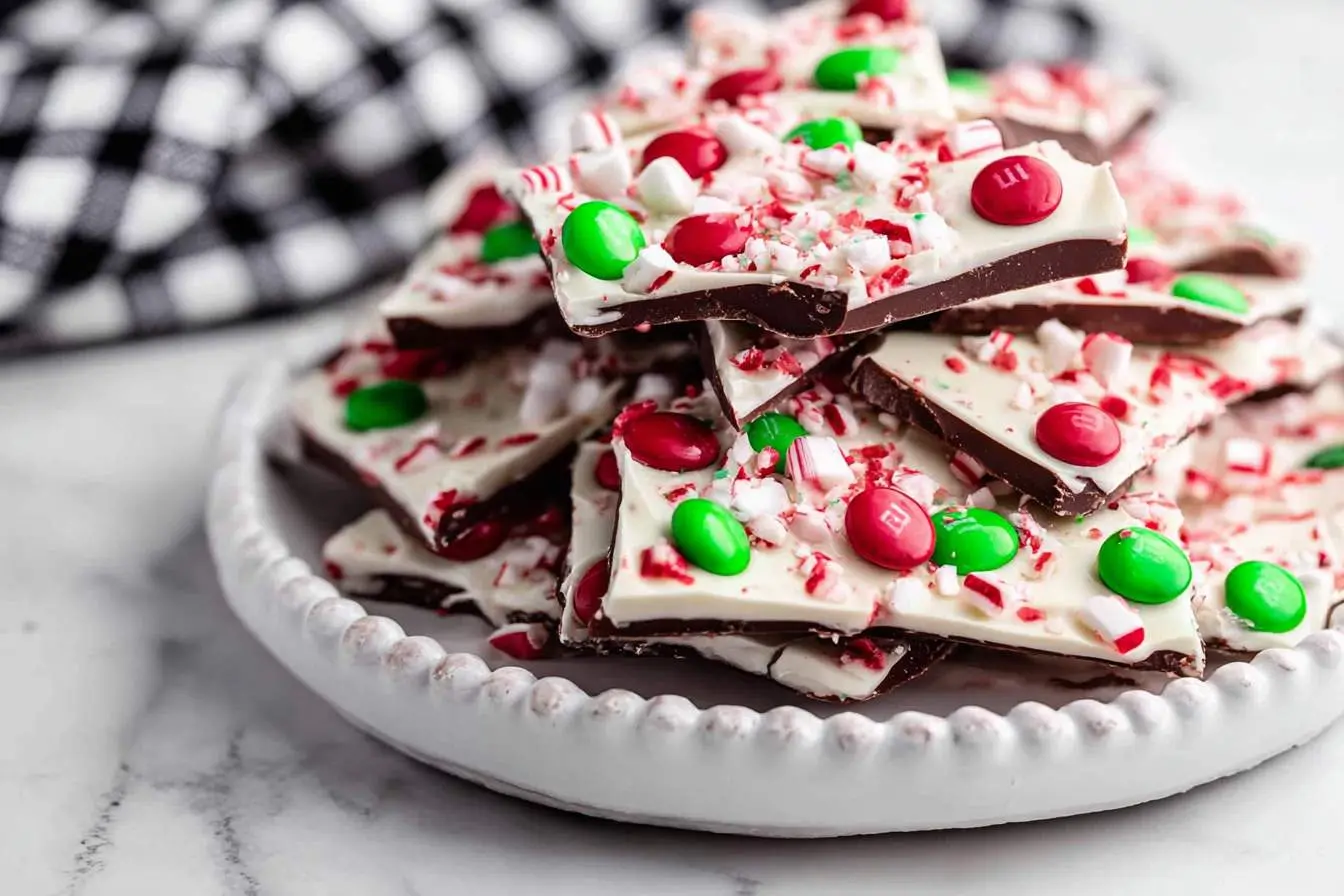

Classic Double-Layer Peppermint Bark
Ingredients
Equipment
Method
- Line a baking sheet (approximately 9×13 inches) with parchment paper, leaving an overhang on the sides to easily lift the bark out later.
- Place the candy canes in a sturdy zip-top bag. Use a rolling pin or meat mallet to crush them into a mixture of small pieces and fine powder. Set aside.
- In a microwave-safe bowl, combine the semi-sweet chocolate and 1 tsp of coconut oil. Microwave in 30-second intervals, stirring well after each one, until the chocolate is about 90% melted. Stir until completely smooth, then mix in 1/2 tsp of peppermint extract.
- Pour the melted dark chocolate onto the prepared baking sheet. Use an offset spatula to spread it into an even layer.
- Place the baking sheet in the refrigerator for 20-30 minutes, or just until the chocolate is set but still slightly tacky. This helps the next layer adhere properly.
- While the first layer is setting, prepare the white chocolate. In a clean, dry, microwave-safe bowl, combine the white chocolate and the remaining 1 tsp of coconut oil. Microwave in 20-second intervals, stirring thoroughly after each, until melted and smooth. Be careful not to overheat white chocolate as it can seize. Stir in the remaining 1/2 tsp of peppermint extract.
- Pour the melted white chocolate over the set dark chocolate layer and quickly spread it into an even layer before it begins to harden.
- Immediately sprinkle the crushed candy canes evenly over the white chocolate. Lightly press them down with your hand or the back of a spatula to help them stick.
- Return the baking sheet to the refrigerator and chill for at least 1-2 hours, or until the bark is completely firm.
- Once fully hardened, use the parchment paper overhang to lift the bark from the pan. Break it into irregular pieces with your hands or use a knife to cut it. Enjoy!
Notes
Melting Tip: If you don’t have a microwave, you can melt the chocolate using a double boiler. Place the chocolate in a heatproof bowl set over a saucepan of simmering water, ensuring the bottom of the bowl does not touch the water. Stir until smooth.
Storage: Store the peppermint bark in an airtight container at a cool room temperature or in the refrigerator for up to 2 weeks. Placing layers of wax paper between the bark can prevent sticking.
My Approach to Making Peppermint Bark
I think of this recipe in four simple phases. First, the Preparation: I line my baking sheet with parchment paper, making sure to leave a little overhang to easily lift the bark out later. Next is the Dark Chocolate Layer: I gently melt the semi-sweet chocolate with the coconut oil until it’s perfectly silky, then spread it into an even layer. While it begins to set, I move on to the White Chocolate Layer, melting it just as carefully.
The trick is to pour the white chocolate over the dark when it’s still soft enough to bond but firm enough not to mix completely. Finally, the Finish and Set: I use a knife to create those gorgeous swirls, then generously sprinkle the crushed candy canes on top. Unlike my more complex churro cheesecake, this is a beautifully simple process.
My Tips for the Perfect Outcome
- Melt your chocolate in short bursts in the microwave or over a double boiler to prevent scorching.
- Use an offset spatula to spread the layers evenly and easily.
- Let the bark set at room temperature for the best snap and shine.
How I Serve and Store This Dish
I love serving this bark on a large platter, broken into beautifully rustic pieces. It looks so festive alongside other treats like my favorite snowball cookies. For gifting, I package it in clear cellophane bags tied with a ribbon. To store, I keep it in an airtight container at a cool room temperature for up to two weeks. If your home is warm, storing it in the fridge will keep it perfectly crisp and prevent any softening.
Frequently Asked Questions
Can I use chocolate chips instead of bars?
Yes, but high-quality baking bars or wafers melt smoother. If you use chips, I recommend adding a teaspoon of coconut oil to help them melt into a creamier consistency and avoid a chalky texture after setting.
Why did my chocolate layers separate?
This usually happens if the bottom layer gets too cold and hard before you add the top one. For the best adhesion, let the dark chocolate layer become just firm to the touch—not completely solid—before pouring on the white chocolate.
What’s the best way to break the bark into pieces?
Once the bark is completely firm, you can either break it apart with your hands for rustic, natural-looking shards, or place it on a cutting board and use a large, sharp knife to create cleaner, more uniform pieces.
Can I use different kinds of chocolate?
Absolutely! This recipe is incredibly versatile. Feel free to swap the semi-sweet for milk chocolate or bittersweet, depending on your preference. You could even use ruby or gold chocolate for a fun and festive twist on the classic.
A Sweet and Simple Holiday Tradition
This peppermint bark recipe holds such a special place in my heart, and I truly hope it brings as much joy to your holiday table as it does to mine. It’s a simple, beautiful tradition worth sharing. If you make it, I would absolutely love to hear about it!