stuffed bell peppers
There’s something magical about stuffed bell peppers. They’re a complete meal nestled inside a vibrant, edible bowl, promising a hearty, cheesy, and deeply satisfying dinner. It’s the kind of dish that feels both timeless and full of potential for a little creative tinkering.
I remember my grandmother in Chicago making a version of these, but her focus was always on simplicity. Over the years, I’ve taken her lessons on comfort and layered in my own curiosity, experimenting with different fillings and cheese blends. This recipe is the culmination of that journey—a perfect harmony of tradition and flavorful discovery.
This dish is wonderfully straightforward, making it perfect for a weeknight dinner, yet impressive enough to share with friends. It’s a hearty, all-in-one meal that brings everyone to the table with a smile.
What You Need to Make This Recipe
The beauty of these stuffed bell peppers lies in simple, wholesome ingredients. You’ll lean on savory ground beef, colorful bell peppers, fluffy rice, and a generous amount of melty mozzarella to bring it all together. I always find that using fresh garlic and onion creates a flavor base that can’t be beaten. The full ingredient list with measurements is in the recipe card below!
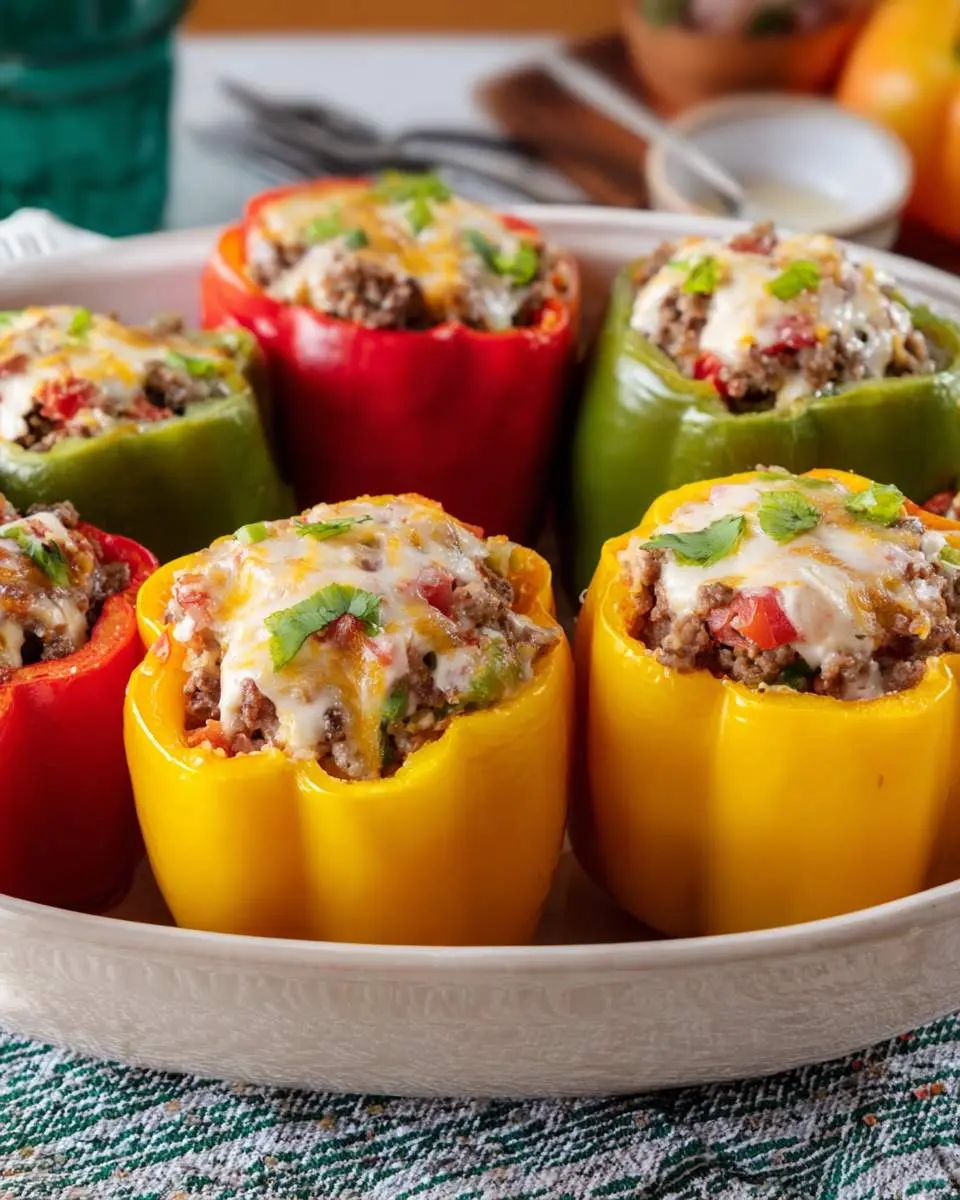
How to Make stuffed bell peppers
This recipe comes together in a few simple stages that are perfect for an evening of relaxed cooking. First, you’ll prepare your bell peppers by giving them a quick pre-bake to soften them up. While they’re in the oven, you’ll cook the savory ground beef and rice filling. Finally, you’ll stuff the peppers, top them with cheese, and bake until they’re golden and bubbly. It’s a straightforward process for a truly rewarding meal, much like my simple Ground Beef and Broccoli.
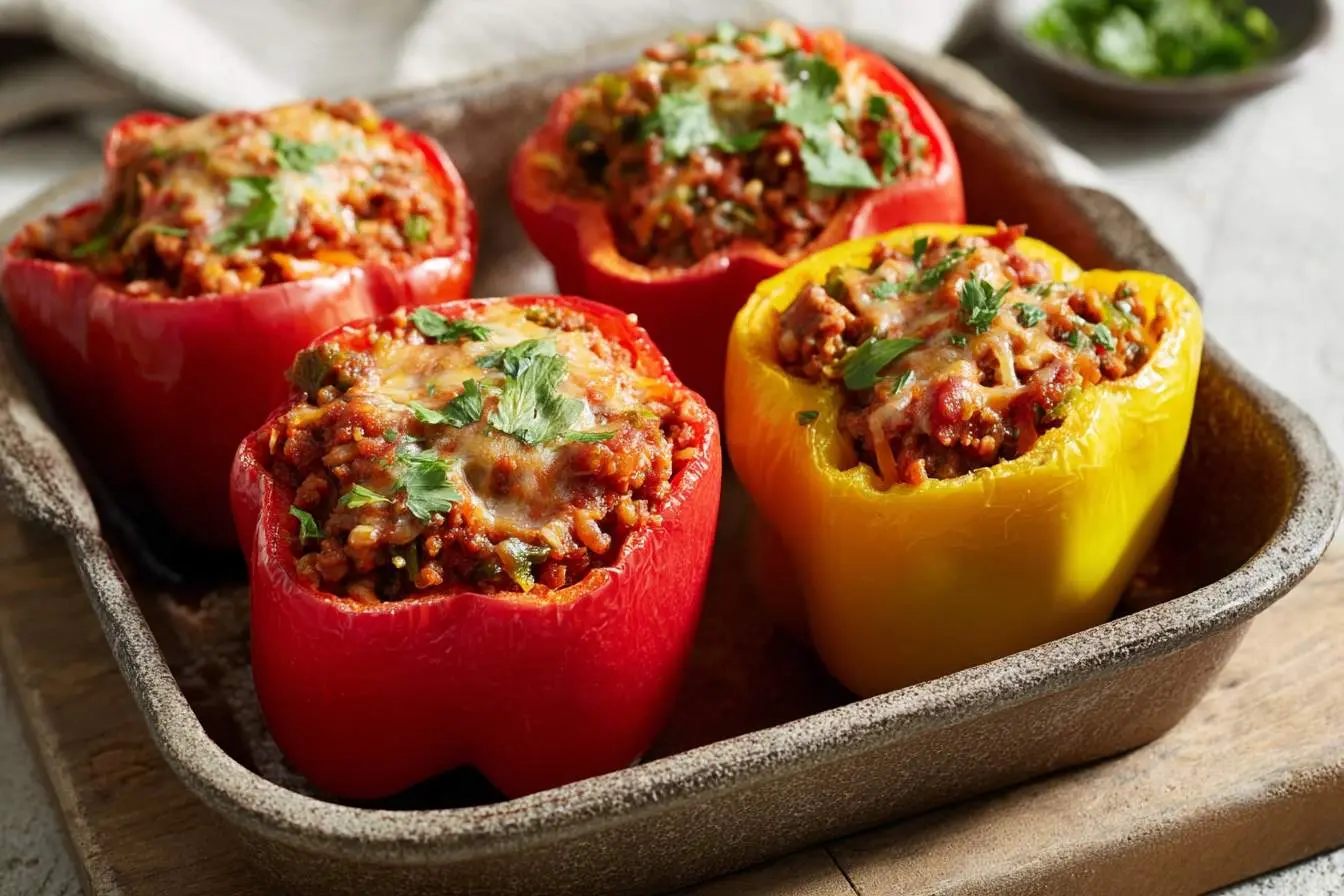

Savory Italian Sausage Stuffed Bell Peppers
Ingredients
Equipment
Method
- Preheat your oven to 400°F (200°C). Lightly grease a 9×13 inch baking dish.
- Slice the bell peppers in half lengthwise from stem to tip. Remove and discard the seeds and membranes. Arrange the pepper halves cut-side up in the prepared baking dish.
- Pour 1/2 cup of water into the bottom of the baking dish (around the peppers, not in them). Bake for 15 minutes to soften them slightly. Once done, remove from the oven and carefully pour out any water from the dish.
- While the peppers are pre-baking, heat the olive oil in a large skillet over medium-high heat. Add the Italian sausage and cook, breaking it up with a spoon, until browned, about 5-7 minutes. Drain off any excess grease.
- Add the chopped onion to the skillet with the sausage and cook until softened, about 4-5 minutes. Stir in the minced garlic and cook for another minute until fragrant.
- Remove the skillet from the heat. Stir in the cooked rice, drained diced tomatoes, 1/2 cup of tomato sauce, dried oregano, dried basil, grated Parmesan cheese, salt, and pepper. Mix until everything is well combined.
- Pour the remaining 1/2 cup of tomato sauce into the bottom of the baking dish and spread it evenly.
- Carefully spoon the sausage and rice mixture evenly into each of the pre-baked pepper halves, mounding the filling on top.
- Cover the baking dish tightly with aluminum foil. Bake for 25 minutes.
- Remove the foil and sprinkle the shredded mozzarella cheese evenly over the tops of the peppers. Return the dish to the oven, uncovered, and bake for another 10-15 minutes, or until the cheese is melted, bubbly, and lightly golden.
- Let the stuffed peppers rest for 5-10 minutes before serving. This allows them to set up and makes them easier to handle. Garnish with fresh parsley if desired.
Notes
Variations: For a leaner option, use ground turkey or chicken instead of sausage. For a vegetarian version, substitute sausage with a mix of mushrooms, zucchini, and black beans. Quinoa can be used in place of rice for a protein boost.
Storage: Store leftover stuffed peppers in an airtight container in the refrigerator for up to 4 days. Reheat in the microwave or in a 350°F (175°C) oven until warmed through.
Pro Tips for Making This stuffed bell peppers
Getting that perfect texture and flavor is all about a few little details I’ve picked up over the years. Here are my go-to tips for making the best stuffed bell peppers every single time.
- Give the Peppers a Head Start: Don’t skip the step of pre-baking the bell peppers for a few minutes before stuffing them. This ensures the peppers become tender and sweet, cooking through at the same rate as the filling. A water-logged, undercooked pepper is a tinkerer’s nightmare!
- Don’t Overcrowd the Filling: When you’re mixing the filling, be mindful not to make it too dense. The rice will expand slightly as it bakes and absorbs moisture from the tomatoes and beef. A lightly packed filling stays tender and juicy.
- My Secret Trick: I always let the finished stuffed bell peppers rest on the baking sheet for about 5-10 minutes before serving. This allows the filling to set, making them easier to serve and ensuring they don’t fall apart on the plate. It’s a lesson in patience that pays off, just like when making my Italian Meatloaf.
- Season Every Layer: Be sure to season not just the meat filling but also the peppers themselves with a little salt and pepper before you stuff them. This small step builds layers of flavor throughout the entire dish.
Fun Variations for stuffed bell peppers
One of the best things about cooking is the freedom to play, and this recipe is a fantastic canvas for your creativity. Once you’ve got the basic method down, you can start tinkering with the ingredients to make these stuffed bell peppers your own.
Switch Up the Grains
While cooked white or brown rice is classic, don’t hesitate to experiment. For a nuttier flavor and a bit more texture, try using quinoa or farro. My friend Daniel, who loves finding ways to make everyday meals a little lighter, often opts for cauliflower rice for a low-carb version.
Introduce New Veggies
This is where my friend Layla’s love for seasonal cooking shines. You can easily boost the veggie content by adding finely diced mushrooms, zucchini, or even corn to the ground beef mixture. Sauté them along with the onion and garlic until they’re tender.
Play with Cheeses and Spices
The cheesy topping is ripe for experimentation! Instead of just mozzarella, try a blend of sharp provolone and fontina for a more complex, nutty flavor. To add a little heat, mix a pinch of red pepper flakes or a dash of cayenne pepper into the tomato sauce.
What to Serve With stuffed bell peppers
Because these stuffed bell peppers are a hearty, all-in-one meal, you don’t need much to round out the dinner table. I like to keep the sides simple and fresh to complement the rich, savory flavors of the peppers.
- A Simple Green Salad: A crisp salad with a bright lemon vinaigrette is the perfect counterpoint. The acidity cuts through the richness of the cheese and beef, making the whole meal feel balanced.
- Crusty Bread: A few slices of warm, crusty garlic bread are perfect for soaking up any of the delicious tomato sauce that might escape the peppers.
- Roasted Vegetables: Simple roasted asparagus or green beans tossed with a little olive oil and sea salt add a nice, tender-crisp texture to the plate.
- Hearty Pairings: For an extra-cozy meal, these peppers go wonderfully alongside other comforting dishes. They remind me of the satisfying feeling you get from my French Dip Sliders—perfect for a hungry crowd.
How to Store stuffed bell peppers
Leftovers are one of my favorite parts of cooking, and these peppers store beautifully. Here’s how I make sure they taste just as good the next day.
Refrigerator Storage
To store your leftover stuffed bell peppers, let them cool completely and then place them in an airtight container. They will keep well in the refrigerator for up to 4 days. I find that glass containers work best for reheating evenly.
Freezing Instructions
These peppers are fantastic for meal prepping. You can freeze them either baked or unbaked. For best results, wrap each stuffed pepper individually in plastic wrap, then place them in a freezer-safe bag or container. They can be frozen for up to 3 months.
How to Reheat
For best results, reheat the peppers in an oven preheated to 350°F (175°C) for about 15-20 minutes, or until warmed through. This helps the cheese get melty again without making the pepper soggy. You can also use the microwave in a pinch!
Nutritional Benefits
This recipe is a wonderful example of how comfort food can also be nourishing. These stuffed bell peppers offer a great balance of protein from the ground beef, essential vitamins and fiber from the bell peppers and tomatoes, and satisfying carbohydrates from the rice.
FAQs
What are the best bell peppers for stuffing?
Honestly, any color works beautifully! Green bell peppers have a slightly more savory, earthy flavor, while red, orange, and yellow peppers are sweeter. I love using a mix of colors because it makes the final dish look so vibrant and appealing on the table.
Can I make stuffed bell peppers ahead of time?
Absolutely! This is a great recipe for meal prep. You can prepare the filling and stuff the peppers, then cover and refrigerate them for up to 24 hours before baking. Just add about 10-15 minutes to the baking time since you’ll be starting with a chilled dish.
Can I use a different type of meat?
Yes, feel free to experiment! Ground turkey or ground chicken are excellent leaner alternatives. You could even use mild or hot Italian sausage (with the casings removed) for an extra layer of savory, spiced flavor in your stuffed bell peppers.
How do I prevent my stuffed peppers from being watery?
Bell peppers naturally release some water as they cook. To minimize this, my pre-baking trick helps release some initial moisture. Also, ensure your cooked rice isn’t too wet when you add it to the filling, and don’t go overboard with the tomato sauce inside the mixture.
Conclusion
This stuffed bell peppers recipe is everything I love about home cooking: it’s comforting, endlessly customizable, and brings a little bit of joy to the dinner table. It’s a reminder that the best meals often come from taking a classic idea and adding your own curious twist. So get in the kitchen, start tinkering, and make this delicious dish your own. For another fantastic and easy meal built around rice and savory flavors, check out my Taco Rice Bowl!