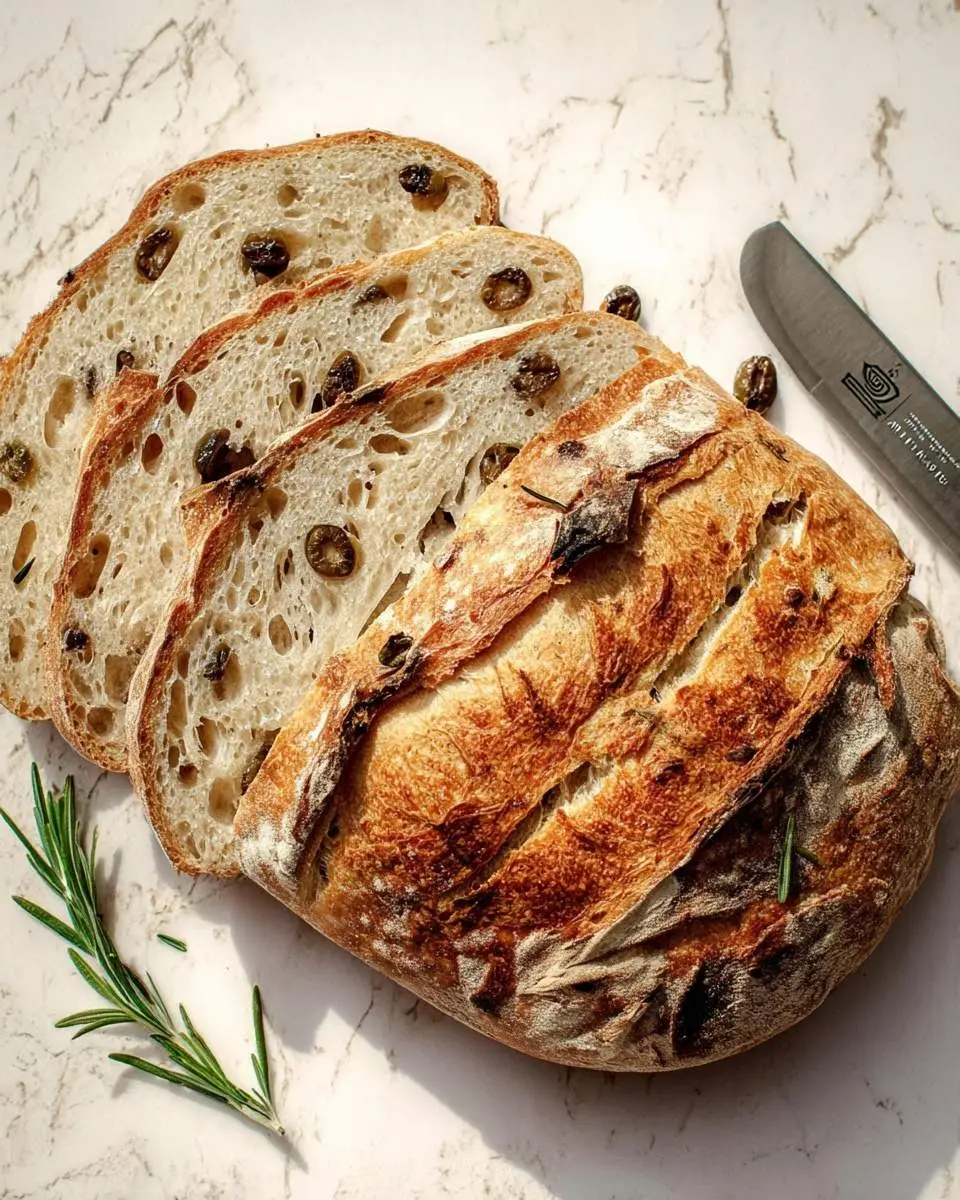

Ingredients
Equipment
Method
Prepare the Dough
- **1. Autolyse:** In a large mixing bowl, combine the bread flour, whole wheat flour, and warm water. Mix with your hands or a dough scraper until no dry flour remains. The mixture will be shaggy. Cover the bowl with plastic wrap or a shower cap and let it rest for 30 minutes to 1 hour. This step allows the flour to fully hydrate.
- **2. Incorporate Starter and Salt:** Add the active sourdough starter and fine sea salt to the dough. Using wet hands, dimple the salt and starter into the dough. Gently mix and squeeze the dough within the bowl for 2-3 minutes until the starter and salt are fully incorporated. The dough will still be shaggy but will start to come together. Cover the bowl again.
Bulk Fermentation (Stretch & Folds)
- **3. First Stretch and Fold:** Allow the dough to rest for 30 minutes. With wet hands, gently grab one side of the dough, stretch it upwards as far as it will go without tearing, and fold it over to the opposite side. Rotate the bowl a quarter turn and repeat this motion 3 more times, completing one full round of stretches and folds. Cover the bowl.
- **4. Subsequent Stretch and Folds:** Rest the dough for 30 minutes. Repeat the stretch and fold process (Step 3). Perform a total of 4-5 sets of stretch and folds, resting for 30 minutes between each set. The dough will become progressively smoother and stronger.
- **5. Add Inclusions:** After the third or fourth set of stretch and folds (approximately 2-3 hours into bulk fermentation, depending on your kitchen temperature), gently flatten the dough slightly in the bowl. Evenly sprinkle the chopped Kalamata olives and fresh rosemary over the surface. Perform one more set of stretch and folds, ensuring the inclusions are well distributed throughout the dough.
- **6. Final Bulk Fermentation:** Let the dough continue to bulk ferment undisturbed until it has increased in volume by 20-30% and shows signs of activity (bubbly surface, jiggly texture). This typically takes 4-6 hours at room temperature (72-78°F / 22-25°C) from the initial mix, but can vary significantly based on ambient temperature and starter strength.
Shaping and Proofing
- **7. Pre-Shape:** Lightly flour your clean work surface. Gently scrape the dough out of the bowl onto the floured surface. Using a dough scraper and your hands, gently form the dough into a loose round or rectangle. Allow it to rest uncovered for 20-30 minutes. This allows the gluten to relax, making final shaping easier.
- **8. Final Shape:** Lightly dust your banneton (proofing basket) generously with rice flour. Gently shape the dough into your desired final loaf shape (boule for a round loaf, or batard for an oval). For a boule, gently gather the edges towards the center, then flip the dough over, using the tension of the surface to create a taut skin. Place the shaped dough seam-side up into the prepared banneton.
- **9. Cold Proof:** Cover the banneton with a plastic bag or shower cap (to prevent drying out) and place it in the refrigerator for 12-18 hours (up to 24 hours). This slow, cold proof develops a deeper flavor and makes the dough much easier to handle and score.
Baking
- **10. Preheat Oven & Dutch Oven:** About an hour before you plan to bake, place your Dutch oven with its lid into your oven. Preheat the oven to 500°F (260°C).
- **11. Score & Bake (Lid On):** Carefully remove the hot Dutch oven from the oven. Gently invert the cold dough from the banneton onto a piece of parchment paper. Using a sharp bread lame or razor blade, score the top of the dough with your desired design (a single deep slash for a classic 'ear', or a cross pattern). Carefully lower the parchment paper with the dough into the hot Dutch oven. Place the lid on top. Bake for 30 minutes with the lid on.
- **12. Finish Baking (Lid Off):** Remove the lid from the Dutch oven, reduce the oven temperature to 450°F (230°C), and continue baking for another 15-20 minutes, or until the crust is deep golden brown and the internal temperature reaches 200-210°F (93-99°C).
- **13. Cool:** Carefully remove the bread from the Dutch oven (using the parchment paper as handles) and transfer it to a wire rack to cool completely for at least 1-2 hours before slicing. Slicing too early can result in a gummy texture inside.
Notes
• **Starter Activity:** For best results, ensure your sourdough starter is very active and bubbly, having at least doubled in size after being fed 4-6 hours prior to mixing.
• **Room Temperature:** The bulk fermentation time is highly dependent on your kitchen's ambient temperature. Colder temperatures will require longer fermentation times, while warmer temperatures will shorten it. Watch the dough, not just the clock!
• **Dough Handling:** Keep your hands wet when handling the dough during stretch and folds to prevent sticking.
• **Storage:** Store cooled bread at room temperature, cut-side down on a cutting board, or in a bread bag for up to 3-4 days. For longer storage, slice the cooled bread and freeze in an airtight bag or container. Toast slices directly from frozen.
• **Variations:** Experiment with different olive varieties (e.g., a mix of green and black olives) or add sun-dried tomatoes for an extra burst of flavor. A sprinkle of grated Parmesan cheese can also be a delicious addition alongside the olives.
• **Room Temperature:** The bulk fermentation time is highly dependent on your kitchen's ambient temperature. Colder temperatures will require longer fermentation times, while warmer temperatures will shorten it. Watch the dough, not just the clock!
• **Dough Handling:** Keep your hands wet when handling the dough during stretch and folds to prevent sticking.
• **Storage:** Store cooled bread at room temperature, cut-side down on a cutting board, or in a bread bag for up to 3-4 days. For longer storage, slice the cooled bread and freeze in an airtight bag or container. Toast slices directly from frozen.
• **Variations:** Experiment with different olive varieties (e.g., a mix of green and black olives) or add sun-dried tomatoes for an extra burst of flavor. A sprinkle of grated Parmesan cheese can also be a delicious addition alongside the olives.