Sourdough Olive Bread
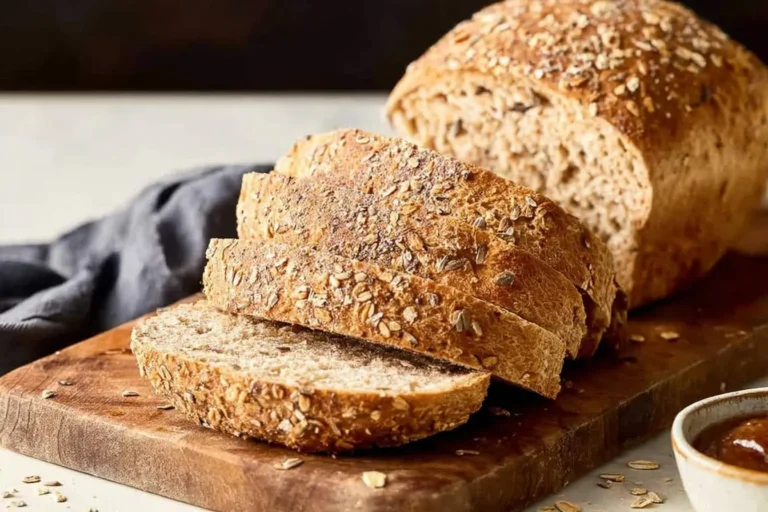
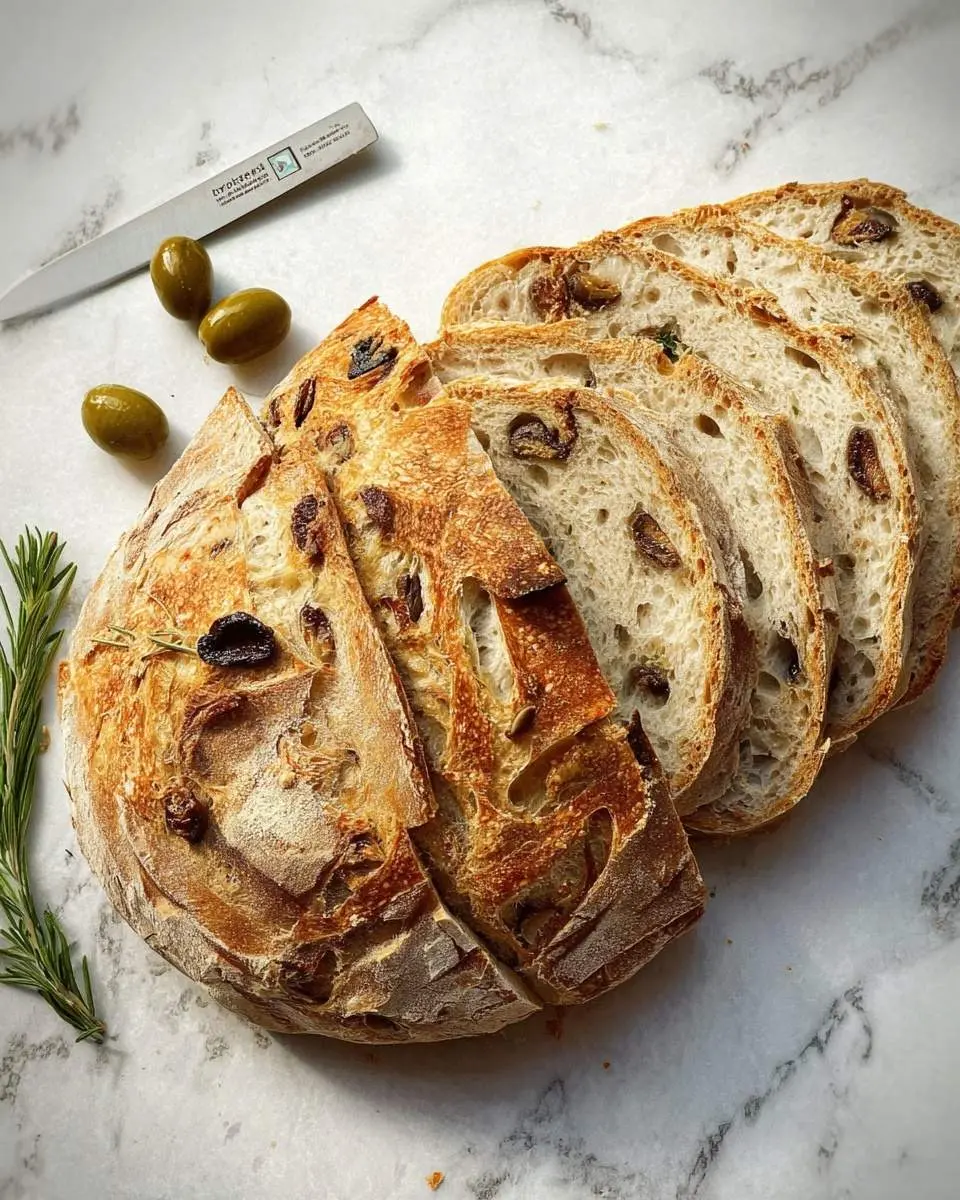
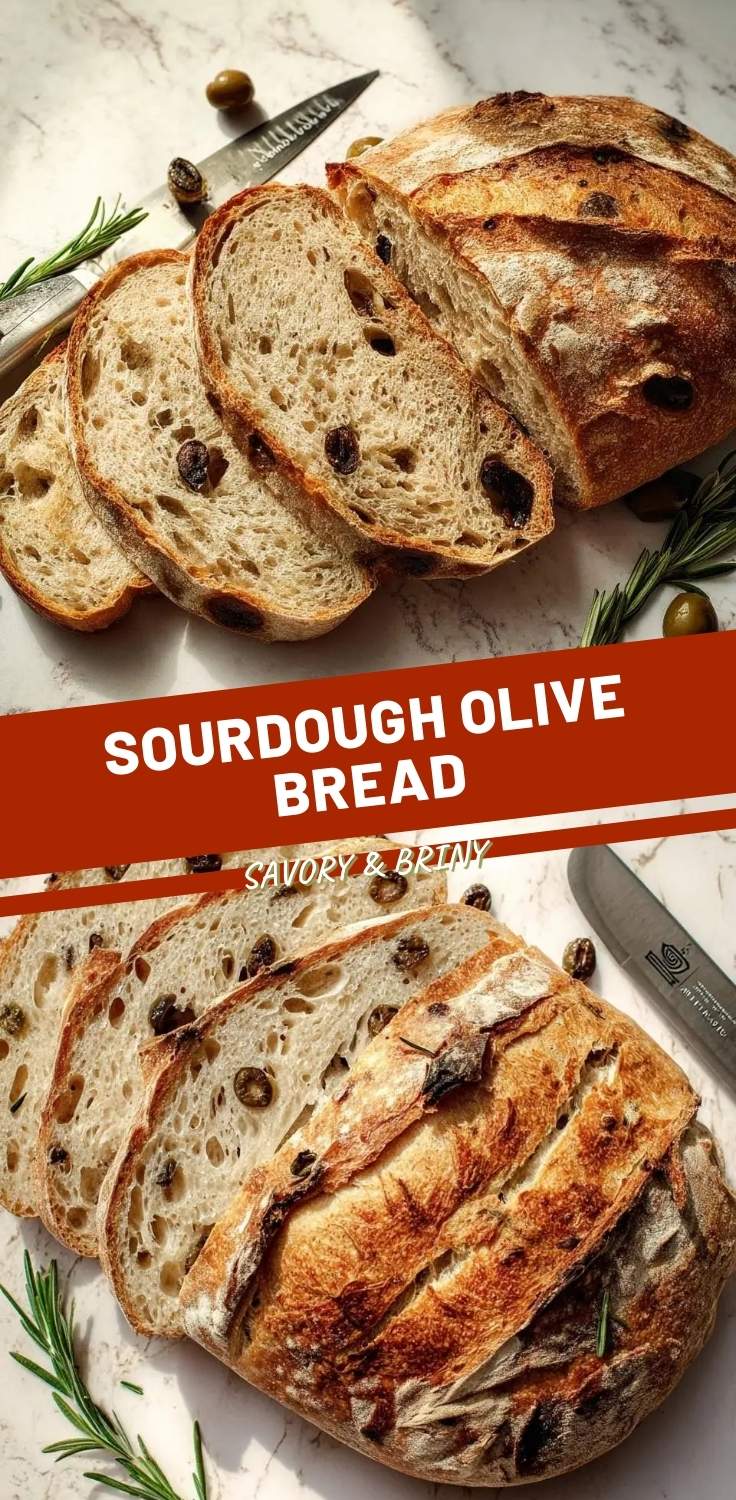
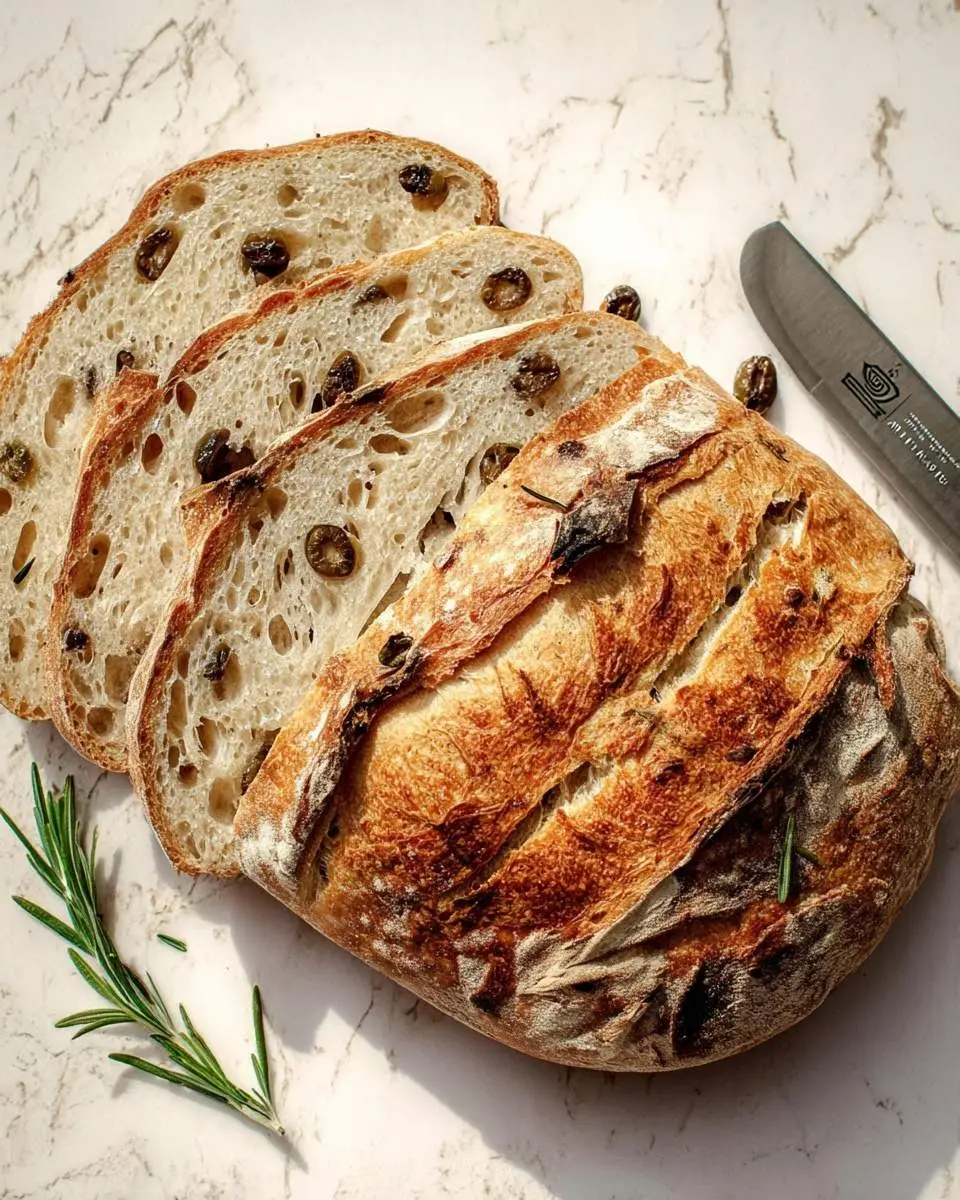
The aroma of freshly baked Sourdough Olive Bread filling my kitchen is pure joy. It’s a crusty, chewy delight, much like my favorite sourdough focaccia bread, bursting with savory olives and fragrant rosemary. It’s more than just bread; it’s a comforting hug.
I remember the first time I perfected this recipe; it brought back memories of baking with my grandmother, her hands dusted with flour, teaching me the magic of yeast and fermentation. There’s a special satisfaction in creating something so wonderful from scratch.
This recipe offers a deeply satisfying chew and incredible flavor, making it perfect for any meal. Plus, it’s surprisingly low-stress once you get the hang of it. My tip? Don’t be afraid to get your hands a little sticky!
What You Need to Make This Recipe
To craft this incredible Sourdough Olive Bread, we start with active sourdough starter, bread flour, and briny Kalamata olives. I adore how these simple ingredients meld, creating a flavor profile reminiscent of my sourdough sandwich bread. Full details are in the recipe card!
How to Make Sourdough Olive Bread
Making this fantastic Sourdough Olive Bread is a journey of patience and simple steps. We prepare the dough, allowing it to bulk ferment with gentle stretch and folds. Careful shaping and proofing lead to that incredible rise, then it’s baked to golden perfection, much like my favorite Italian bread.
Pro Tips for Making This Sourdough Olive Bread
Achieving that perfect loaf of Sourdough Olive Bread truly comes down to a few cherished techniques I’ve learned over the years. I always recommend using high-quality Kalamata olives; their robust flavor makes all the difference. Don’t rush the bulk fermentation; it’s where the flavor develops beautifully.
Hydration is Key
I’ve found that mastering the dough’s hydration takes practice. If your dough feels too sticky, a little extra rice flour on your hands during shaping can work wonders without drying out the crumb. Remember, sourdough baking is about intuition as much as precision.
My Secret Trick: I always perform an extra set of stretch and folds during the bulk fermentation, especially if the dough feels a bit slack. This builds incredible gluten strength, resulting in a more open crumb and a fantastic chew in the final Sourdough Olive Bread. Trust me, it’s worth the effort!
How to Store Sourdough Olive Bread
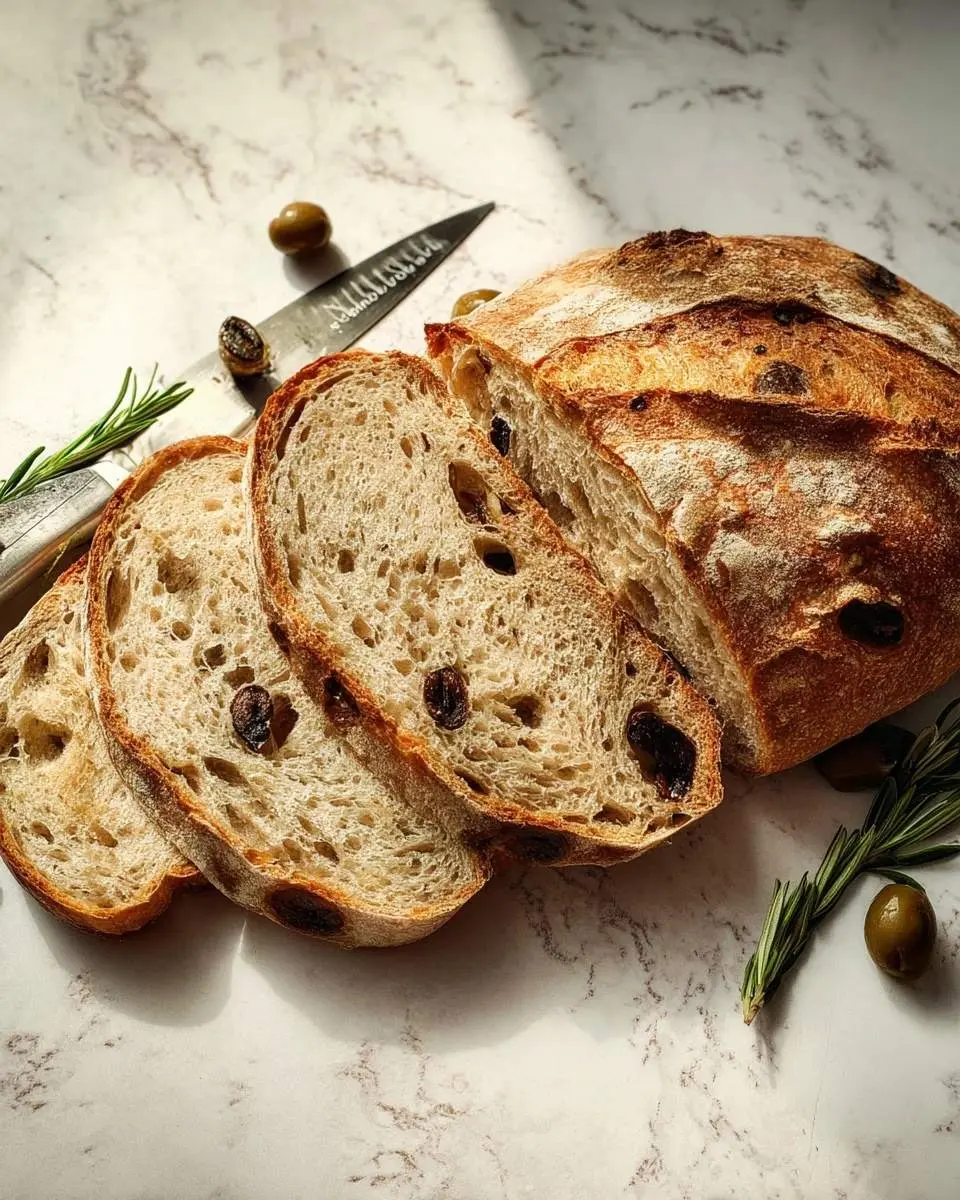
Properly storing your delicious Sourdough Olive Bread ensures you can savor it for days. I always recommend keeping any leftover bread at room temperature, wrapped tightly in a clean linen towel or stored in a bread box for up to 3-4 days. For longer storage, slice the loaf and freeze the slices in an airtight container for up to three months.
When I want to enjoy a slice, I love to toast it straight from the freezer. Alternatively, a quick warm-up in a moderate oven (around 350°F or 175°C) for 5-10 minutes brings back that wonderful crisp crust and tender interior of the Sourdough Olive Bread, making it taste freshly baked.
Nutritional Benefits
Beyond its incredible taste, this Sourdough Olive Bread offers lovely benefits. Sourdough fermentation enhances nutrient absorption, while olives provide healthy fats and antioxidants. It’s a truly wholesome, satisfying addition I’m proud to share with my family.
FAQs
What kind of olives are best for this recipe?
For this Sourdough Olive Bread, I highly recommend pitted Kalamata olives. Their rich, briny, and slightly fruity flavor holds up beautifully during baking and complements the sourdough tang perfectly. You can use other varieties, but Kalamatas truly give it that authentic Mediterranean taste and beautiful color. (55 words)
Can I use active dry yeast instead of sourdough starter?
While you technically could use active dry yeast, it wouldn’t be a true Sourdough Olive Bread, as you’d lose the characteristic tang and unique texture that only a natural sourdough starter provides. If you’re new to sourdough, I encourage you to try cultivating a starter; it’s so rewarding! (55 words)
How do I know if my sourdough starter is active enough?
An active starter for your Sourdough Olive Bread should be bubbly, have a pleasant sour aroma, and reliably double in size a few hours after feeding. The “float test” is a good indicator: drop a small spoonful into water; if it floats, it’s ready to use! (55 words)
Can I add other herbs to my Sourdough Olive Bread?
Absolutely! While fresh rosemary is my personal favorite for this Sourdough Olive Bread, feel free to experiment. Thyme or oregano would also be lovely additions. Just be sure to chop them finely and incorporate them gently into the dough during the mix-ins stage. (53 words)

Artisan Sourdough Olive Bread
Ingredients
Equipment
Method
- **1. Autolyse:** In a large mixing bowl, combine the bread flour, whole wheat flour, and warm water. Mix with your hands or a dough scraper until no dry flour remains. The mixture will be shaggy. Cover the bowl with plastic wrap or a shower cap and let it rest for 30 minutes to 1 hour. This step allows the flour to fully hydrate.
- **2. Incorporate Starter and Salt:** Add the active sourdough starter and fine sea salt to the dough. Using wet hands, dimple the salt and starter into the dough. Gently mix and squeeze the dough within the bowl for 2-3 minutes until the starter and salt are fully incorporated. The dough will still be shaggy but will start to come together. Cover the bowl again.
- **3. First Stretch and Fold:** Allow the dough to rest for 30 minutes. With wet hands, gently grab one side of the dough, stretch it upwards as far as it will go without tearing, and fold it over to the opposite side. Rotate the bowl a quarter turn and repeat this motion 3 more times, completing one full round of stretches and folds. Cover the bowl.
- **4. Subsequent Stretch and Folds:** Rest the dough for 30 minutes. Repeat the stretch and fold process (Step 3). Perform a total of 4-5 sets of stretch and folds, resting for 30 minutes between each set. The dough will become progressively smoother and stronger.
- **5. Add Inclusions:** After the third or fourth set of stretch and folds (approximately 2-3 hours into bulk fermentation, depending on your kitchen temperature), gently flatten the dough slightly in the bowl. Evenly sprinkle the chopped Kalamata olives and fresh rosemary over the surface. Perform one more set of stretch and folds, ensuring the inclusions are well distributed throughout the dough.
- **6. Final Bulk Fermentation:** Let the dough continue to bulk ferment undisturbed until it has increased in volume by 20-30% and shows signs of activity (bubbly surface, jiggly texture). This typically takes 4-6 hours at room temperature (72-78°F / 22-25°C) from the initial mix, but can vary significantly based on ambient temperature and starter strength.
- **7. Pre-Shape:** Lightly flour your clean work surface. Gently scrape the dough out of the bowl onto the floured surface. Using a dough scraper and your hands, gently form the dough into a loose round or rectangle. Allow it to rest uncovered for 20-30 minutes. This allows the gluten to relax, making final shaping easier.
- **8. Final Shape:** Lightly dust your banneton (proofing basket) generously with rice flour. Gently shape the dough into your desired final loaf shape (boule for a round loaf, or batard for an oval). For a boule, gently gather the edges towards the center, then flip the dough over, using the tension of the surface to create a taut skin. Place the shaped dough seam-side up into the prepared banneton.
- **9. Cold Proof:** Cover the banneton with a plastic bag or shower cap (to prevent drying out) and place it in the refrigerator for 12-18 hours (up to 24 hours). This slow, cold proof develops a deeper flavor and makes the dough much easier to handle and score.
- **10. Preheat Oven & Dutch Oven:** About an hour before you plan to bake, place your Dutch oven with its lid into your oven. Preheat the oven to 500°F (260°C).
- **11. Score & Bake (Lid On):** Carefully remove the hot Dutch oven from the oven. Gently invert the cold dough from the banneton onto a piece of parchment paper. Using a sharp bread lame or razor blade, score the top of the dough with your desired design (a single deep slash for a classic 'ear', or a cross pattern). Carefully lower the parchment paper with the dough into the hot Dutch oven. Place the lid on top. Bake for 30 minutes with the lid on.
- **12. Finish Baking (Lid Off):** Remove the lid from the Dutch oven, reduce the oven temperature to 450°F (230°C), and continue baking for another 15-20 minutes, or until the crust is deep golden brown and the internal temperature reaches 200-210°F (93-99°C).
- **13. Cool:** Carefully remove the bread from the Dutch oven (using the parchment paper as handles) and transfer it to a wire rack to cool completely for at least 1-2 hours before slicing. Slicing too early can result in a gummy texture inside.
Notes
• **Room Temperature:** The bulk fermentation time is highly dependent on your kitchen's ambient temperature. Colder temperatures will require longer fermentation times, while warmer temperatures will shorten it. Watch the dough, not just the clock!
• **Dough Handling:** Keep your hands wet when handling the dough during stretch and folds to prevent sticking.
• **Storage:** Store cooled bread at room temperature, cut-side down on a cutting board, or in a bread bag for up to 3-4 days. For longer storage, slice the cooled bread and freeze in an airtight bag or container. Toast slices directly from frozen.
• **Variations:** Experiment with different olive varieties (e.g., a mix of green and black olives) or add sun-dried tomatoes for an extra burst of flavor. A sprinkle of grated Parmesan cheese can also be a delicious addition alongside the olives.
Conclusion
Baking this Sourdough Olive Bread at home brings such a profound sense of accomplishment and warmth to my kitchen. It perfectly embodies my philosophy of creating comforting, hearty, and practical meals. I hope you’ll try your hand at this, perhaps after mastering a classic like my French bread, and discover the joy of homemade bread that elevates any meal.