Frozen Yogurt Berry Bites
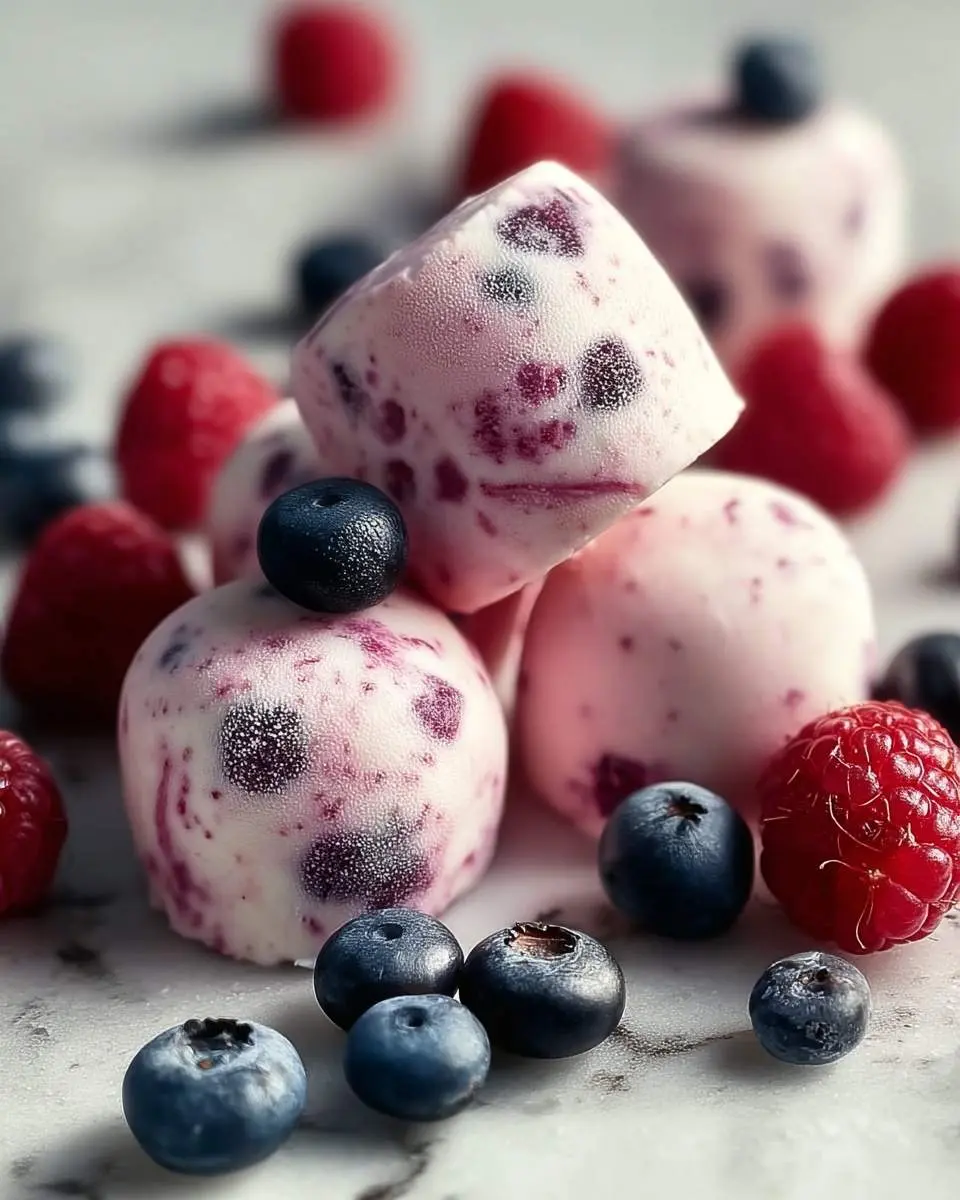
Ah, the sweet symphony of a simple, delightful treat! There’s something truly magical about a refreshing bite that feels both indulgent and wonderfully light. That’s exactly how I feel about these Frozen Yogurt Berry Bites, a little burst of joy that reminds me of lazy summer afternoons. They’re a creamy, fruity dream, perfect for when you crave something cool and sweet without all the fuss. If you love a simple yet satisfying dessert, you’ll adore these, just like my blueberry swirl yogurt bites!\n\nI remember discovering a similar idea years ago when my kids were tiny, and I was constantly searching for healthier snack options that still felt like a treat. We experimented in the kitchen, sometimes with glorious success, sometimes with rather comical failures! But the joy of creating something delicious together always stayed with us.\n\nThis recipe is low-stress, incredibly versatile, and a fantastic way to enjoy the goodness of yogurt and berries. It’s comforting in its simplicity and always brings a smile to everyone’s face. My practical tip for busy parents? Always have the ingredients on hand; they come together in a flash!\n\n## What You Need to Make This Recipe\n\nCrafting these delightful Frozen Yogurt Berry Bites relies on a handful of simple, wholesome ingredients that I always keep stocked in my pantry and fridge. We’re talking about creamy plain Greek yogurt, a touch of honey or maple syrup for that perfect sweetness, a hint of vanilla, vibrant mixed berries, and a sprinkle of crunchy granola for texture. It’s honestly as easy as scoring a point in a basketball game with our special cookies! You’ll find the full list of ingredients and precise measurements in the recipe card below.\n\n\n\n## How to Make Frozen Yogurt Berry Bites\n\nMaking these Frozen Yogurt Berry Bites is an absolute breeze, honestly. It’s a no-cook wonder that comes together in mere minutes of prep! First, you’ll gently mix your Greek yogurt with a sweetener like honey and a splash of vanilla. Then, you’ll dollop this creamy mixture onto a parchment-lined tray, creating little rounds, before scattering those lovely mixed berries and crunchy granola on top. A quick freeze, and voilà, you have a beautiful, refreshing treat, much like our beloved frozen honey yogurt bites! The freezer does all the heavy lifting for us.\n\n## Pro Tips for Making This Frozen Yogurt Berry Bites\n\nI’ve made these delicious bites countless times, and over the years, I’ve picked up a few little tricks that really make a difference. These are the kinds of tips I’d share with my best friend over a cup of coffee.\n\n### Achieving the Perfect Texture\n\nFor truly delectable Frozen Yogurt Berry Bites, I always make sure my Greek yogurt is nice and thick. This prevents them from being too icy and gives them that wonderful creamy consistency we all love. Don’t be shy with the granola; it adds a fantastic crunch that contrasts beautifully with the smooth yogurt.\n\n### Berry Bliss\n\nI love using a mix of berries, both fresh and frozen work beautifully! If using frozen, a quick rinse under cold water can sometimes help prevent them from clumping too much. My goal is always vibrant color and a burst of flavor in every bite.\n\nMy Secret Trick: When placing the yogurt dollops, I use two spoons or a small cookie scoop to create uniform sizes. This ensures they freeze evenly and look pretty on a serving platter. It’s a small detail, but it really elevates the presentation of these simple Frozen Yogurt Berry Bites.\n\n\n\n## How to Store Frozen Yogurt Berry Bites\n\nOnce your Frozen Yogurt Berry Bites are perfectly set, proper storage is key to keeping them fresh and delicious. I always transfer them from the baking sheet to an airtight container or a freezer bag. They keep wonderfully in the freezer for up to two weeks, ready for a quick snack or a light dessert whenever a craving strikes. My personal tip? I like to layer them between small pieces of parchment paper to prevent them from sticking together. Just grab and enjoy straight from the freezer!\n\n## Nutritional Benefits\n\nThese Frozen Yogurt Berry Bites aren’t just a treat for your taste buds; they’re packed with goodness too! With protein from the Greek yogurt and antioxidants from the mixed berries, they offer a nourishing boost. It’s a wonderful way I ensure my family enjoys a sweet snack that also contributes to their well-being, aligning perfectly with my philosophy of delicious and healthy family meals.\n\n\n\n## FAQs\n\n### Can I use regular yogurt instead of Greek yogurt for this recipe?\nWhile you can, I highly recommend sticking with Greek yogurt for these Frozen Yogurt Berry Bites. Its thicker consistency provides a much better texture when frozen, preventing them from becoming too icy. If you only have regular yogurt, you might want to strain it a bit first to remove some of the whey.\n\n### How long do Frozen Yogurt Berry Bites take to set in the freezer?\nGenerally, these delightful Frozen Yogurt Berry Bites will be ready to enjoy in about 1 to 2 hours in the freezer. However, freezing times can vary depending on your freezer’s temperature and the thickness of your bites. I usually check on them after an hour to ensure they’re firm enough.\n\n### Can I customize the toppings for my Frozen Yogurt Berry Bites?\nAbsolutely! That’s one of the best parts about this recipe. I often experiment with different toppings. Feel free to swap out the mixed berries for other fruits like sliced kiwi or mango, or try different granolas. A sprinkle of mini chocolate chips or shredded coconut would also make fantastic Frozen Yogurt Berry Bites.\n\n### Are Frozen Yogurt Berry Bites suitable for meal prepping?\nYes, they are fantastic for meal prepping! I love making a big batch of Frozen Yogurt Berry Bites at the beginning of the week. They’re a perfect grab-and-go snack or a light dessert, making healthy eating so much easier throughout busy days. They hold up beautifully in the freezer.\n\n

Decadent Peppermint Swirl Christmas Fudge
Ingredients
Equipment
Method
- Line an 8x8 inch square baking pan with parchment paper, leaving a 2-inch overhang on two opposite sides. This will help you lift the fudge out later. Lightly grease the parchment paper and any exposed sides of the pan.
- In a medium, heavy-bottomed saucepan, whisk together the granulated sugar, cocoa powder, whole milk, and salt until combined. Place over medium heat.
- Bring the mixture to a rolling boil, stirring constantly with a wooden spoon or heat-resistant spatula to prevent scorching. Once it boils, add the pieces of butter and allow them to melt.
- Clip a candy thermometer to the side of the pan, making sure the tip is submerged in the mixture but not touching the bottom. Continue to cook, stirring occasionally, until the thermometer reaches exactly 234°F (112°C), which is the soft-ball stage. This should take about 8-10 minutes.
- Once it reaches temperature, immediately remove the saucepan from the heat. Working quickly, add the marshmallow creme and vanilla extract. Stir vigorously until the marshmallow creme is completely melted and the mixture is smooth and glossy.
- Pour the hot fudge into the prepared pan and use an offset spatula to spread it into an even layer.
- In a small microwave-safe bowl, melt the white chocolate chips in 30-second intervals at 50% power, stirring between each interval until smooth.
- Stir the peppermint extract and red food coloring (if using) into the melted white chocolate until you achieve a festive pink or red color.
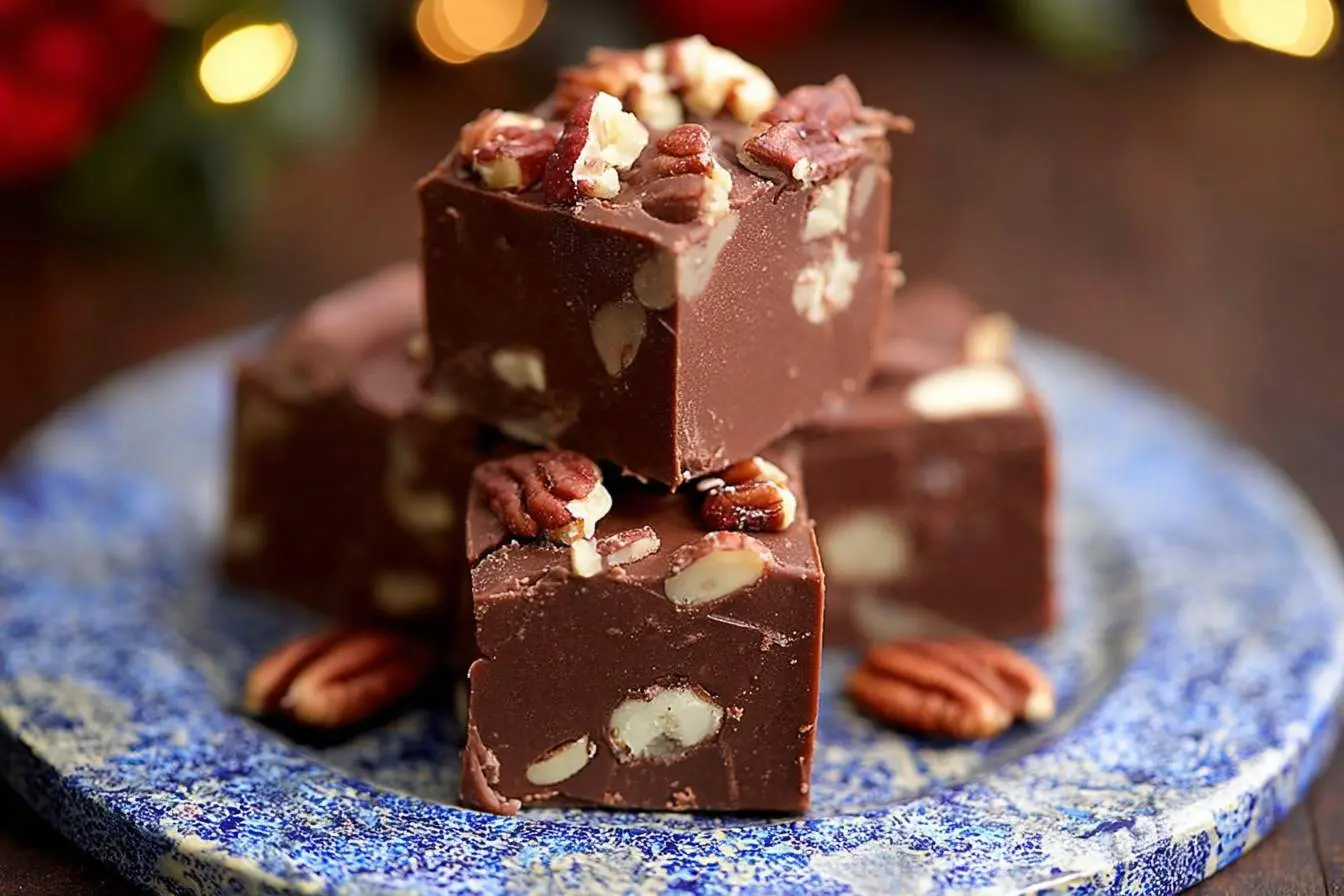
- Dollop the peppermint-white chocolate mixture over the top of the chocolate fudge. Use the tip of a knife or a skewer to gently swirl the colors together to create a marbled pattern. Be careful not to overmix.
- Immediately sprinkle the crushed candy canes evenly over the top. Let the fudge cool on the counter for about 30 minutes before transferring it to the refrigerator.
- Chill the fudge in the refrigerator for at least 4 hours, or until completely firm. For best results, chill overnight.
- Once set, use the parchment paper overhangs to lift the entire block of fudge out of the pan. Place it on a cutting board and use a large, sharp knife to cut it into 36 small squares. Serve at room temperature.