Multigrain Bread
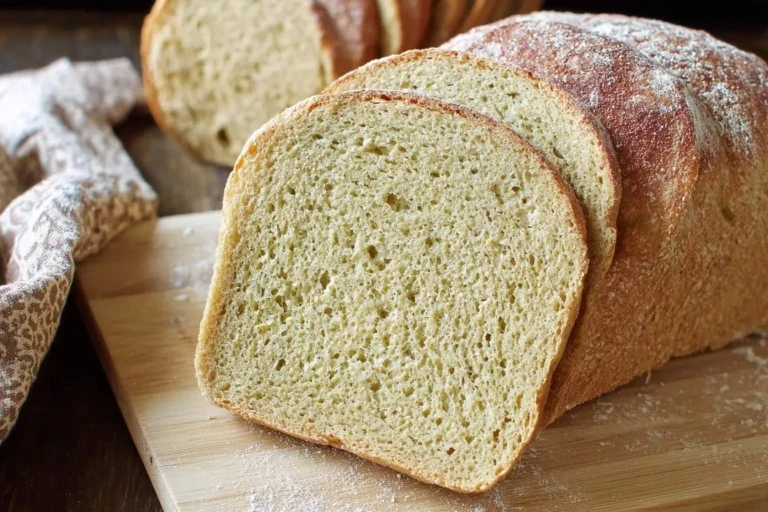
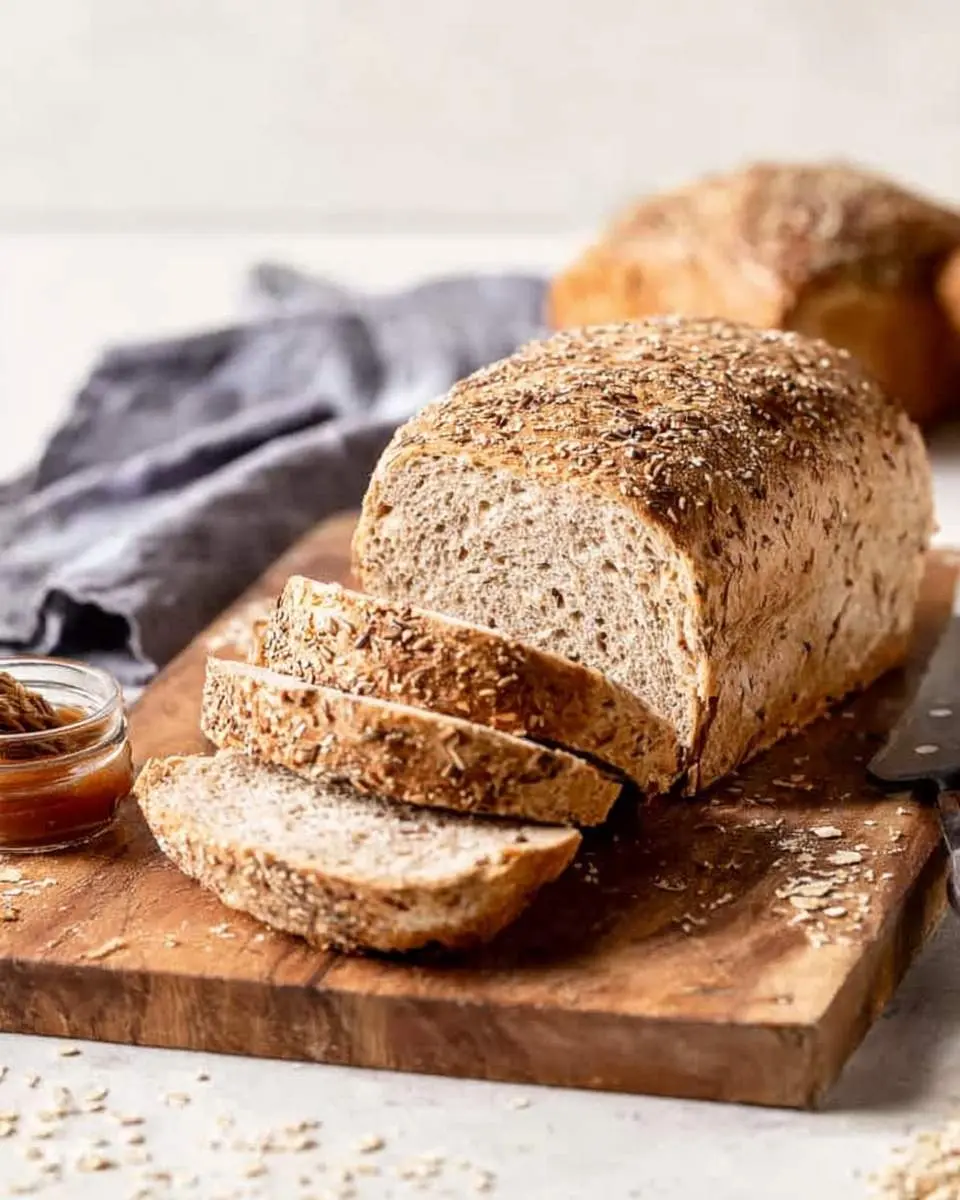
There’s truly nothing quite like the aroma of freshly baked Multigrain Bread filling my kitchen. It’s a scent that promises warmth, comfort, and homemade goodness. The crust is perfectly golden, the crumb is soft and chewy, and every slice is packed with delightful textures from all those beautiful grains. It’s a simple pleasure that transports me to a happy place, much like delving into the craft of sourdough baking.
For me, baking bread, especially a rustic loaf like this, is pure therapy. I remember watching my grandmother effortlessly knead dough, and those early memories sparked my own love for creating something wonderful from basic ingredients. It’s a tradition I cherish.
This hearty multigrain loaf is incredibly satisfying, perfect for a cozy breakfast or a robust sandwich. Plus, the process is surprisingly low-stress, especially with a few of my tried-and-true tips, ensuring a perfect bake every time.
What You Need to Make This Recipe
For this wonderful multigrain bread, we’re bringing together wholesome rolled oats, an array of seeds, and a blend of flours. It’s a more involved bake than a simple 3-ingredient artisan bread, but every step is worth it. I adore how these elements transform into something nourishing! Full details are in the recipe card below.
How to Make Multigrain Bread
Making a delightful Multigrain Bread involves a few distinct stages: we’ll start by preparing a “soaker” for the grains, then activate our yeast, mix the dough, and move through two crucial rises. It’s a journey, much like baking a delightful rhubarb bread, each step building towards that perfect loaf. I find the process incredibly rewarding as the dough develops its structure and flavor.
Pro Tips for Making This Multigrain Bread
Achieving that perfect, rustic Multigrain Bread loaf truly is a labor of love, and I’ve picked up a few tricks along the way that I’m excited to share with you. These tips will help you navigate each step with confidence, ensuring your bread turns out beautifully every time.
Mastering Your Dough Consistency
The key to a good multigrain loaf is understanding its feel. Because of the different flours and seeds, this dough can be a bit stickier than a plain white bread. Don’t be tempted to add too much extra flour during kneading. I always aim for a dough that’s tacky but pulls away from my hands and the work surface cleanly. It takes a little practice, but trust your instincts!
My Secret Trick: When mixing the dough, I often hold back a tablespoon or two of the water. Depending on your flour and the humidity, you might not need it all. Slowly add it in if the dough feels too stiff, allowing it to fully hydrate without becoming overly wet. This gives me more control over the final texture of my multigrain bread.
The Importance of the Soaker
Don’t skip the soaker step! Allowing the rolled oats, flax seeds, and sunflower seeds to soak in boiling water not only softens them but also releases their natural flavors, preventing them from absorbing too much moisture from your dough. This step is crucial for the tender crumb and distinct taste of your hearty multigrain bread.
Patience is Your Best Ingredient
Bread making is a lesson in patience, especially during the rising times. Factors like room temperature can affect how quickly your dough proofs. I always recommend watching the dough, not the clock. Your multigrain bread dough should double in size for the first rise and look puffy and light before going into the oven. A properly proofed loaf will have a much better texture.
How to Store This Delicious Loaf
Once you’ve baked your beautiful multigrain bread, you’ll want to make sure it stays fresh for as long as possible! I’ve learned a few tricks over the years to keep that wonderful texture and flavor intact.
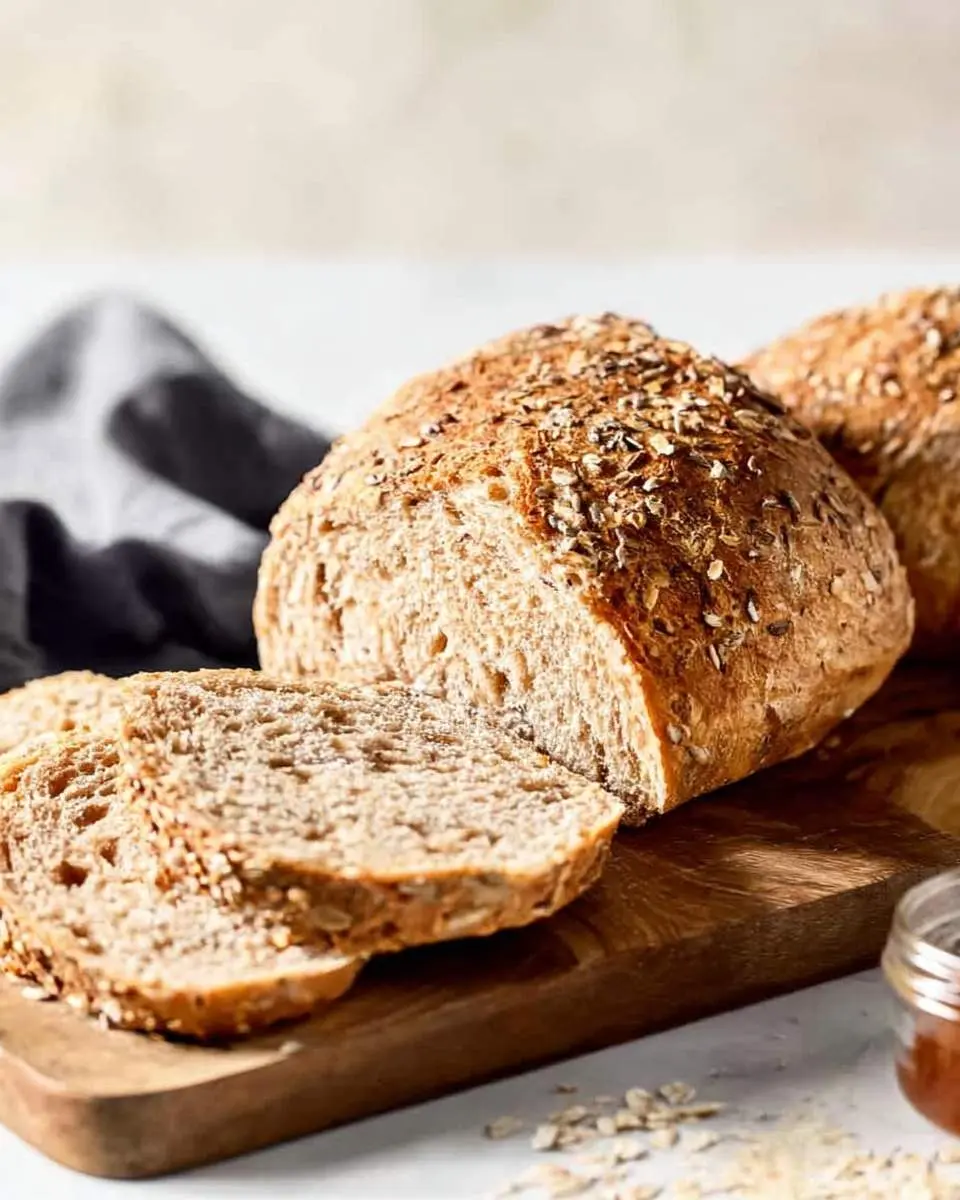
- Countertop Storage: For bread you plan to eat within 2-3 days, simply store the cooled loaf in an airtight bread bag or container at room temperature. Avoid refrigerating whole loaves, as it can dry them out faster.
- Freezing for Freshness: If I bake a big multigrain loaf and know we won’t finish it quickly, freezing is my go-to. I slice the cooled bread first, then place the slices in a freezer-safe bag or wrap them tightly in plastic wrap, then foil. It keeps beautifully for up to three months!
- Reheating: To enjoy frozen slices, I just pop them directly into the toaster or warm them gently in a low oven until heated through and slightly crispy. A full loaf can be thawed at room temperature, then refreshed in a 350°F (175°C) oven for about 10-15 minutes. It truly brings that multigrain bread back to life! My personal tip: I always use a serrated bread knife for slicing, whether it’s fresh or thawed. It prevents squishing the loaf and gives you perfect slices every time.
Nutritional Benefits
Making this multigrain bread at home offers so much more than just deliciousness; it’s packed with goodness! With its blend of whole grains like oats, whole wheat, and rye, each slice provides a wonderful source of fiber, essential vitamins, and minerals. It’s my way of ensuring my family enjoys a hearty and wholesome option that genuinely contributes to a balanced diet, making every meal more nourishing.
FAQs
Can I substitute other flours in this multigrain bread recipe?
Absolutely! While I love the specific blend of unbleached all-purpose, whole wheat, rye, and oat flours for this multigrain bread, you can certainly experiment. Just be mindful that different flours absorb liquids differently. I recommend trying a partial substitution first, maybe 25-50%, and adjusting the water slightly to achieve the right dough consistency.
Why is a soaker important for multigrain bread?
The soaker step is crucial for our multigrain bread because it allows the rolled oats, flax, and sunflower seeds to fully hydrate before being mixed into the dough. This softens them, prevents them from absorbing precious moisture from your finished dough, and ensures a tender crumb rather than a dry or crumbly texture. It’s a small step that makes a big difference.
How do I know if my multigrain bread dough has risen enough?
You’ll know your multigrain bread dough has risen sufficiently when it has roughly doubled in size and looks visibly puffy and aerated. For a simple test, gently poke the dough with a floured finger; if the indentation slowly springs back halfway, it’s ready. If it springs back completely, it needs more time; if it collapses, it’s over-proofed.
Can I add nuts to my homemade multigrain bread?
Yes, you can absolutely add nuts to your homemade multigrain bread! I love the extra crunch and flavor they bring. Walnuts, pecans, or chopped almonds would be fantastic additions. I’d suggest adding about ½ cup to ¾ cup of your chosen nuts during the final stages of mixing the dough, right before the first rise, to ensure even distribution.
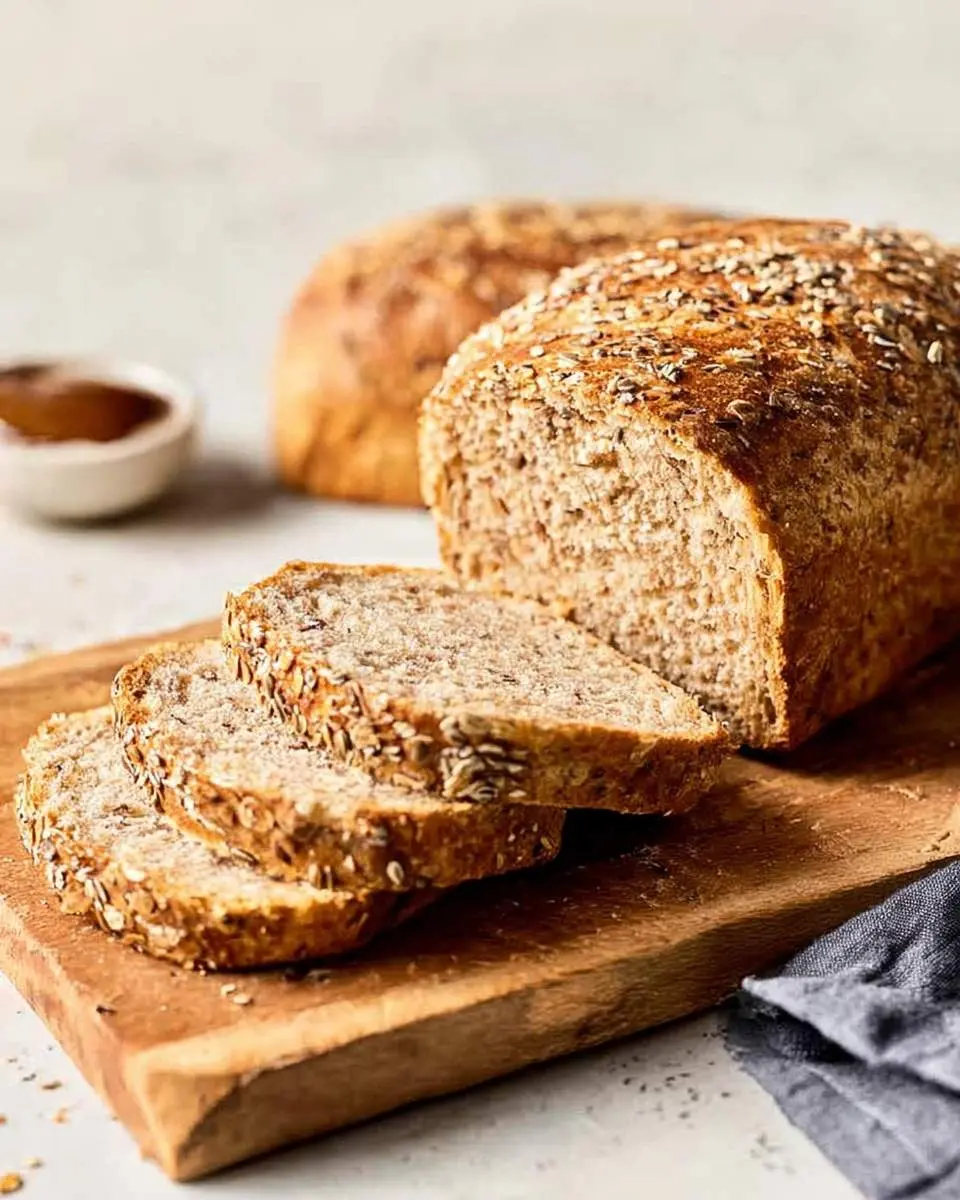

Hearty Multigrain Loaf Bread
Ingredients
Equipment
Method
- In a small bowl, combine the rolled oats, flax seeds, and sunflower seeds. Pour the boiling water over them, stir well, and let sit for at least 30 minutes, or up to several hours, until the water is fully absorbed and the mixture has cooled to room temperature.
- In a large mixing bowl (or the bowl of a stand mixer), combine the warm water (105-115°F / 40-46°C), active dry yeast, and honey. Stir gently and let sit for 5-10 minutes until the mixture becomes foamy, indicating the yeast is active.
- In a separate medium bowl, whisk together the all-purpose flour, whole wheat flour, rye flour, oat flour, and salt.
- Add the flour mixture, olive oil, and the cooled soaker mixture to the yeast mixture. If using a stand mixer, attach the dough hook and mix on low speed for 2-3 minutes until a shaggy dough forms. If mixing by hand, stir with a sturdy wooden spoon until just combined.
- If using a stand mixer, increase the speed to medium-low and knead for 8-10 minutes until the dough is smooth, elastic, and pulls away cleanly from the sides of the bowl. If kneading by hand, turn the dough out onto a lightly floured surface and knead for 10-15 minutes, adding small amounts of flour if the dough is too sticky, until it's smooth and elastic.
- Lightly grease a clean large bowl with olive oil. Transfer the dough to the bowl, turning it once to coat all sides. Cover the bowl tightly with plastic wrap or a clean kitchen towel and let it rise in a warm, draft-free place for 60-90 minutes, or until it has doubled in size.
- Gently deflate the risen dough by pressing it down. Turn the dough out onto a lightly floured surface. Shape it into a rectangular loaf by gently patting it into a rectangle (roughly 9x12 inches). Fold the longer sides of the rectangle into the center, overlapping slightly. Then, starting from one of the short ends, roll the dough up tightly into a log. Pinch the seam closed firmly.
- Lightly grease a 9x5 inch loaf pan. Place the shaped dough into the prepared pan, seam-side down. Cover loosely with plastic wrap or a clean kitchen towel and let it rise in a warm place for another 45-60 minutes, or until it has nearly doubled in size and crowned slightly above the rim of the pan.
- About 15 minutes before the end of the second rise, preheat your oven to 375°F (190°C). If you want a crispier crust, place a shallow oven-safe pan on the bottom rack of your oven.
- Once the dough has risen sufficiently, gently brush the top of the loaf with a little water or milk and sprinkle evenly with the mixed seeds. If using a steam pan, carefully pour about 1/2 cup of hot water into it (this creates steam for a crispier crust). Immediately place the loaf pan in the preheated oven.
- Bake for 35-40 minutes, or until the crust is deeply golden brown and the internal temperature of the bread reaches 190-200°F (88-93°C) when measured with an instant-read thermometer.
- Remove the bread from the oven. Immediately turn it out of the loaf pan onto a wire cooling rack. Let it cool completely for at least 1-2 hours before slicing. Slicing warm bread can result in a gummy texture.
Notes
Conclusion
There’s truly nothing quite as comforting and satisfying as pulling a homemade Multigrain Bread from your oven. This recipe, with its robust flavors and hearty texture, brings a little piece of that cozy, nourishing kitchen magic right to your table. It’s a wonderful project for a weekend afternoon, or a way to ensure you always have wholesome bread on hand, much like the satisfaction I get from baking a festive challah bread. I truly hope you’ll give this multigrain loaf a try and experience the joy and warmth it brings to your home. Happy baking!