Sourdough Focaccia Bread
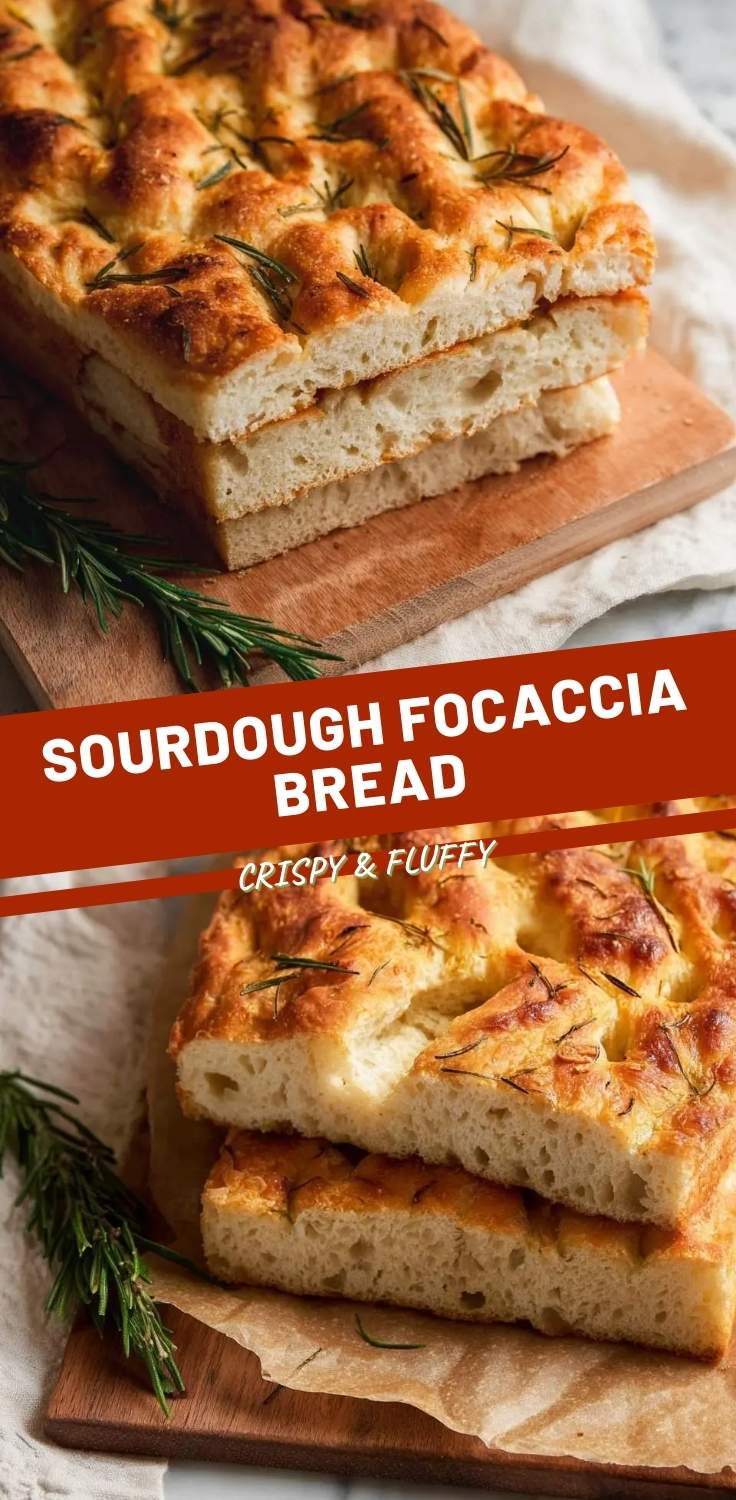
The aroma of freshly baked Sourdough Focaccia Bread wafting through my kitchen is one of life’s purest joys. There’s just something incredibly satisfying about a golden crust yielding to an airy, olive oil-rich interior, especially when paired with a good meal or simply torn piece by piece. It reminds me of the simple pleasure of making sourdough sandwich bread for my family, creating something truly special from scratch.
I remember my nonna teaching me the magic of dough, her hands dusted with flour, the kitchen filled with stories and laughter. She always said, “Food is love, Lucia,” and that sentiment has guided my cooking ever since, especially with recipes like this.
This Sourdough Focaccia Bread is wonderfully comforting and surprisingly low-stress, even for a sourdough recipe. My best tip? Trust the process, and let time do its work – the flavors truly deepen with patience.
What You Need to Make This Recipe
Crafting this delightful bread relies on a few core ingredients, like the vibrant fresh rosemary and robust olive oil, which contribute so much to its signature flavor and texture. From the active sourdough starter to the high-quality bread flour, each component plays a vital role in creating that perfect Sourdough Focaccia Bread we all adore, much like the ingredients for a delicious sourdough herb and garlic twist loaf. You’ll find the full list of ingredients and precise measurements in the recipe card below.
How to Make Sourdough Focaccia Bread
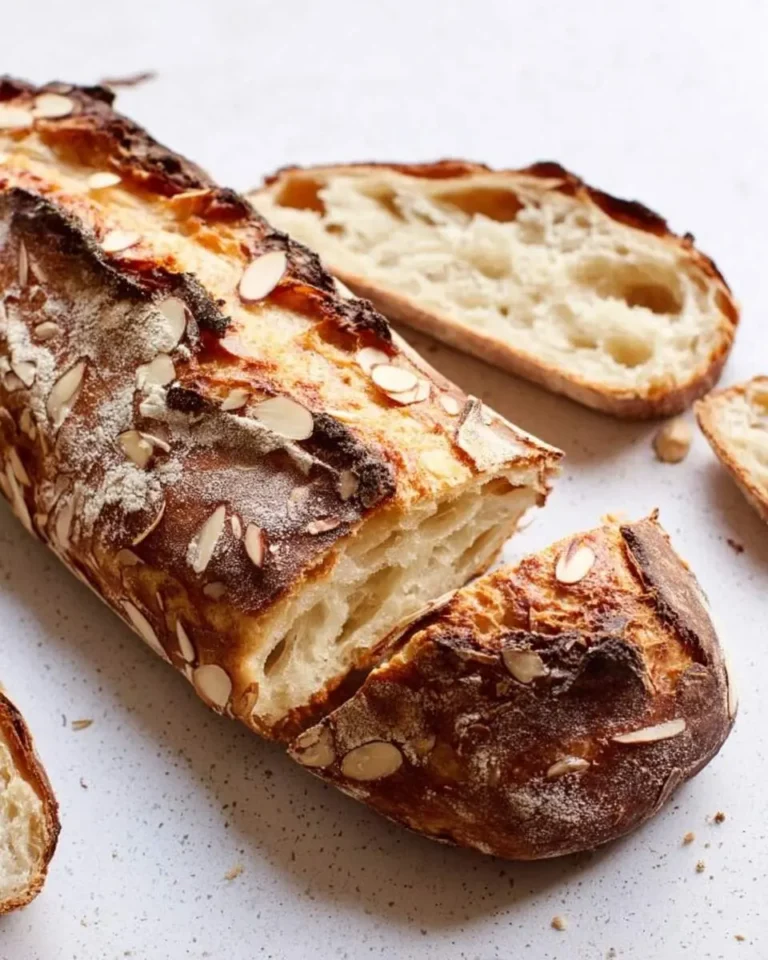
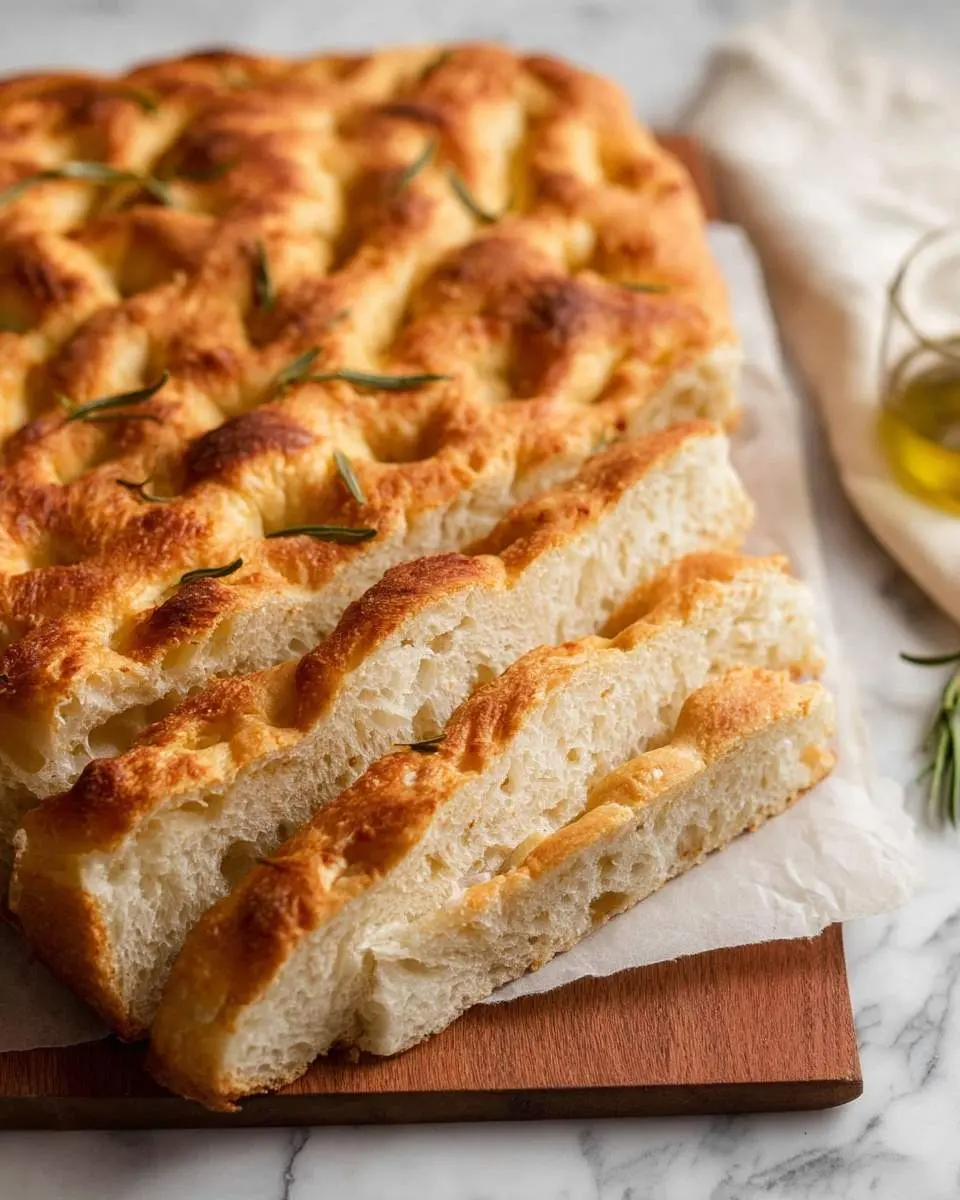
Making this gorgeous Sourdough Focaccia Bread is a two-day journey, but don’t let that deter you—most of the time is hands-off! On Day 1, we focus on preparing the dough, allowing the natural fermentation of our sourdough starter to work its magic, building incredible flavor and texture, much like when I bake a hearty Italian bread. Day 2 is all about the final proofing and baking, leading to that irresistible golden crust and soft, airy interior we all crave.
Pro Tips for Making This Sourdough Focaccia Bread
Over the years, I’ve learned a few tricks that truly elevate this Sourdough Focaccia Bread from great to absolutely unforgettable. It’s all about embracing the unique qualities of sourdough and treating your dough with a little extra love.
Hydration is Key
Don’t be afraid of a wet, sticky dough! Sourdough focaccia bread thrives on high hydration. It’s what gives it that characteristic open crumb and incredibly tender texture. Resist the urge to add too much extra flour during the mixing process. Instead, use a little olive oil on your hands and work surface to manage the stickiness.
My Secret Trick: The Overnight Cold Proof
While the recipe allows for a warmer proof, I always find that an overnight cold proof in the refrigerator deeply enhances the flavor of this Sourdough Focaccia Bread. It allows the sourdough to develop a more complex, nuanced tang and creates a more extensible dough, which is easier to dimple without tearing. Just remember to let it come to room temperature for about an hour before baking.
Dimple with Gusto!
Those beautiful dimples aren’t just for show; they create pockets for olive oil and sea salt, intensifying every bite. Don’t be shy—use your fingertips to press firmly all the way down to the bottom of the pan after the final proof.
How to Store Sourdough Focaccia Bread
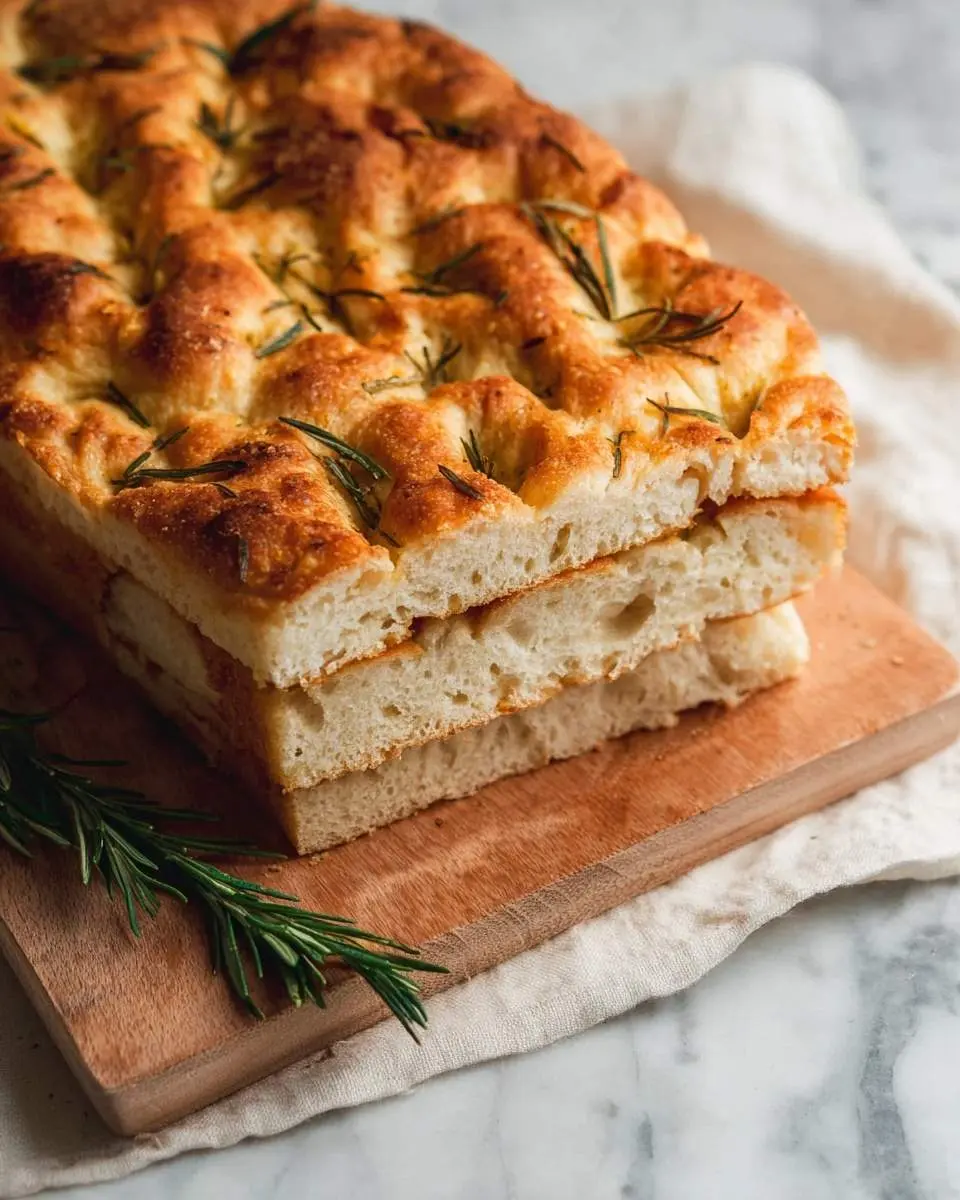
Once cooled, I find the best way to keep leftover Sourdough Focaccia Bread fresh is to store it in an airtight container at room temperature for up to two days. If you want it to last longer, you can wrap individual slices tightly in plastic wrap and then foil, freezing them for up to a month. When I want to enjoy it again, I love to spritz a little water on the frozen slices and warm them in a toaster oven. Reheating slowly brings back its delightful crispness and fragrant aroma!
Nutritional Benefits
This homemade Sourdough Focaccia Bread offers more than just incredible flavor; the sourdough fermentation process can make the nutrients in the bread more bioavailable and easier to digest. It’s a wholesome choice for my family, providing a comforting and satisfying source of carbohydrates.
FAQs
Can I make this focaccia without a sourdough starter?
While this recipe specifically uses active sourdough starter for its unique flavor and texture, you can find other focaccia recipes that use commercial yeast. However, the distinct tang and chew of Sourdough Focaccia Bread truly comes from the slow fermentation process.
What is the best flour to use for sourdough focaccia?
I always recommend using good quality bread flour for this Sourdough Focaccia Bread. Its higher protein content develops strong gluten, which is essential for creating that airy, open crumb structure and delicious chewiness we’re aiming for in a traditional focaccia.
How do I know if my sourdough starter is active enough?
An active sourdough starter should be bubbly, have a pleasant sour aroma, and pass the “float test” – a small spoonful should float in water. Using a robust starter is key to a successful Sourdough Focaccia Bread, ensuring a good rise and fermentation.
Can I add other toppings to my sourdough focaccia?
Absolutely! While rosemary and sea salt are classics, feel free to get creative. Olives, cherry tomatoes, thinly sliced onions, or even different herbs like thyme or oregano are fantastic additions. Just press them gently into the dough before the final rise for your perfect Sourdough Focaccia Bread.
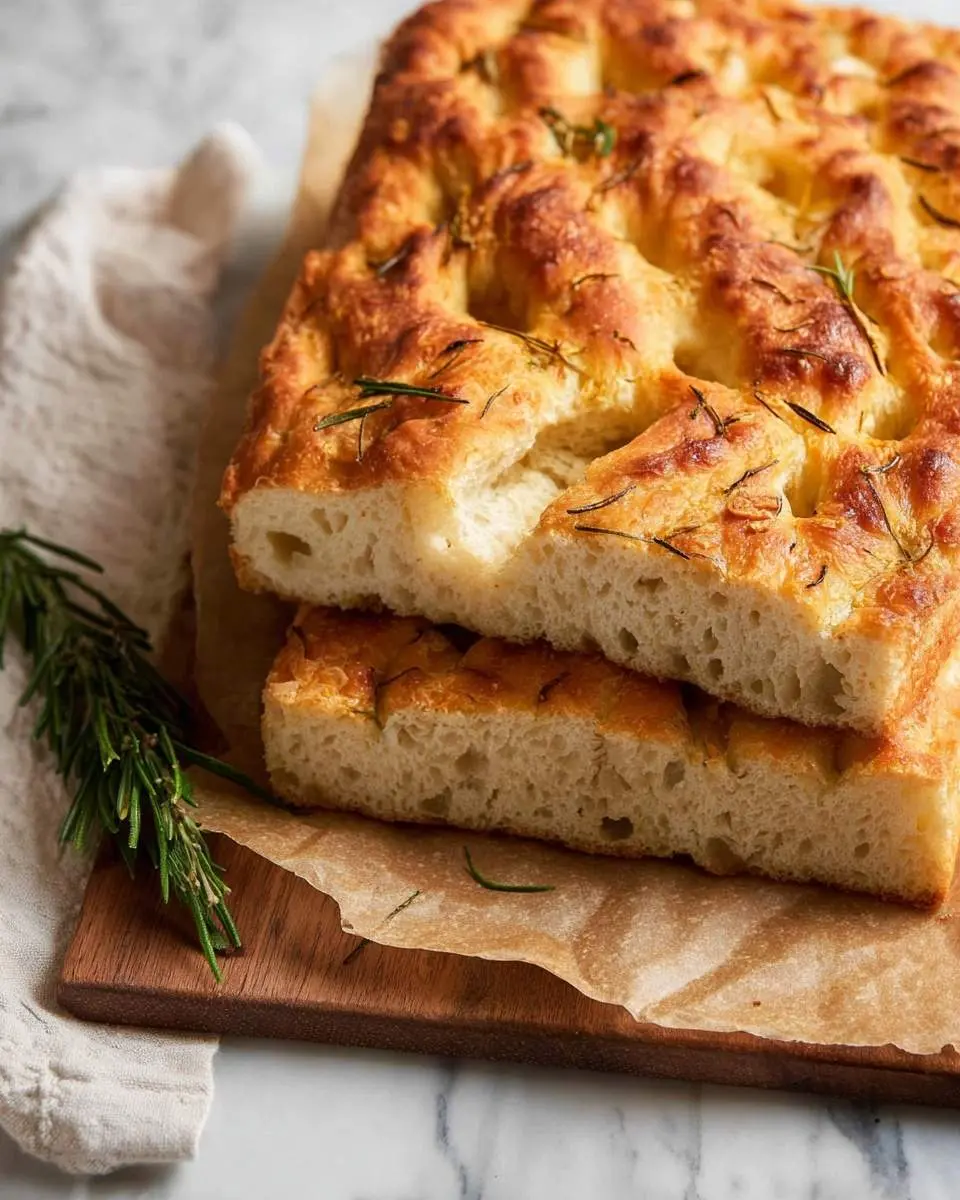

Sourdough Focaccia Bread with Rosemary & Sea Salt
Ingredients
Equipment
Method
- Prepare the Levain (8-12 hours before mixing): In a small bowl, combine the active sourdough starter, bread flour, and warm water. Mix until no dry spots remain. Cover loosely and let it sit at room temperature (70-75°F / 21-24°C) until it is very active, bubbly, and passes the float test (a small spoonful floats in water), typically 8-12 hours.
- Mix the Dough (Autolyse - 30 minutes): In a large mixing bowl, combine the warm water and the ripe levain. Whisk gently to break up the levain. Add the bread flour and mix with a rubber spatula or your hand until all the flour is hydrated and no dry clumps remain. Cover the bowl with plastic wrap or a damp kitchen towel and let it rest for 30 minutes (autolyse). This step allows the flour to fully hydrate.
- Add Salt and Olive Oil (5 minutes): After the autolyse, sprinkle the fine sea salt over the dough. Pour 30 grams of olive oil over the salt. Using wet hands, gently work the salt and olive oil into the dough for 2-3 minutes until fully incorporated. The dough will feel shaggy initially but will come together.
- First Set of Stretch and Folds (10 minutes): Lightly wet your hands. Grab a portion of the dough from one side, stretch it upwards, and fold it over to the opposite side of the bowl. Rotate the bowl a quarter turn and repeat this process 3-4 more times, until the dough tightens up. Cover the bowl.
- Bulk Fermentation with Folds (3-4 hours): Let the dough rest for 30 minutes. Repeat the stretch and fold process (Step 4). Perform 3-4 sets of stretch and folds in total, every 30-45 minutes for the first 2-3 hours of bulk fermentation. After the final fold, the dough should be noticeably smoother, more elastic, and slightly increased in volume.
- Cold Proof (12-24 hours): After the last set of folds and about 3-4 hours of bulk fermentation at room temperature, lightly oil the inside of a 9x13 inch baking pan. Gently transfer the dough into the prepared pan, trying not to deflate it too much. Drizzle a little olive oil over the top of the dough. Cover the pan tightly with plastic wrap or a lid and refrigerate for 12-24 hours. This slow, cold proof develops complex flavors and makes the dough easier to handle.
- Bring to Room Temperature (2-3 hours): Remove the focaccia pan from the refrigerator 2-3 hours before you plan to bake. Leave it covered at room temperature to allow it to warm up and continue its final proof. The dough should visibly rise and become bubbly.
- Preheat Oven and Prepare Topping (30 minutes): About 30-45 minutes before baking, preheat your oven to 425°F (220°C) with a rack in the middle position. Drizzle 2 tablespoons of extra virgin olive oil generously over the surface of the dough.
- Dimple and Top (5 minutes): With oiled fingertips, gently press down into the dough to create dimples, going all the way to the bottom of the pan without tearing the dough. Distribute the fresh rosemary leaves evenly over the surface, pressing some into the dimples. Sprinkle generously with flaky sea salt.
- Bake (25-30 minutes): Place the pan in the preheated oven. Bake for 25-30 minutes, or until the focaccia is golden brown on top and deeply golden on the bottom. If the top is browning too quickly, you can loosely tent it with aluminum foil.
- Cool (30 minutes): Carefully remove the focaccia from the pan and transfer it to a wire rack to cool completely for at least 30 minutes before slicing and serving. This prevents the bottom from getting soggy and allows the crumb to set.
Notes
The float test for levain: Drop a small piece of levain into a cup of water. If it floats, it's ready. If it sinks, it needs more time.
Don't skip the cold proof! It significantly improves flavor and texture.
Storing: Sourdough focaccia is best enjoyed fresh on the day it's baked. Leftovers can be stored in an airtight container at room temperature for up to 2 days, or frozen for longer storage and reheated in the oven.
Conclusion
I truly hope you’ll give this Sourdough Focaccia Bread a try. It’s more than just a recipe; it’s an experience, a chance to slow down and create something truly nourishing and delicious for your loved ones. The process, while requiring a little patience, yields a reward that’s absolutely worth it—a fragrant, chewy, and utterly satisfying bread that will become a staple in your home, just like my favorite Naan bread. Happy baking, my friends!