Multigrain Bread
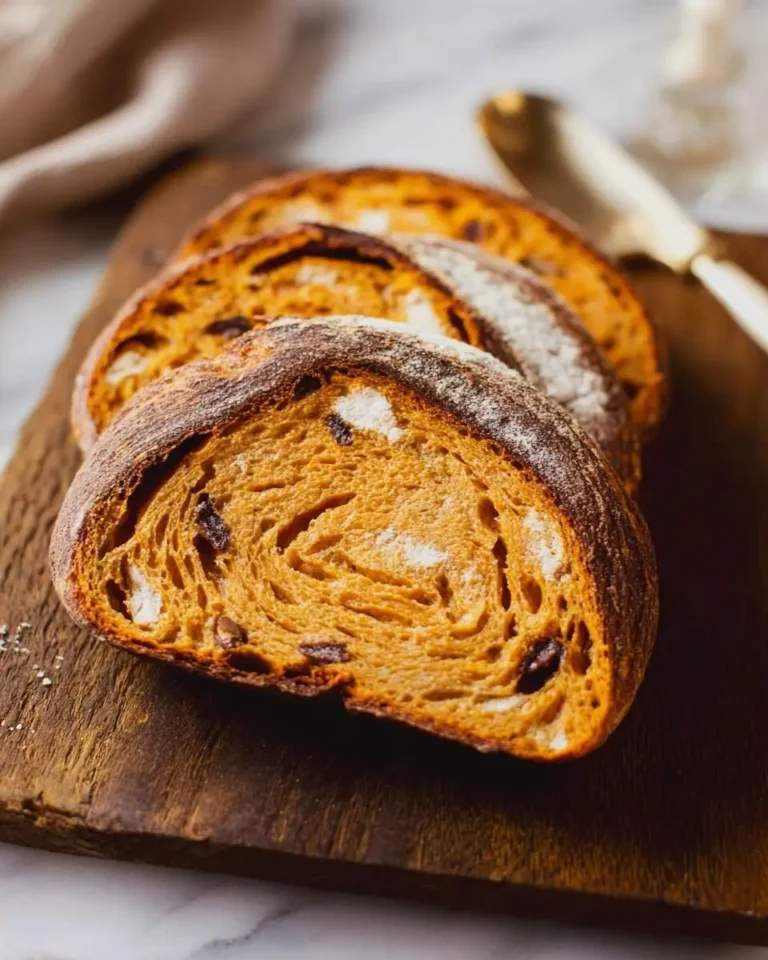
There’s nothing quite like the aroma of freshly baked Multigrain Bread filling my kitchen. It promises wholesome comfort, much like the satisfaction I find baking a hearty sourdough bread. For me, this simple act is a true labor of love.
I still remember my grandmother’s kitchen, always warm with the scent of yeast. She taught me bread-making is about patience and a touch of magic, sparking my lifelong passion.
This hearty loaf is both delicious and surprisingly low-stress. My secret? Don’t rush the proofing—give it time, and you’ll be rewarded with incredible flavor.
What You Need to Make This Recipe
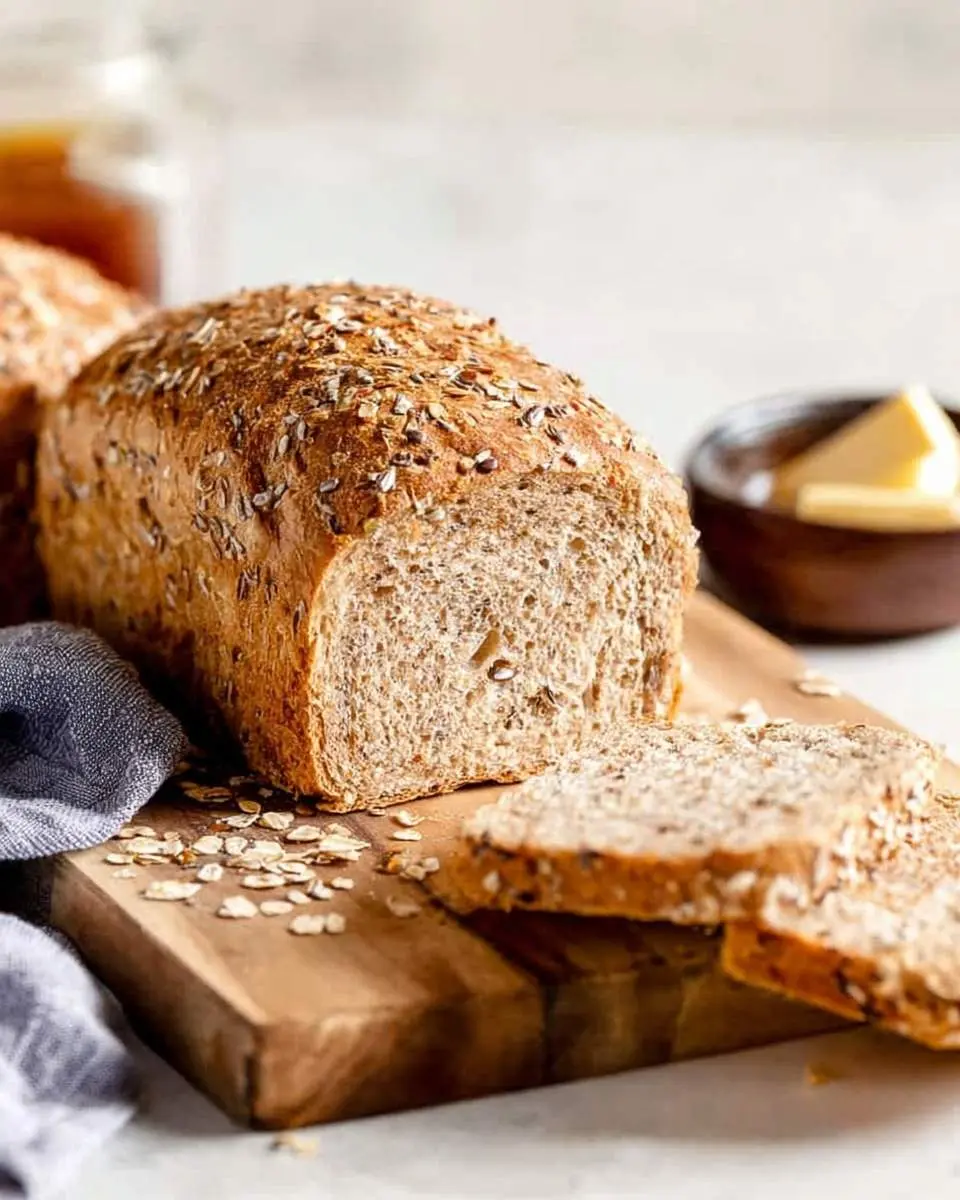
My Multigrain Bread features hearty flours, various seeds, and oats for an incredible texture. It’s as satisfying as a simple 3-ingredient artisan bread. Find the full list in the recipe card!
How to Make Multigrain Bread
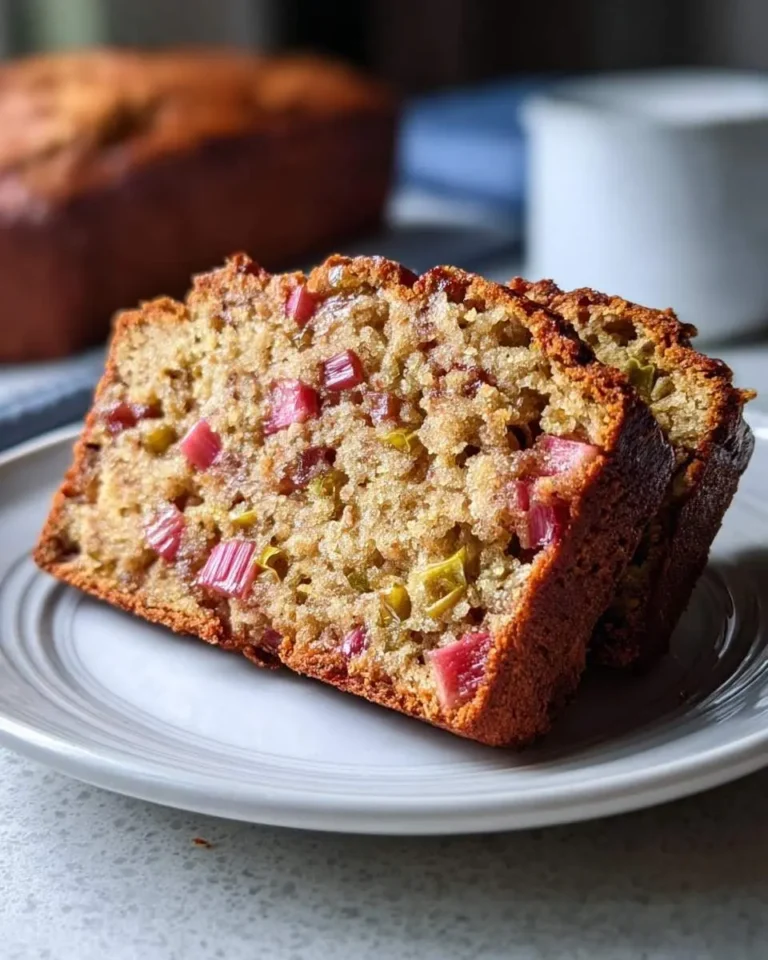
Making this bread is a truly rewarding process. It begins with activating the yeast, then combining it with honey, flours, and all those wonderful seeds. After kneading and two proofing stages, it’s baked to golden perfection. It’s a satisfying journey, akin to baking a lovely rhubarb bread, resulting in pure comfort.
Pro Tips for Making This Multigrain Bread
I’ve learned a few tricks over the years to ensure every loaf turns out perfectly. These simple tips will help you achieve that beautiful crumb and crust I adore.
Hydration is Key
Getting the right hydration for your dough is crucial. I always start with the specified amount of water, but I’m not afraid to add a tiny bit more if the dough feels too stiff during kneading. It should be tacky, but not sticky.
Don’t Rush the Proof
Patience truly is a virtue in bread making. I always let my dough take its time to rise, especially for this hearty loaf. A slow, steady proof yields the best flavor and texture, developing those complex notes.
My Secret Trick: I always warm my mixing bowl slightly before adding the ingredients, especially in cooler months. This helps activate the yeast more efficiently and ensures a consistent rise for my bread dough.
How to Store Multigrain Bread
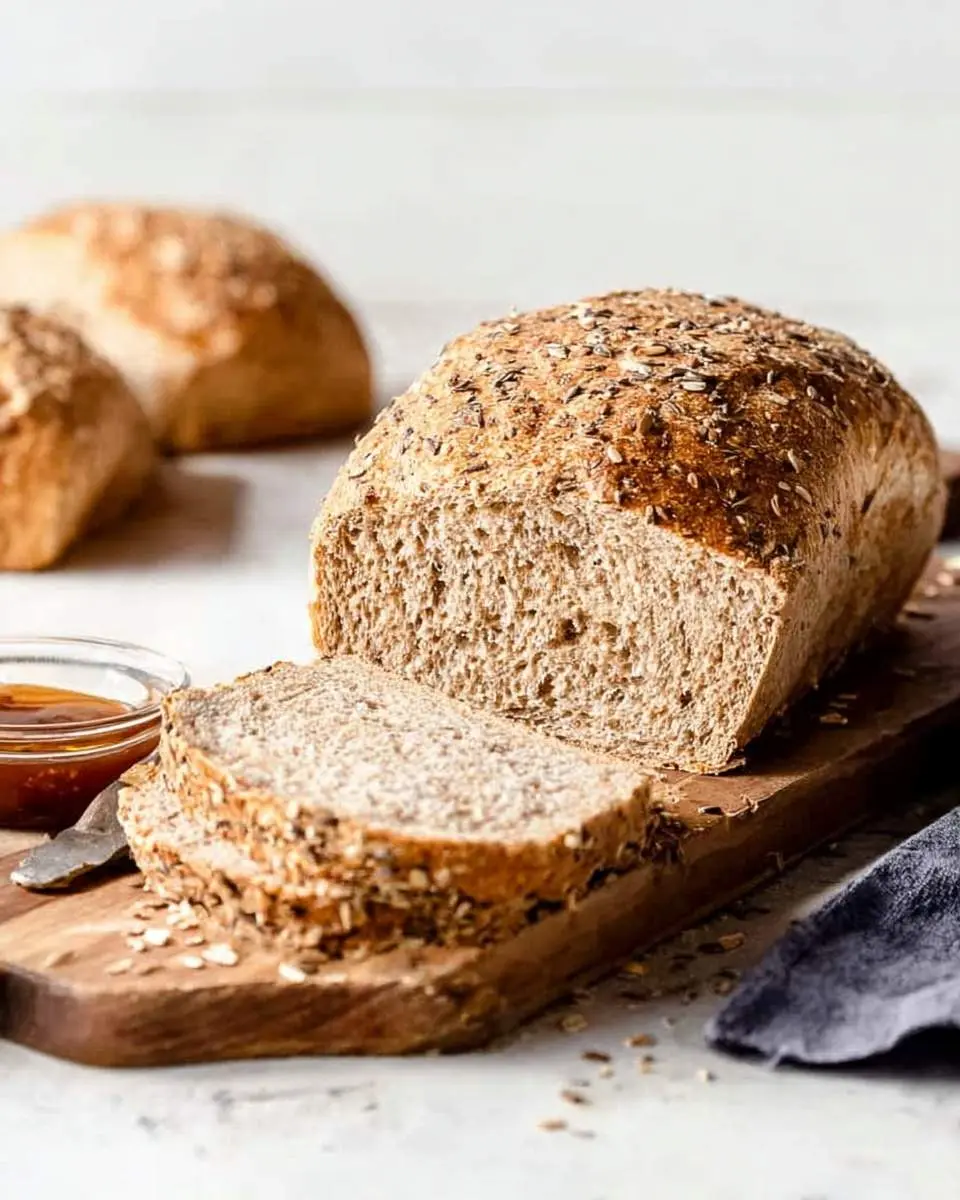
Proper storage is key to enjoying your delicious Multigrain Bread for longer. I always recommend letting it cool completely before slicing and storing. My favorite way is to keep it at room temperature in an airtight container or bread box for up to 3 days.
For longer storage, I slice the loaf and freeze the individual slices. This way, I can pull out just what I need and toast it directly from frozen for a quick, wholesome treat. Reheating slowly in a toaster or oven brings it back to life beautifully.
Nutritional Benefits
This wholesome bread is a fantastic choice, packed with fiber and essential nutrients from its diverse grains and seeds. I feel good serving it to my family, knowing it offers sustained energy.
FAQs
Can I substitute the seeds in Multigrain Bread?
Absolutely! I encourage experimenting with your favorite seeds in this Multigrain Bread. Feel free to swap flax, sunflower, or pumpkin seeds for others like sesame. Just ensure the total quantity remains similar for the best texture and consistency in your loaf.
How do I know when my Multigrain Bread dough has proofed enough?
I always look for the ‘poke test.’ Gently press a floured finger into the dough; if the indentation springs back slowly and partially, it’s ready. If it springs back immediately, it needs more time. If it doesn’t spring back at all, it’s likely over-proofed for your Multigrain Bread.
Can I make this Multigrain Bread in a bread machine?
While I prefer the hands-on approach, you can certainly adapt this Multigrain Bread recipe for a bread machine. Follow your machine’s instructions for a whole wheat or multigrain cycle, adding the ingredients in the order recommended by your bread maker. It will still yield a lovely loaf!
What’s the best way to get a crispy crust on my Multigrain Bread?
To achieve that beautiful, crispy crust I love on my Multigrain Bread, I often place a pan of hot water on the bottom rack of my oven during baking. The steam helps create a wonderful, golden-brown crust that’s incredibly satisfying.
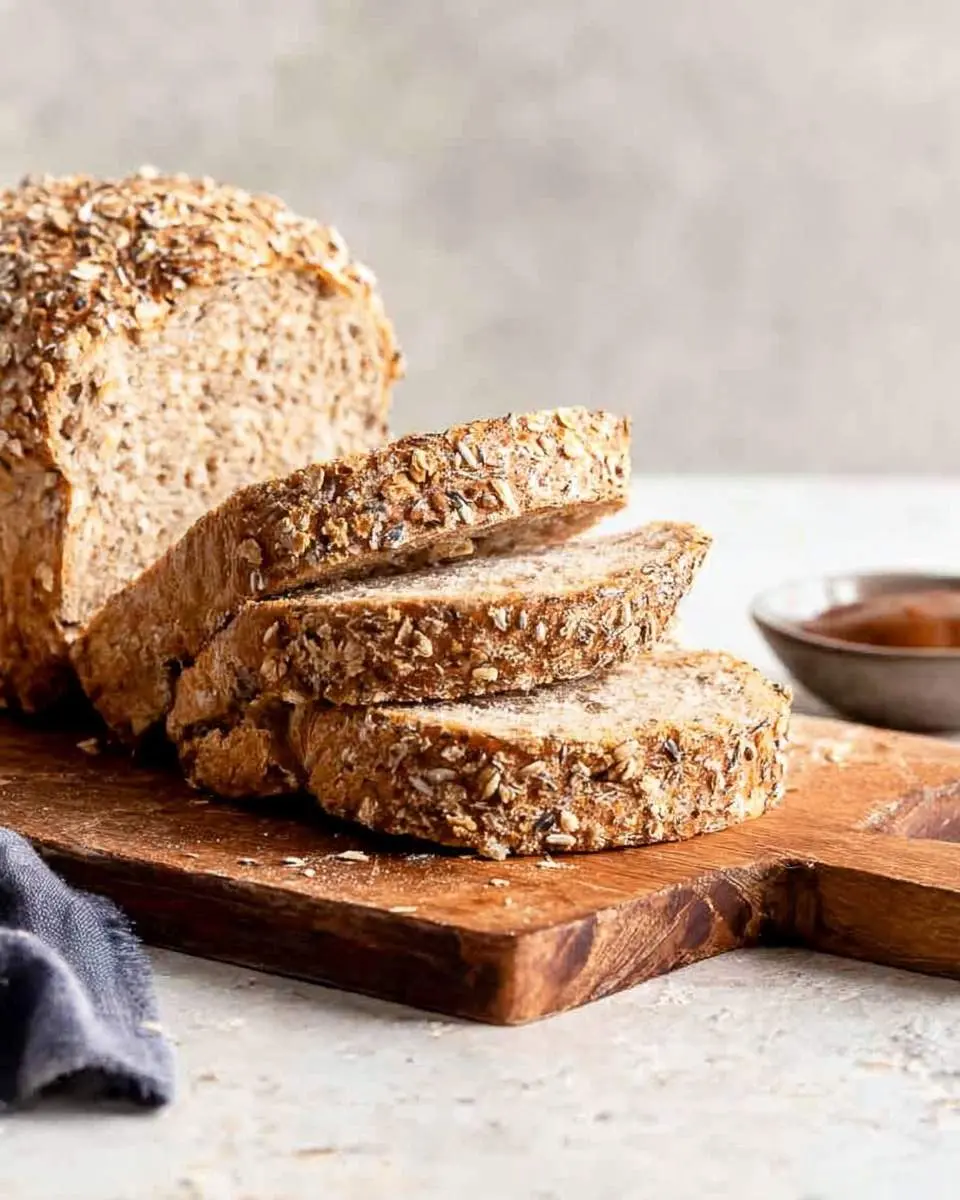

Hearty Homemade Multigrain Bread
Ingredients
Equipment
Method
- In a small bowl, combine the 1/4 cup warm water with rolled oats, flax seeds, sunflower seeds, pumpkin seeds, and chia seeds. Stir well and set aside to soak for at least 15-20 minutes while you prepare the rest of the dough. This softens the grains and prevents them from absorbing too much moisture from the dough later.
- In a large mixing bowl (or stand mixer bowl), combine the 1 1/2 cups warm water, active dry yeast, and honey. Stir gently and let sit for 5-10 minutes until the mixture becomes foamy, indicating the yeast is active.
- In a separate bowl, whisk together the bread flour, whole wheat flour, rye flour, vital wheat gluten (if using), and salt.
- Add the soaked grain mixture (including any remaining water) and the olive oil to the activated yeast mixture. Gradually add the dry flour mixture to the wet ingredients, mixing with a wooden spoon or a dough hook on low speed until a shaggy dough forms and all flour is incorporated.
- Turn the dough out onto a lightly floured surface and knead by hand for 8-10 minutes, or use a stand mixer with a dough hook on medium-low speed for 6-8 minutes, until the dough is smooth, elastic, and passes the windowpane test (you should be able to stretch a small piece thin enough to see light through it without tearing).
- Lightly grease a clean large bowl with olive oil. Place the dough in the bowl, turning it once to coat the entire surface with oil. Cover the bowl with plastic wrap or a clean kitchen towel and let it rise in a warm, draft-free place for 1 to 1.5 hours, or until doubled in size.
- Gently punch down the risen dough to release the air. Turn it out onto a lightly floured surface. Flatten the dough into a rectangle, about 9x12 inches. Fold the short ends towards the middle, then roll the dough tightly from one long end to the other to form a log. Pinch the seam closed.
- Lightly grease a 9x5-inch loaf pan. Place the shaped dough seam-side down into the prepared loaf pan. Cover the pan loosely with plastic wrap or a clean kitchen towel and let it rise in a warm, draft-free place for another 45-60 minutes, or until the dough has nearly doubled in size and crests over the edge of the pan.
- About 15 minutes before the end of the second rise, preheat your oven to 375°F (190°C). If desired, lightly brush the top of the risen loaf with water and sprinkle with extra rolled oats, flax seeds, and sunflower seeds for a decorative and textured crust.
- Place the loaf pan in the preheated oven. Bake for 30-35 minutes, or until the crust is golden brown and the internal temperature reaches 200-210°F (93-99°C) when measured with an instant-read thermometer. If the top browns too quickly, you can loosely tent it with aluminum foil.
- Carefully remove the bread from the oven and immediately turn it out onto a wire rack to cool completely before slicing (about 1.5-2 hours). Slicing hot bread can make it gummy.
Notes
Variations: Feel free to experiment with different grains and seeds! You can add sesame seeds, millet, or even a tablespoon of cooked quinoa to the soak.
Vital Wheat Gluten: While optional, vital wheat gluten helps give whole grain breads a better rise and a lighter, chewier texture by boosting the protein content.
Conclusion
Baking this hearty Multigrain Bread is more than just a recipe; it’s an act of love for my family and a delightful journey into wholesome baking. I hope you feel encouraged to try it, much like discovering the rich flavors of a homemade challah bread. It’s comforting, nourishing, and a simple joy that fills both your kitchen and your heart.